
I just made the best “Cranberry Pecan Sweet Rolls” while we were marooned here at home during our historic snow storm this week. The entire city was “closed” — schools, libraries, stores, banks and even Walmart were closed. No mail or newspaper delivery. The main streets and interstates were shut down. In other words, the message was to stay home. Out of my kitchen window, we watched the snow silently fall and our yard and garden turn white. It was surreal. I loved it. With time on my hands, I did some some baking and took lots of photos to document the event. (Scroll down for snow photos.) I couldn’t resist making a “Mardi Gras” snow man.

The storm — with snow falling for 9 hours — eventually accumulated almost 8 inches of snow — the most since 1895! We watched the snow fall from the safety of our home; having stocked up on food and supplies as for a hurricane. We took photos, watched the neighbors use their auto to pull a sled (made out of a plastic swimming pool tub) and made tracks in the snow for my tiny dachshund to play in. With no traffic on the streets and interstate, it was quiet and peaceful. And the snow stuck; this made a picture perfect setting. As I said; it was surreal. Actually, the temperature was cold and the snow lasted for several days, prolonging our wintery conditions.

I love to bake, and over the years, I have posted lots of recipes for baked goods using quick-acting yeast and “instant” yeast. With time on my hands, I decided to make sweet rolls using traditional, active dry yeast. Although it takes longer to prepare and to bake; these breads are wonderful and full of flavor. The crumb is stretchy (rather than crumbly) and the rolls are more akin to traditional store-purchased bread.

For a filling, I used fresh chopped cranberries (we purchased too many cranberries in December), pecans, brown sugar, orange zest and a little butter. The nutty flavor of pecans and tart cranberries complemented the sweet rolls perfectly. These were ingredients which I already had in my kitchen — since we were marooned at home! I also added a confectioners’ sugar and satsuma orange juice glaze for a finishing sweet touch. (The satsumas — a type of orange — were from my backyard tree.) Since it is Mardi Gras season, I can think of many fillings and glazes for these tasty rolls.
Bread made with traditional yeast takes longer to prepare since the dough goes through two rising periods; each session takes from one hour to one-and-a-half hour. This quiet day seemed like a perfect time for an all-day baking session.

Recipe and Ingredients
Here are the ingredients for my rolls. This a just very basic “sweet roll” recipe and can be used for many recipe variations including dinner rolls and donuts. It is similar to my recipe for challah. The recipe can be used to make King Cakes – just form the rolled dough into an oval rather than slicing into pieces.
I especially love this recipe because the ingredient quantities easily fit in my food processor bowl. (It is so much easier to knead the dough using a food processor or electric mixer fitted with a dough hook vs by hand.)
The rolls aren’t really “sweet.” They become sweet when a filling or icing is added. The rolls are richer than traditional bread dough. The recipe contains milk, an egg, butter and a little sugar in additional to bread flour, salt and yeast. By contrast, bread recipes generally just start with flour, yeast, salt and water.
A note about bread flour: I like to use this type of flour because it gives good results. However, I find that you need less flour, compared to all-purpose flour, in recipes. So, this recipe is titrated for bread flour. You might need slightly more flour if you substitute all-purpose flour.

Making the recipe
For this recipe, I used traditional, active dry yeast. I believe that Fleischmann’s® brand refers to this as “original” yeast. It is important to remember that this yeast should be activated prior to combining with the flour; thus getting the yeast revved up and ready to ferment. If the yeast doesn’t start to bubble and foam when it is added to warm in milk and a bit of sugar, then it won’t ferment when added to flour. The dough won’t rise and it will be hard as a rock — I’ve been down this path before!

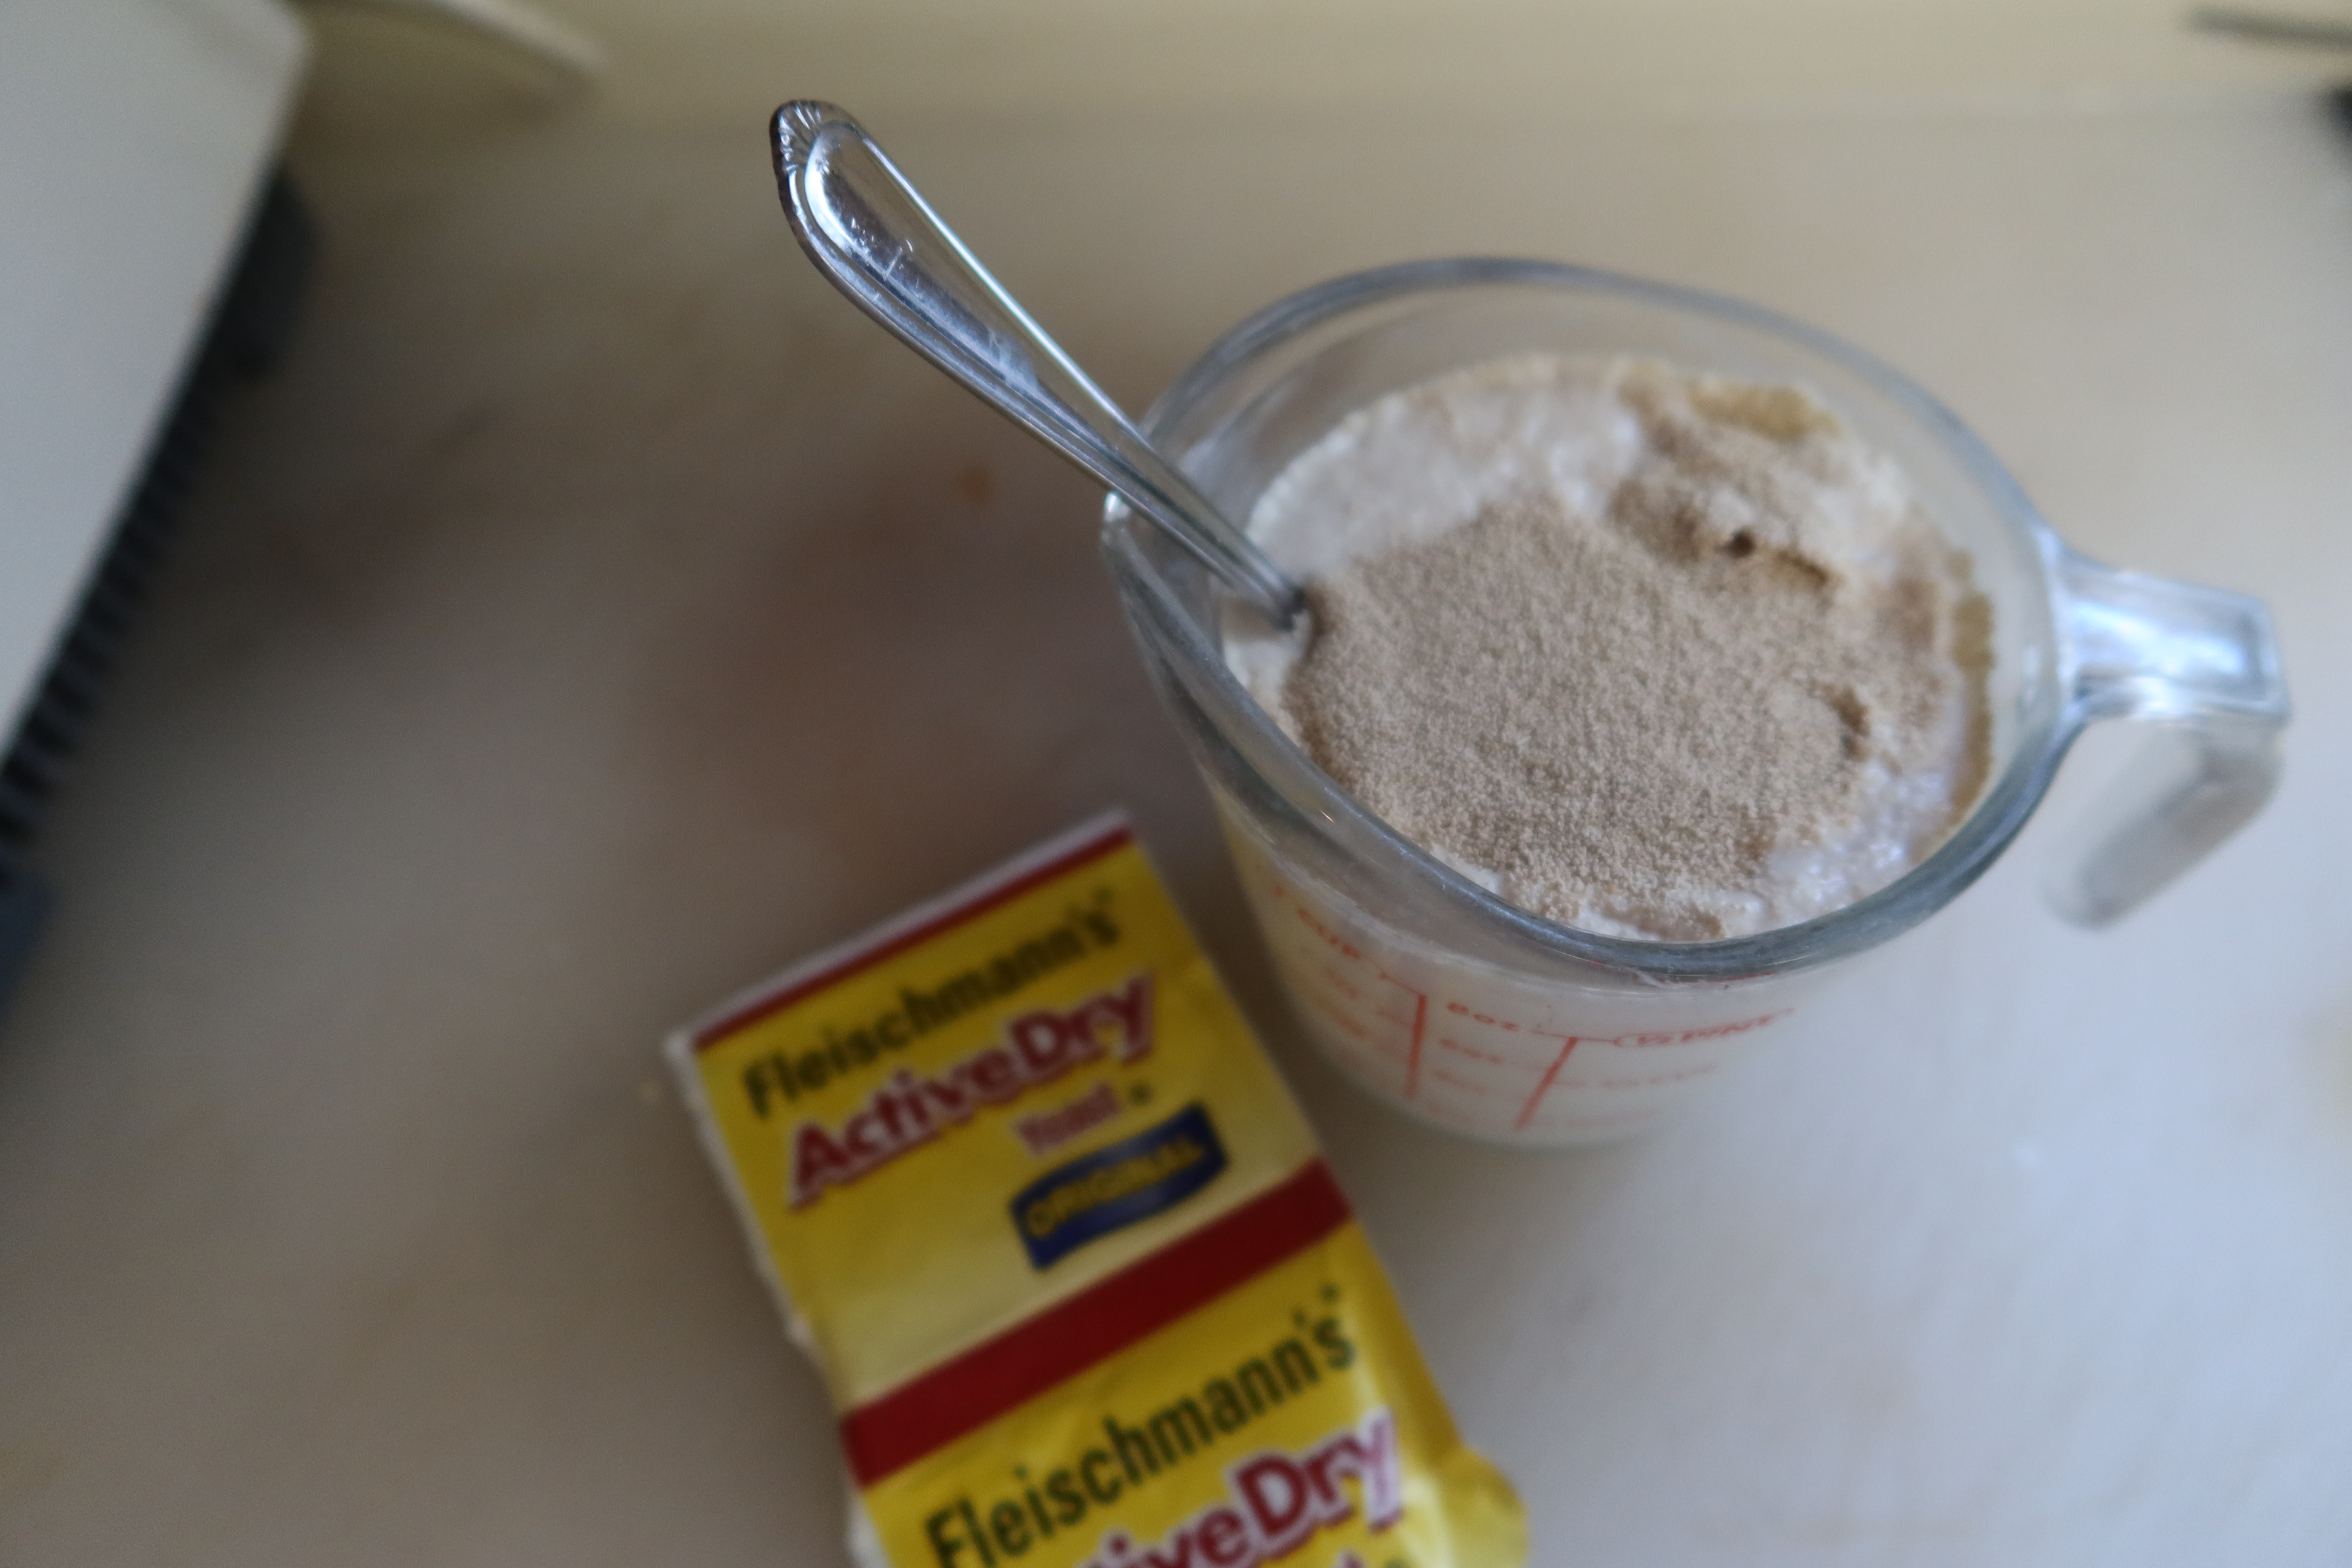
To “activate” the yeast, heat the milk and sugar up to 110 degrees using a microwave oven. I use an instant read thermometer to check the temperature since this step is so important. I’ve also learned that is important to stir the milk when checking the temperature, since microwave ovens heat liquids unevenly. It should take about 5 minutes for the yeast to “bubble” and foam. Just sprinkle the dry yeast on top of the milk — don’t stir it in.
Another tip is to check the expiration date printed on the package of yeast. In my experience, expired yeast usually doesn’t work. Don’t be tempted to start with old yeast. I’ve made that mistake, too!

I use my food processor to mix up and “knead” the dough. This saves time and makes this process much easier. It is faster since I only knead the dough for about a minute in the food processor vs 3 to 5 minutes by hand. The dough stays warm giving if a “head start” in rising. Alternatively, an electric food mixer fitted with a dough hook can be used for this recipe.


Finding a warm spot for the dough rise can be a challenge. In the winter, my kitchen has many drafts and is too cool for the dough to rise. In the summer, my air conditioner sends a cool draft throughout the kitchen. The solution is to let the dough rise in my warm oven. It works — as long as I don’t need the oven for another recipe! I heat the oven to 180 degrees; then turn off the oven. This warm climate is just perfect for the dough to rise. It took about an hour for this dough to double in size.


Punch the dough down and let it set for 10 minutes. Then gently roll out the dough on a well-floured board. With patience, the dough will stretch out. Go slowly and let the dough “rest” for 10 minutes and then roll some more. Eventually it will stretch into a 18″ x 10″ rectangle. And, I figured out that it is wise to roll it out slightly longer than 18″, making it easier to cut.


These sweet rolls have a filling made of brown sugar, melted butter, fresh cranberries, orange zest and pecans. It gives the rolls a tart, nutty and sweet flavor.

To mix up the filling, zest and juice the satsuma (or orange) and chop the cranberries and walnuts.


Combine the ingredients in a small bowl. I didn’t cook the filling down; although that’s an idea for future recipes. However, a filling which is not a “sauce” is much easier to roll up into a jelly roll.

After the dough is rolled out; spread on softened butter and then the filling. Leave a 1″ margin along the top edge.


Roll up the dough as tight as possible into a jelly roll and then seal the top edge. Use a “lifting” motion to lift the dough up and over the filling.


Cut into 1″ pieces using a pastry cutter or serrated knife. Then transfer into two well-oiled 9″ cake pans. (Or, use 8″ cake pans if these are available.) Alternatively, use a 9″ x 13″ baking pan.


Cover with plastic wrap. (I lightly oiled the wrap.) Let rise until doubled in size in the warm oven. (Make sure to turn the oven off!! — Otherwise the dough will “cook.”) This second rising period took 45 minutes.


Remove the plastic wrap and bake in a pre-heated 350 degree oven.

Soon the wonderful aroma of fresh baked rolls spreads throughout the kitchen. The sweet rolls are the best when hot out of the oven.
Add a Satsuma Orange Glaze
Sweet rolls frequently have a glaze or icing spread on top of the rolls. So, for a finishing touch, I made an glaze of satsuma zest, orange juice and powdered sugar. The glaze is easy to mix up. In a small bowl, combine confectioners’ sugar and orange juice (either from the satsuma orange or commercial orange juice.) A little orange zest added to the glaze intensifies the citrus flavor.


For the second pan of baked rolls, I didn’t invert the rolls. Instead, I served the glaze separately. Or, you could spread the glaze on top of these rolls.

Mardi Gras is Tuesday, March 4, 2025. The date varies with the lunar calendar and it is late this year. However, that hasn’t stopped folks from beginning to enjoy the carnival season. You can find plenty of “King Cakes” and other desserts already in bakeries and grocery stores.
This “sweet roll” recipe is perfect for these king cakes. My recipe is not too sweet; a pleasant alternative to the many sweet, sweet king cakes available in bakeries.

I thoroughly enjoyed our “snow days.” Plenty of time to cook and bake; and to tromp around in the snow. Our little dachshund was very timid at first; but soon enjoyed exploring. Eventually, I realized that it might be helpful if I made “tracks” for her to follow. After she got the hang of the snow, it was so entertaining to watch her navigate around my trail. She loved it and couldn’t wait to go outside.


I even got in the spirit and attempted to make a table top, Mardi Gras-inspired snow man on the second snow day. And, then I remembered one important fact from my years in living is states with lots of snow. You can’t roll snow men using powdery snow. Great for skiing, but not for making snow men. (Only a Yankee would know this!) Anyway, I eventually found enough melting snow to make it work. Ready to party and throw some beads. Oops, he/she fell over after about only four hours.

Our snowy storm was a once-in-a life time event for us folks way down here in Louisiana! And it lasted for two days. I loved it! I don’t believe that Louisiana owns snow plows. We had to borrow them from Arkansas. New Orleans got some from Indiana, according to news stations. I am sure that the lack of snow equipment — plus elevated interstates — helped prolong the aftermath of the storm. And, of course, our local streets were not plowed. Here is our street before the storm, during the snow falling on the first day and on the second day. (Someone was optimistic that we would have trash pick-up! Well, there’s always one misinformed soul.)


Preparing these filled sweet rolls has been on my “to-do” baking list for a long time. I am so pleased that the rolls were much easier to concoct than I had remembered. It does take several hours to make the bread, but it is worth the effort. The Fleischmann’s® brand original active, dry yeast worked like a charm!
The recipe is so easy that I even made made a second and third batch; this time for “Cream Cheese & Cherry Swirl Sweet Rolls” and “Blueberry Swirl Sweet Rolls.” For this recipe, I tweaked it substituting in larger ingredient quantities to fill up the 9″ cake pans. However, those quantities made it too large for my food processor; I had to knead it by hand. (Poor me!) I’ll feature this recipe later. Still trying out various fillings.
In the meantime, enjoy my recipe for “Cranberry Pecan Sweet Rolls with Satsuma Orange Glaze.”
Cranberry Pecan Sweet Rolls with Satsuma Orange Glaze
Ingredients for Cranberry Pecan Filling:
- 1 bag (12 oz) fresh cranberries, reserve several for garnish
- 1 cup pecan pieces
- 1 Tbsp satsuma orange zest from 1 to 2 satsuma oranges (may substitute Navel oranges), reserve juice for glaze
- 1 cup pecan pieces
- 2 Tbsp butter, melted
- 1/2 cup brown sugar
Ingredients for Satsuma Orange Glaze:
- 1 tsp zest of 1 satsuma orange (or Navel orange)
- 1 cup confectioners’ sugar
- 1 Tbsp satsuma orange juice, plus additional teaspoons as needed
Ingredients for Sweet Rolls:
- 1 recipe Cranberry Pecan Filling
- oil, for oiling bowls and baking pans
- 1 cup milk
- 4 tbsp sugar, divided
- 1 (0.25 oz) package active dry yeast (I used Fleischmann’s® brand yeast)
- 3 cups bread flour, divided, with up to additional 1/4 cup if needed
- 1 tsp salt
- 4 Tbsp butter, softened
- 1 large egg
- Satsuma Orange Glaze
- fresh cranberries, for garnish, if desired
Method and Steps for Cranberry Pecan Filling:
- Coarsely chop cranberries using food processor or small food chopper. Reserve a few of the cranberries for garnish, if desired.
- Coarsely chop pecans.
- Zest satsuma orange(s) or navel oranges to yield 1 Tbsp zest. Juice oranges and set aside.
- Melt butter in microwave by heating on high temp in a small, covered bowl for about 30 seconds.
- In a small bowl, combine chopped cranberries, chopped pecans, orange zest, melted butter and brown sugar. Stir to combine.
- Set aside until ready to use.
Method and Steps for Satsuma Orange Glaze:
- Zest satsuma orange (or Navel orange) to yield 1 tsp zest. Juice orange (may need 2 oranges).
- In a small bowl, combine confectioners’ sugar, satsuma zest and 1 Tbsp satsuma orange juice. Stir to combine.
- If needed, add 1 tsp additional juice at a time to thin glaze until thick but spreadable.
- Set aside until ready to use.
Method and Steps for Sweet Rolls:
- Prepare Cranberry Pecan Filling and set aside. (This can also be done while dough rises.)
- Prepare Satsuma Orange Glaze and set aside.
- To make sweet rolls, heat milk and 1 Tbsp sugar in microwave oven until 110 degrees. To accomplish this, place milk and sugar in a measuring cup or small bowl. Cover with damp paper towels. Heat for approximately 30 seconds in microwave oven. Remove from microwave oven and stir. Check temperature with instant read thermometer. If not hot enough, microwave for several more seconds. If too hot, let set on kitchen counter until 110 degrees.
- When milk/sugar is heated, sprinkle dry instant yeast on top of milk. Do not stir. Let milk set for 5 minutes. Milk should begin to bubble and foam.
- Add 2 cups flour, salt and remaining 3 Tbsp sugar to large bowl of food processor fitted with dough attachment. Pulse to combine ingredients. (Scrape down with rubber spatula, if needed.)*
- Partially melt butter by heating in microwave oven for 30 seconds. (Cover butter with damp paper towels.) Butter does not have to completely melt.
- Add 2 Tbsp partially melted butter to flour mixture. (Reserve remaining 2 Tbsp to spread on dough.)
- Add warmed milk/sugar/yeast mixture to dry ingredients in food processor.
- Add in large egg.
- Using continuous mode, mix for about 30 seconds until all ingredients are blended together. Stir down sides of food processor bowl with rubber spatula, if needed. Mixture should look like a spongy dough.
- Add in remaining 1 cup flour. Then pulse with on and off motions until dough forms into a soft ball. If too sticky, add 1/4 cup additional flour. (This should not be needed if using bread flour but may be necessary with all-purpose flour.) Then pulse for about 1 minute to knead dough.
- Generously oil a glass or ceramic bowl which is large enough so that dough can double in size. Add dough and turn so that dough is completely covered with oil. Cover with plastic wrap.
- Set dough in a warm place so it can rise. (I pre-heat oven to 180 degrees and then turn oven heat off.)
- Check dough after 1 hour. If needed, let rise an additional 30 minutes. When dough has doubled in size, remove plastic wrap. Punch down. Let set 10 minutes.
- Turn dough out onto a lightly floured pastry board.
- Using a rolling pin, gently roll out into a 18″ x 10″ rectangle. Dough is stretchy. Roll in several sessions, letting dough rest for a minute or two at a time until reaches to a rectangle shape.
- Spread reserved partially melted butter over dough. Leave a 1-inch border along the top, long edge of the dough.
- Spread prepared Cranberry-Pecan filling over dough, leaving 1″ border at the top edge.
- Roll dough up into jelly roll. With fingers, pinch top edges closed.
- Using a dough cutter or serrated knife, carefully cut dough into 1″ pieces.
- Oil two 9″ round cake pans. Alternately, oil a 9″ x 13″ baking pan or two 8″ round cake pans.
- Transfer the 1″ slices into the two oiled cake pans (alternatively, into the baking pan). Cover with lightly oiled plastic wrap.
- Place the cake pans (or baking pan) back into the warm oven (or other warm place) so the rolls can rise.
- Check the rolls after 45 minutes to 1 hour.
- Meanwhile, pre-heat oven to 350 degrees. (I let the rolls set on the kitchen counter while the oven heats up.)
- When rolls are double in size, remove plastic wrap. Transfer to pre-heated oven and bake for 25 – 30 minutes.
- Remove from oven, let cool enough until easily handled. Run a knife around the edges of trhe cake pans to loosen the rolls. Transfer to serving plates.
- Pour prepared glaze over warm rolls.
- For serving, garnish with reserved fresh cranberries, if desired.
*NOTE: An electric food mixer fitted with a dough hook can be substituted for food processor.
Now, I’m on a baking spurge. Here the next sweet roll recipe, “Blueberry Swirl Sweet Rolls.”
Cream cheese and blueberries are popular fillings for Mardi Gras King Cakes. Usually commercial king cakes are topped with a sweet icing and colored sugar sprinkles. In the spirit of a “healthier” king cake, I skipped the thick, sweet icing. My sweet rolls are just as tasty, especially with the blueberry & cream cheese flavor. Enjoy!

I’m still tweaking this recipe and fillings. Will post it soon!


Such a sweet treat!
Thank You! It was a great day for baking!
Hi Maylee! I love that you used fresh cranberries here to keep your sweet rolls from being too sweet. Your Mardi Gras snowman is adorable! 😄
Hello, Yes, this filling makes a nice contrast to the icing on the sweet rolls. And, so dissappointing that the snow man didn’t last longer. We had a good time with some Mardi Gras spirit added in and were sorry to see the snow in our yard disappear!