
Ah!! Chocolate Cream Pie. I finally have an excuse to make a pie. We have several October birthdays coming up — and most of the family members would rather celebrate with something besides a cake. For years, I have made a Pumpkin Pie or something similar rather an elaborate cake to celebrate my husband’s birthday. So, I don’t get to show off my cake decorating skills; but we can improvise. Last year, I made Banana Pudding with Meringue. Everybody loved it. My encore this year is Chocolate Cream Pie. This is delicious, too. I made a fabulous chocolate filling — smooth and creamy with a fudgy chocolate flavor. I’m so pleased! Plus, I have a second motive. I’m trying out a special pastry flour, Snavely brand flour, for the crust. It is a soft wheat flour which is milled in Pennsylvania. And, Snavely just happens to be the surname of my mother’s family and ancestors.
Snavely Surname
Snavely is a rather unusual family name — unless you go to Lancaster, Pennsylvania. Open a phone book and you will find pages of the Snavely name. The story goes that three brothers immigrated to this country in the early 1700s. They had large families; so now there are hundreds of these related folks in Pennsylvania. A distant cousin, in fact, has the original Pennsylvania land grant document from the 1700s and still lives on that plot of land (as of 2015). That is a treasure, for sure!
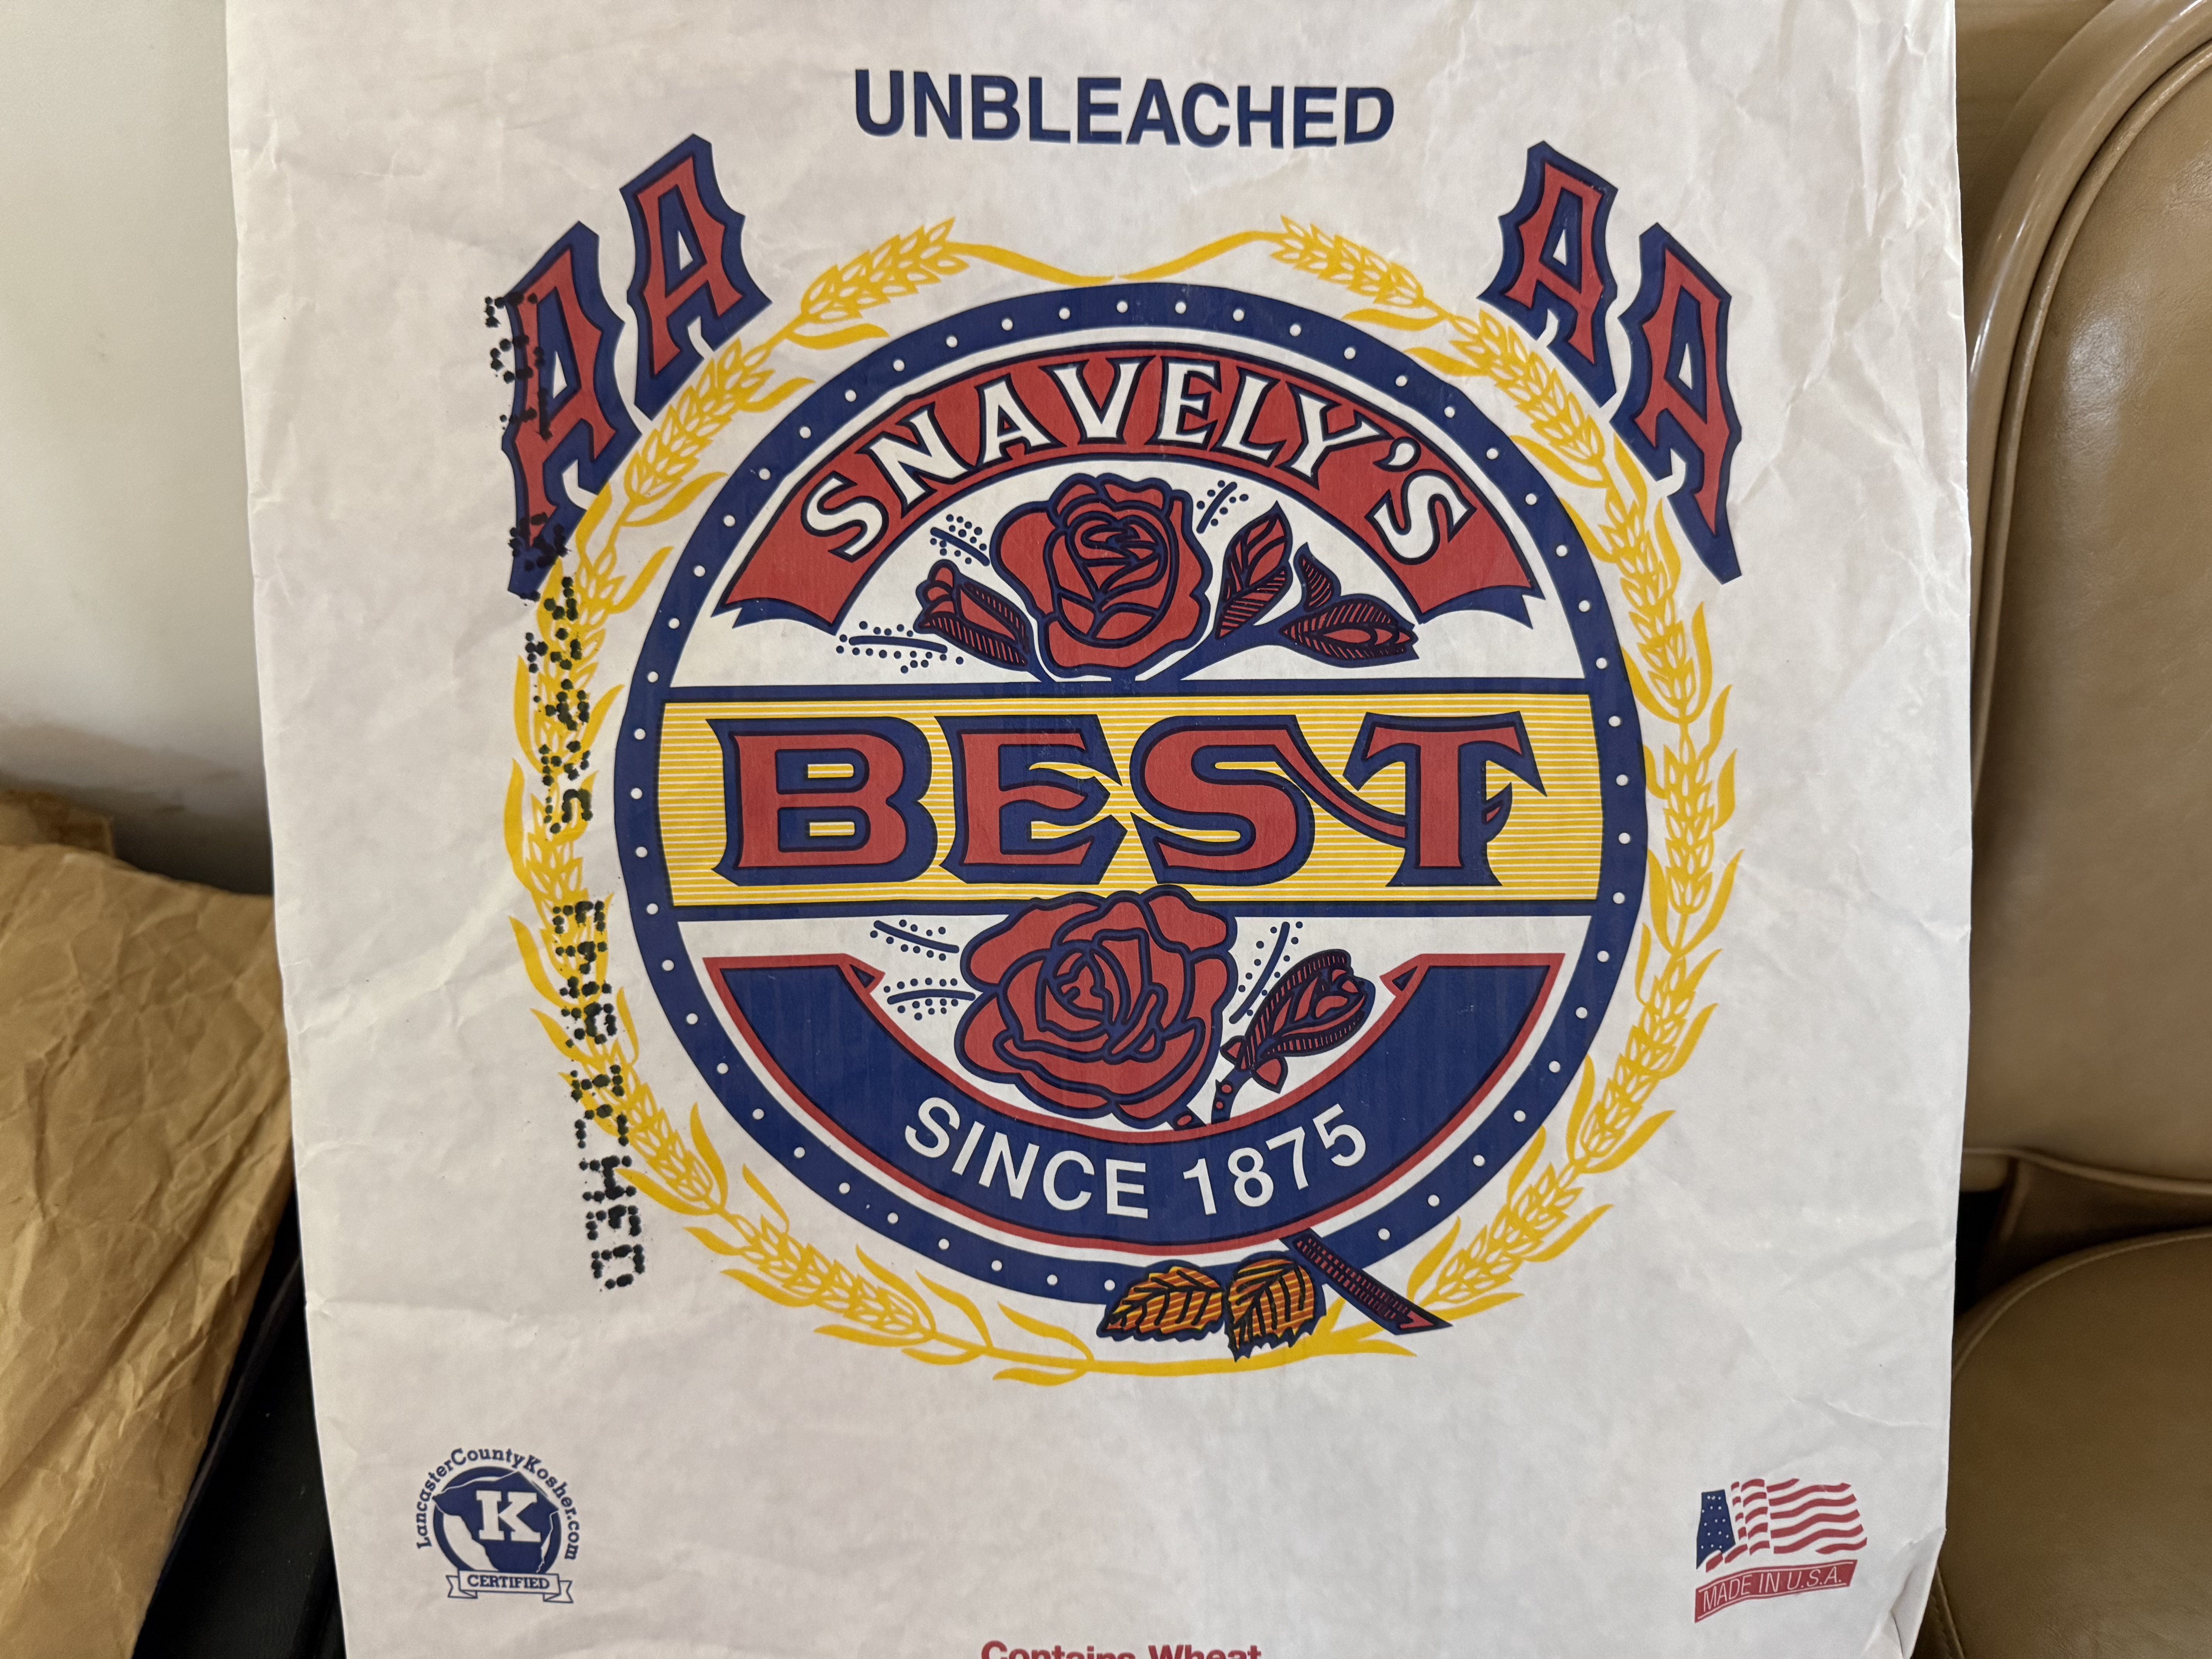
A first cousin — who lives close to College Station, Pennsylvania, — discovered the Snavely’s Mill and their flours. The mill is family owned since 1875 and they produce a variety of flours. I’m not sure if we are related; but it is fun to guess. Our cousin brought a bag of the soft wheat pastry flour to the family reunion in Idaho in August. She divided it up into small portions to take home. Traveling on the plane, I could take only a small bag. I’m going to use it to make my pie crusts.

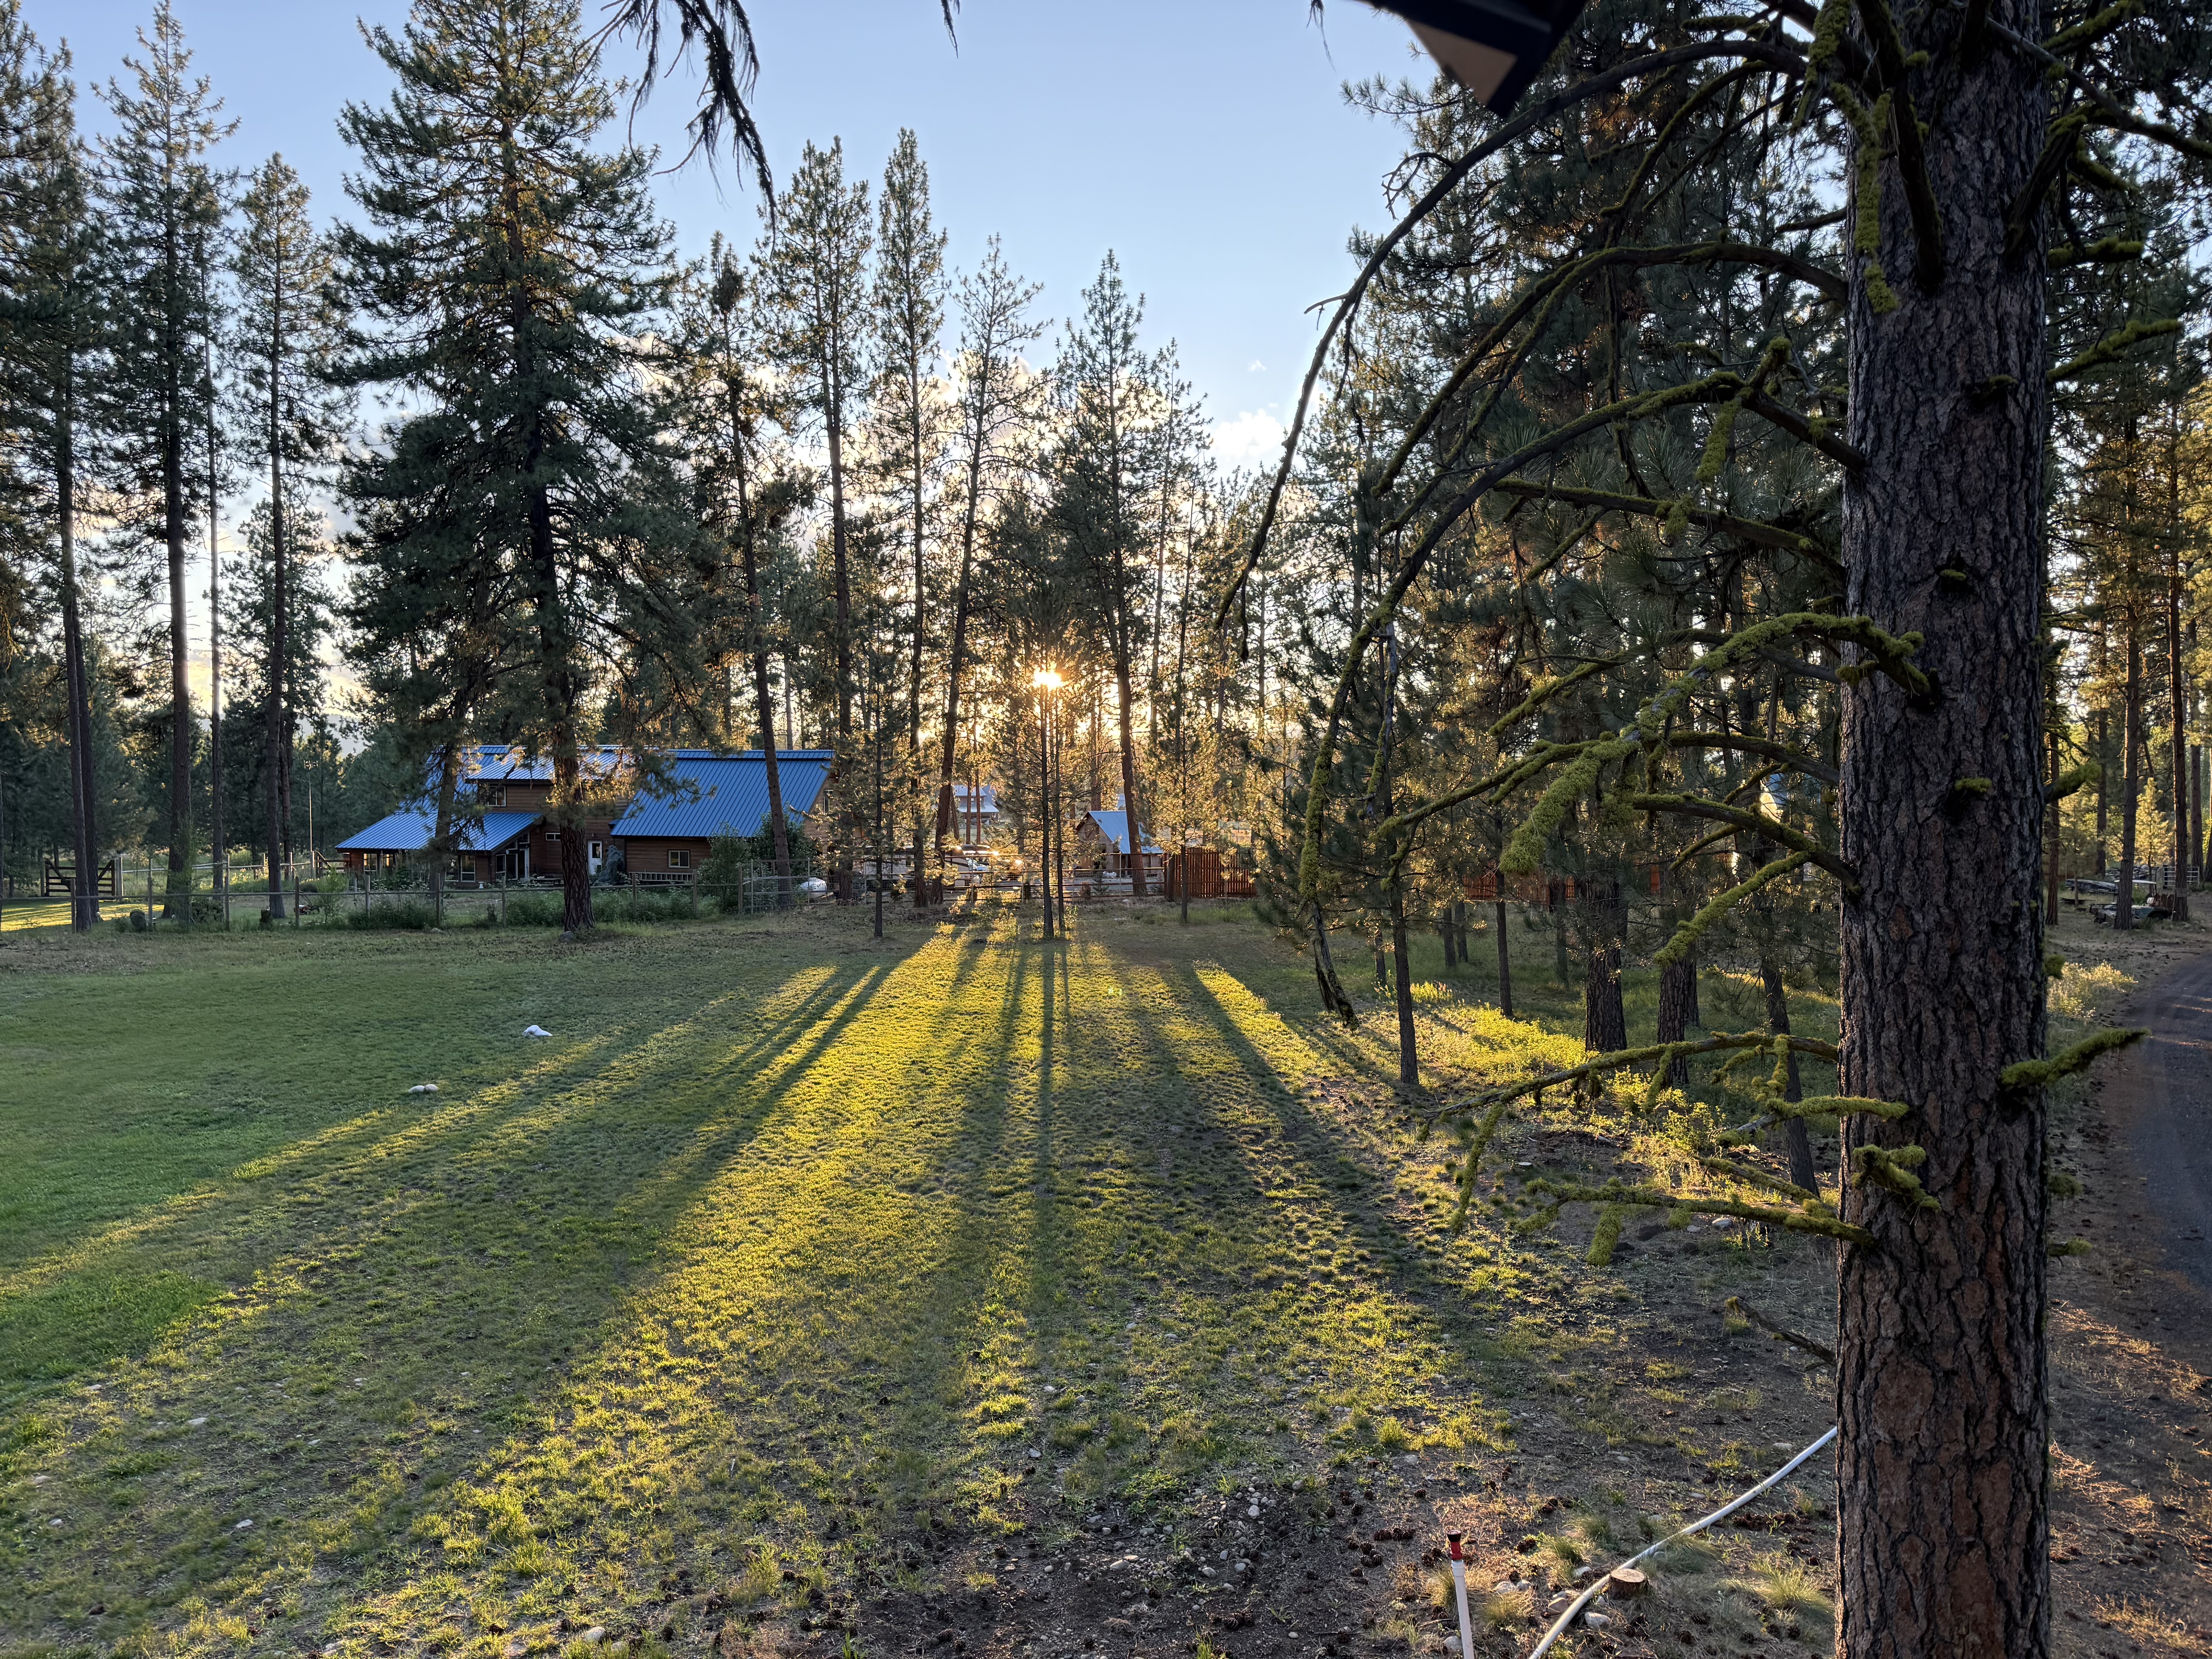
Here is the camp in the wonderful mountains of Idaho and the setting for our reunion. It was relaxing with cool temperatures (compared to Louisiana in August) and a good time to connect with cousins.
Favorite Pie Restaurant — Lea’s Lunchroom in Lacompte, Louisiana
Back to Louisiana. When I think of “pie,” I immediately think of Lea’s Lunchroom in Lacompte, Louisiana. Their “claim to fame” is the variety of home baked pies — baked daily — which includes fruit pies, coconut cream pie, chocolate pie and pecan pie. The restaurant has been around as long as I can remember. This quaint diner and lunchroom is located in the center part of the state close to Alexandria, Louisiana. Any time we took a trip to Alexandria or destinations in northern Louisiana, a mandatory stop was at Lea’s Lunchroom to pick up a couple of pies.
I can remember, traveling with co-workers to conferences in Alexandria, of making detours off the newly built interstate to purchase Chocolate Pies. This stop was more important than the conference!

Recipe
Lea’s Lunchroom doesn’t share their recipe for chocolate pie. So, I’m making just a good old-fashioned “Chocolate Cream Pie.” Chocolate pudding/custard is cooked on the stove and then poured into a baked pie shell. The pie is chilled in the refrigerator to set the custard. Top with either meringue (as with Lea’s Lunchroom) or whipped cream. The cooked pie filling is similar to my banana cream pie filling of last year’s birthday pies in many respects.
Baked Pie Shell
For this recipe, the empty pie shell is baked, then the chocolate pudding/custard is added. Either use a purchased pie shell and bake one from scratch.
Mixing up a homemade pie crust is fairly simple. Then, add a fruit filling and topping and bake. So easy. I found that baking the unfilled shell was the tricky part of the recipe. I burnt several pie crusts before getting the process perfected. It definitely takes practice.
The type of flour and shortening used makes a difference in how the dough handles. The pie pan used (Pyrex, aluminum, shiny or dull finish) affects baking time. Plus, the sugar in my recipe caused the pie shell to burn easily. And, pie crusts contain lots of butter (or other shortening).
The soft wheat pastry flour took some getting used to in how it handled to roll out the crust. In retrospect, I would save this special flour for tender cakes, etc. For a simple pie shell, omit the sugar and use all-purpose flour rather than a specialty pastry flour such as the Snavely’s brand.
I included a detailed description of making and baking a pie crust is at the bottom of this post.
Silky, Rich and Creamy Chocolate Pie Filling
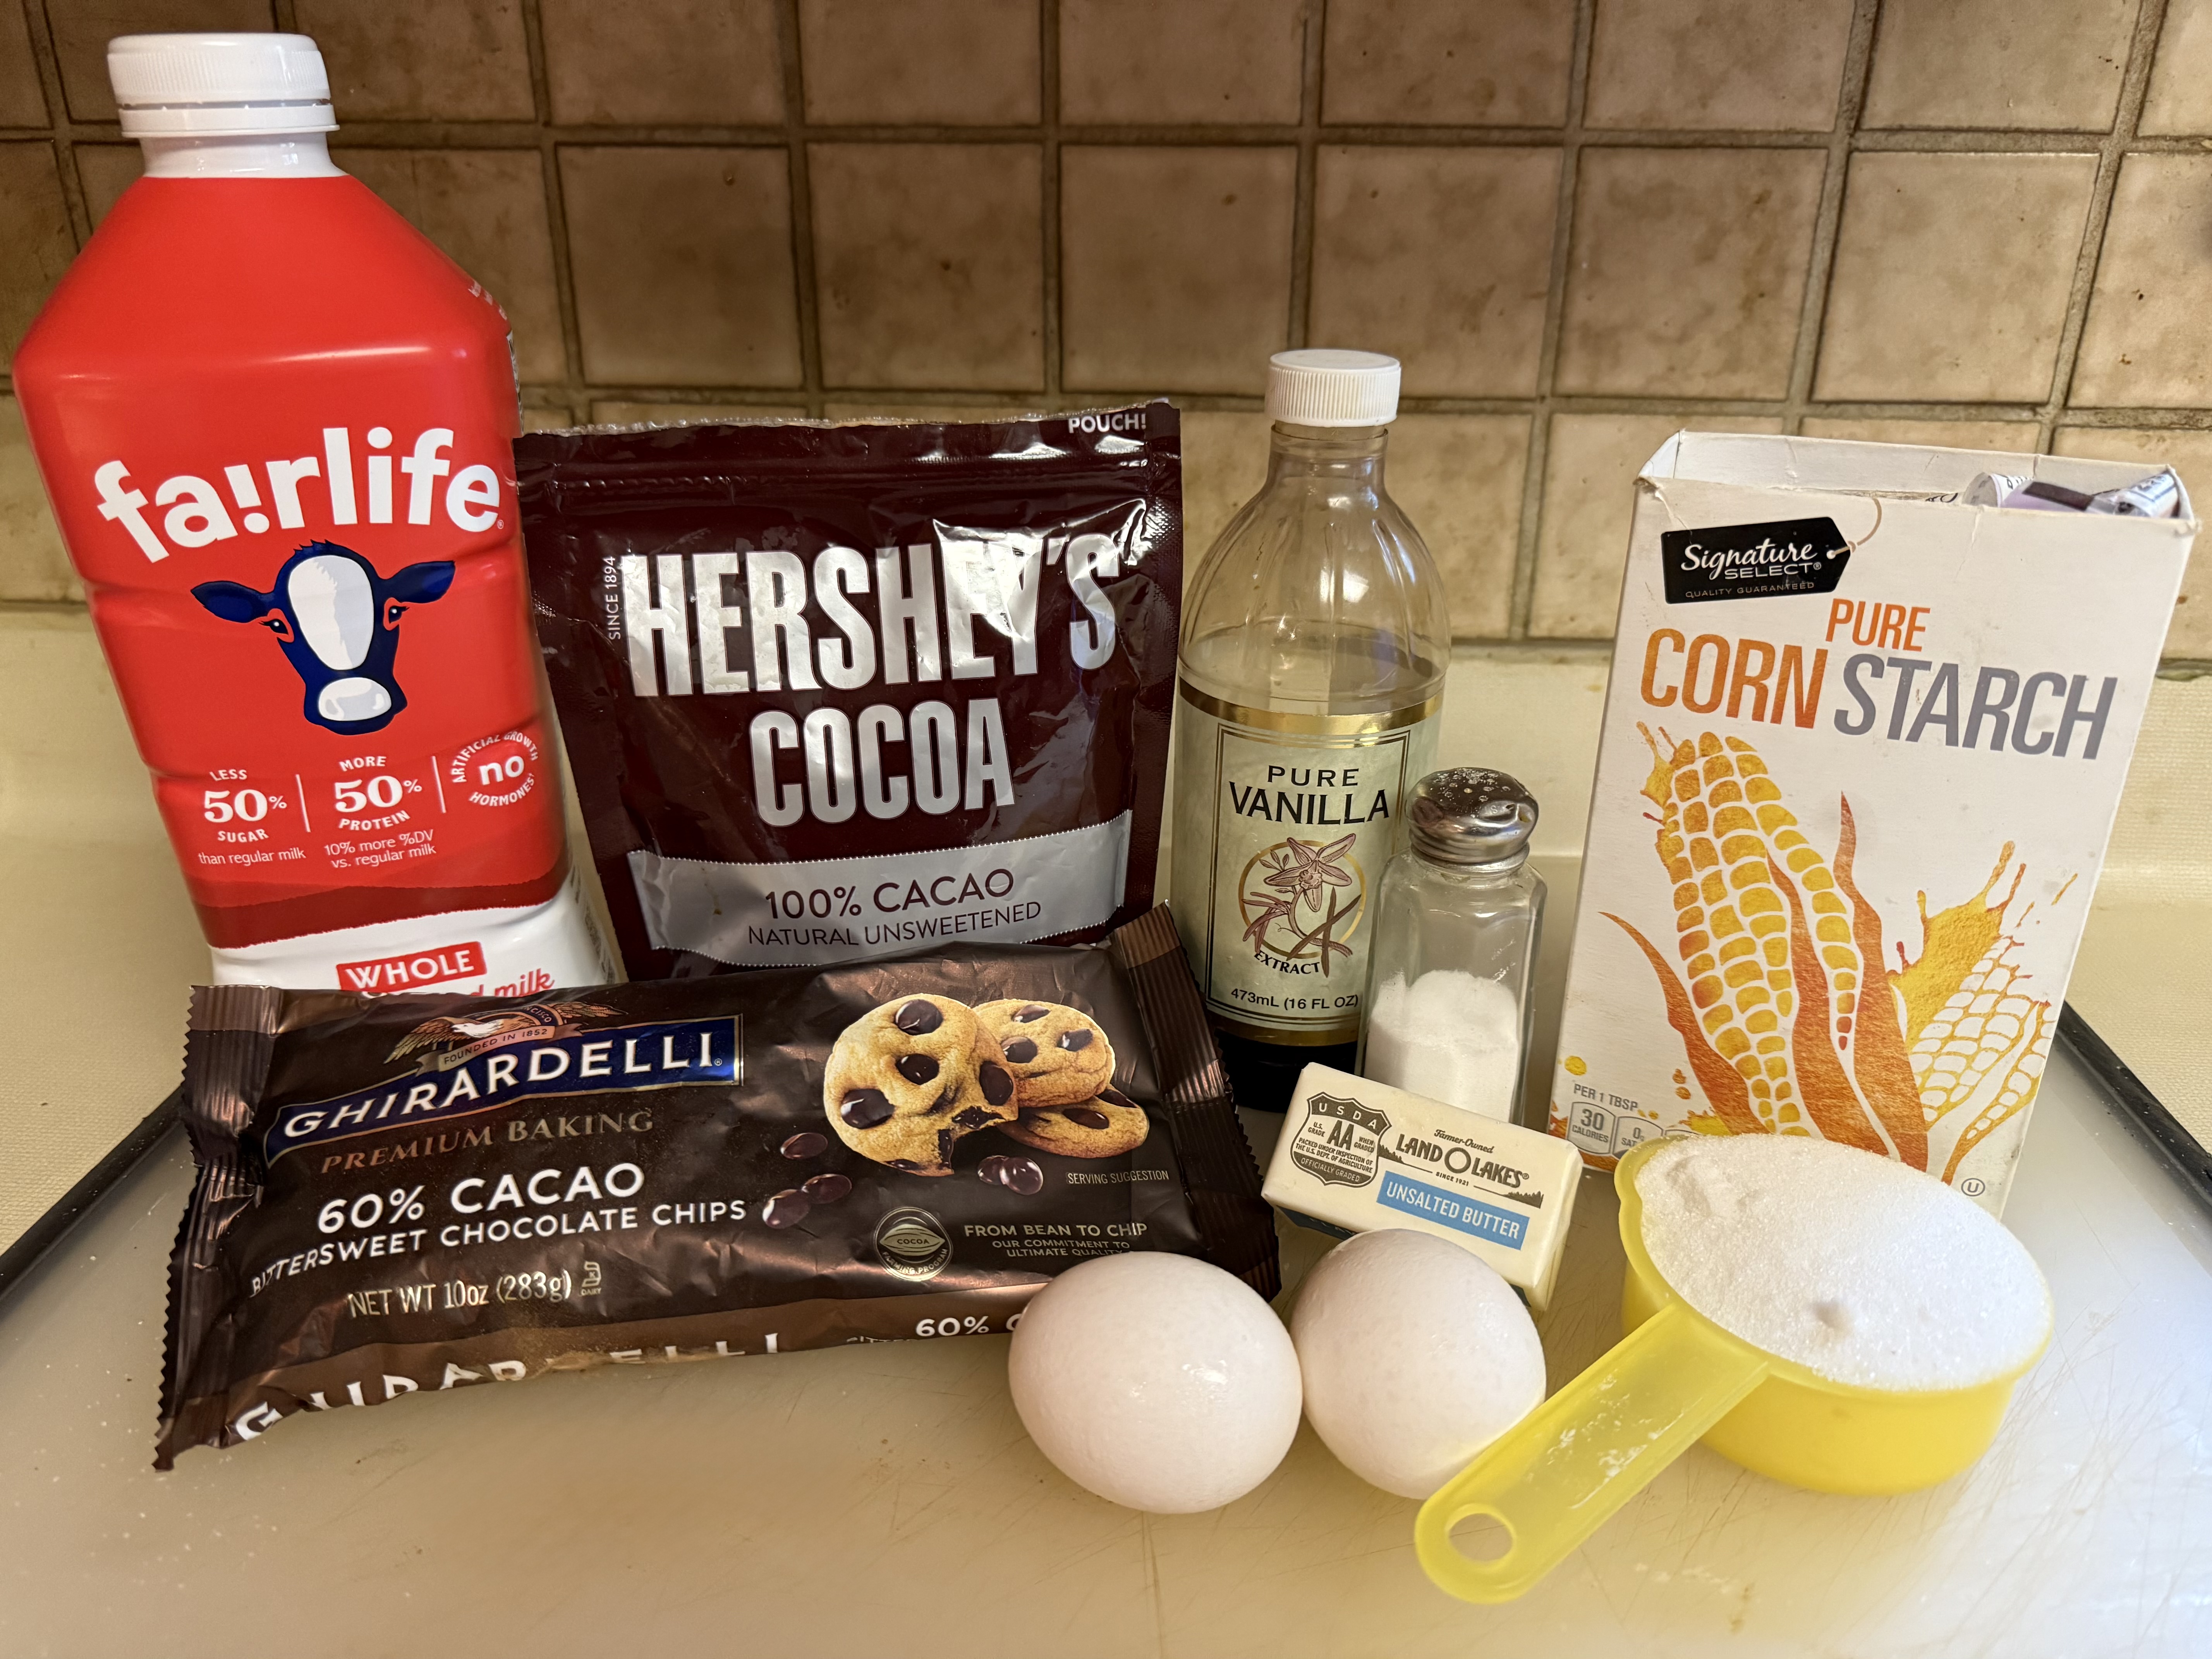
I’m so pleased with my chocolate cream filling. I scoured the internet for chocolate pie fillings and found several variations. I used a combination of recipes. My filling is actually very simple. It is a cooked pudding-type filling using cornstarch for the thickener. Plus, it includes two egg yolks which adds custard-type stability and richness. This pie filling is not baked in the oven, rather it is cooked on the stove. For the chocolate, I used a combination of baking cocoa powder and Ghirardelli Bittersweet Chocolate Chips. Cocoa powder can have a bitter aftertaste. Adding bittersweet chocolate chips for some of the cocoa flavor seemed to eliminate any bitterness.
Here are the ingredients for my chocolate filling.
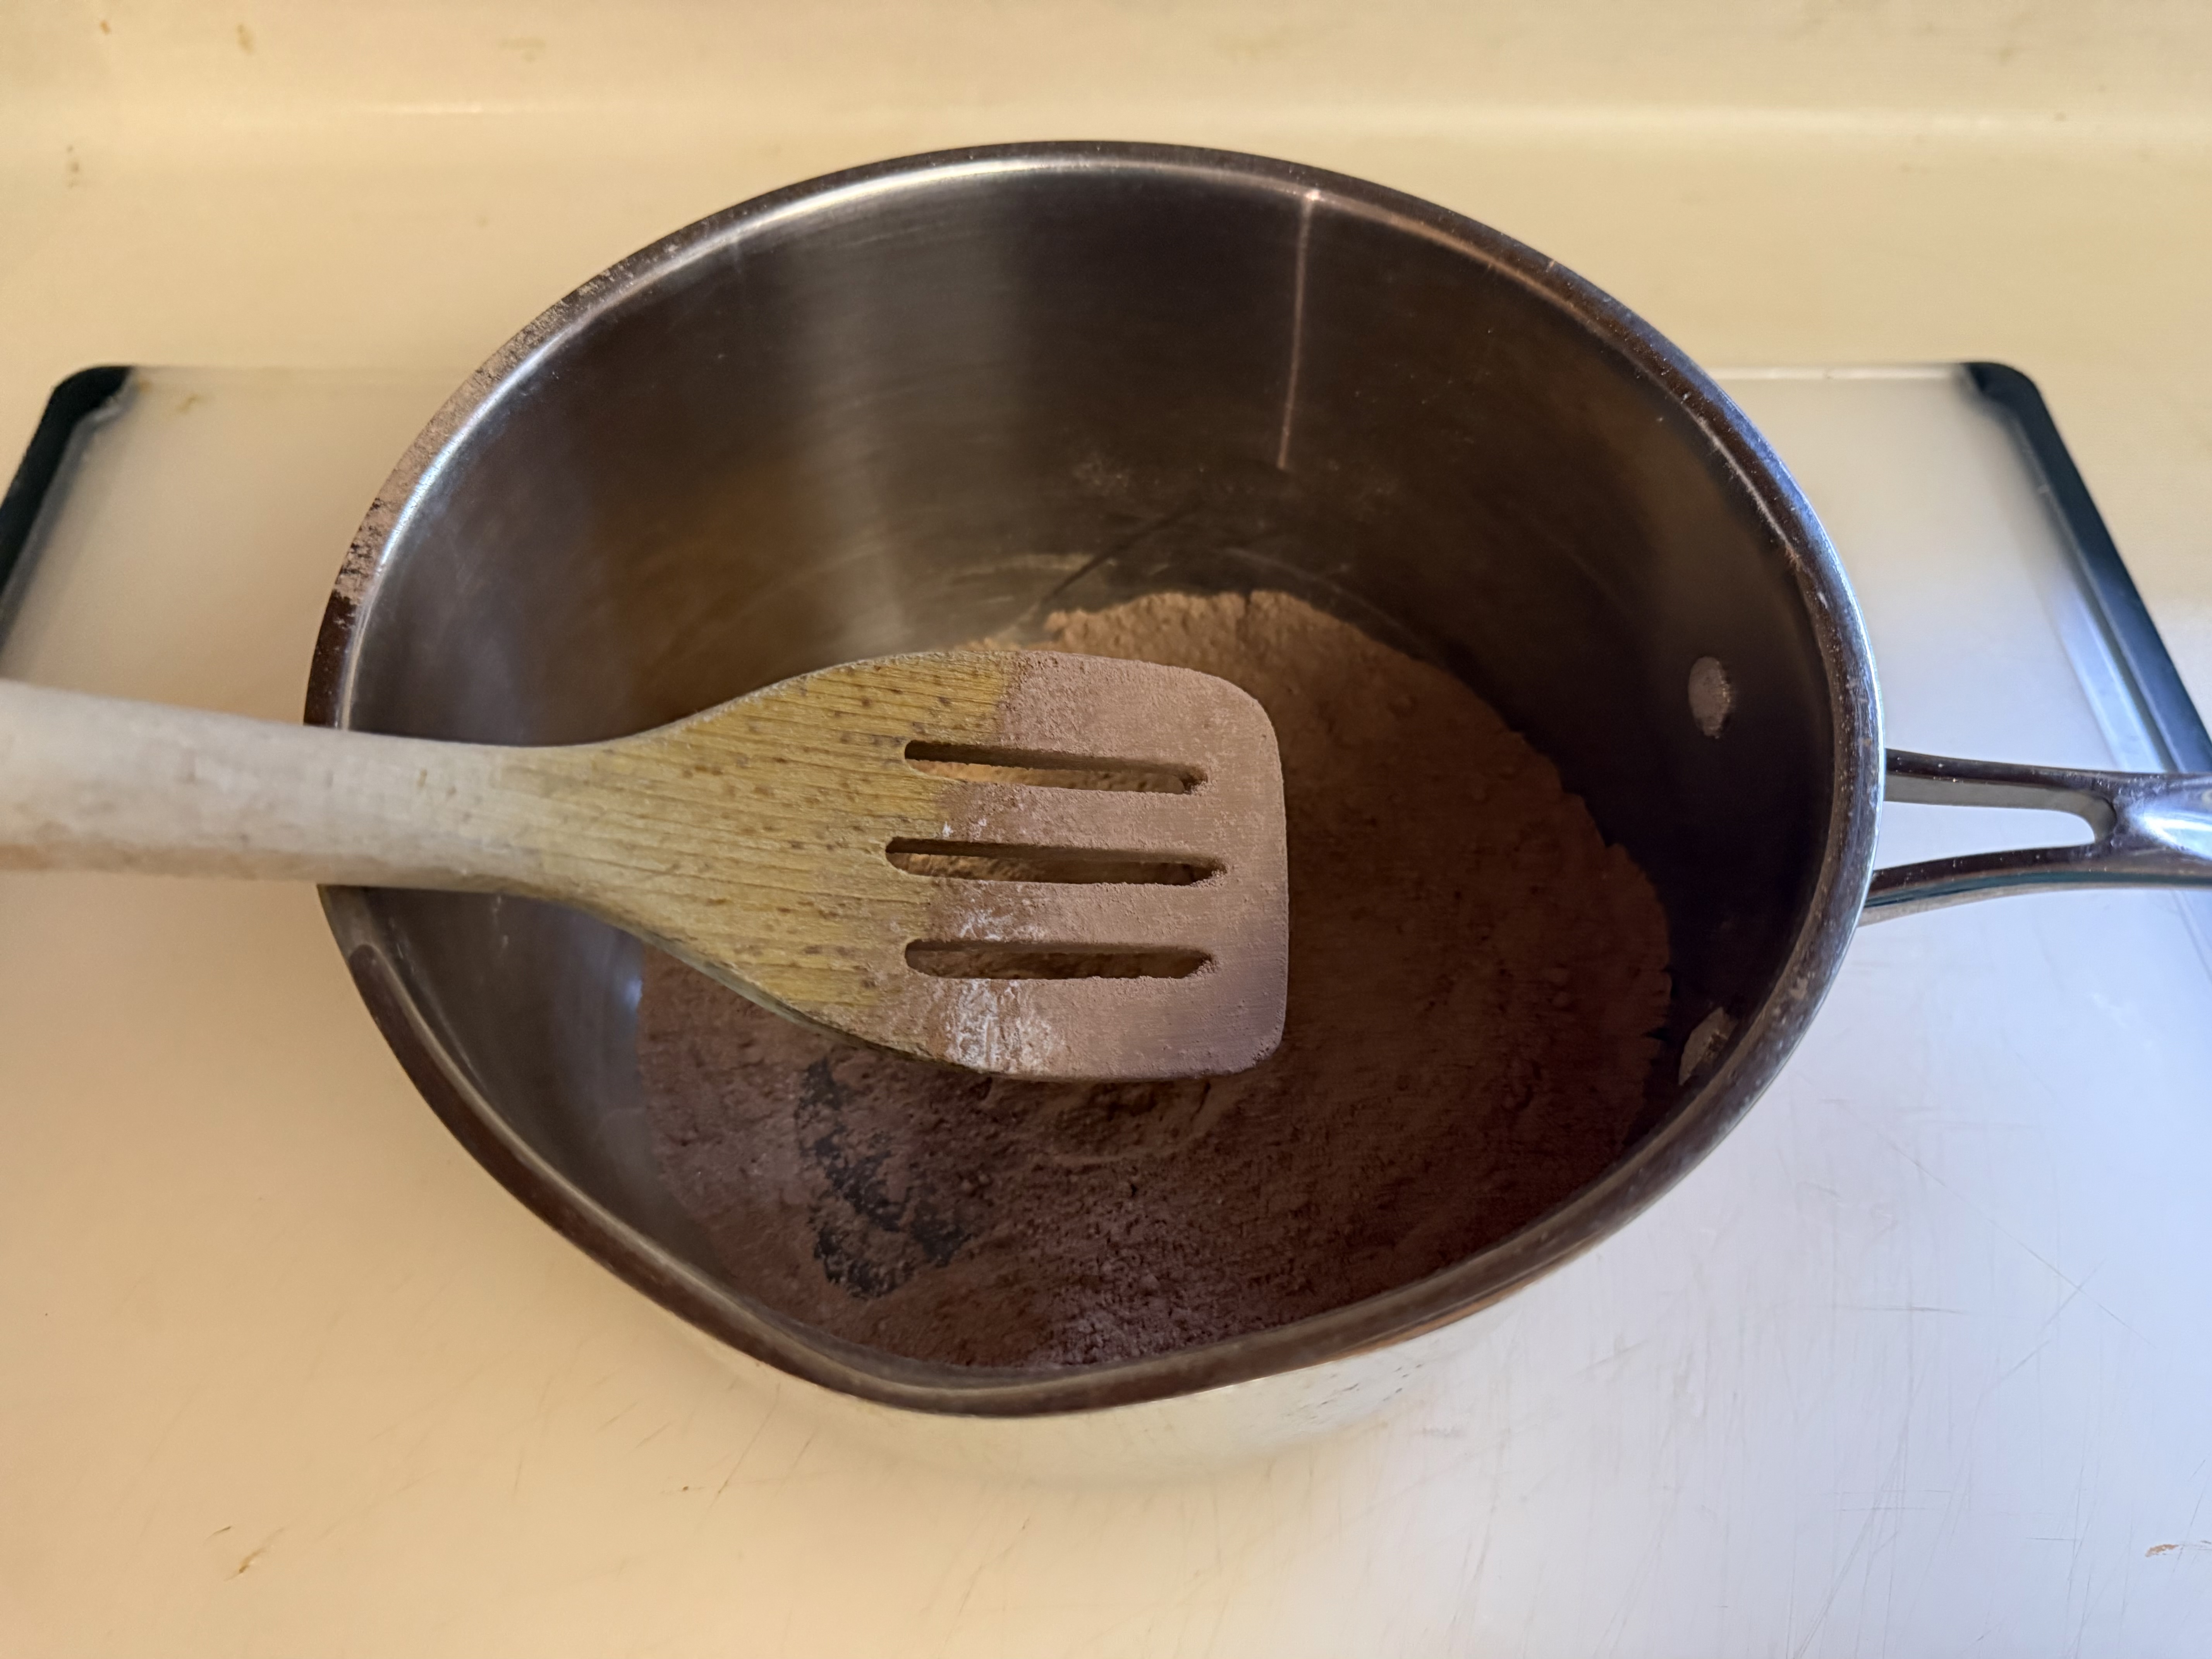
To make the chocolate filling, add the dry ingredients — sugar, cocoa powder, cornstarch and salt to a heavy saucepan. Stir well to combine. I like to use a wooden spoon with a flat bottom. It is easy to scrape and stir the pudding ingredients off the bottom and sides of the pan.
Add the milk and beaten egg yolks (save the egg whites for another recipe).
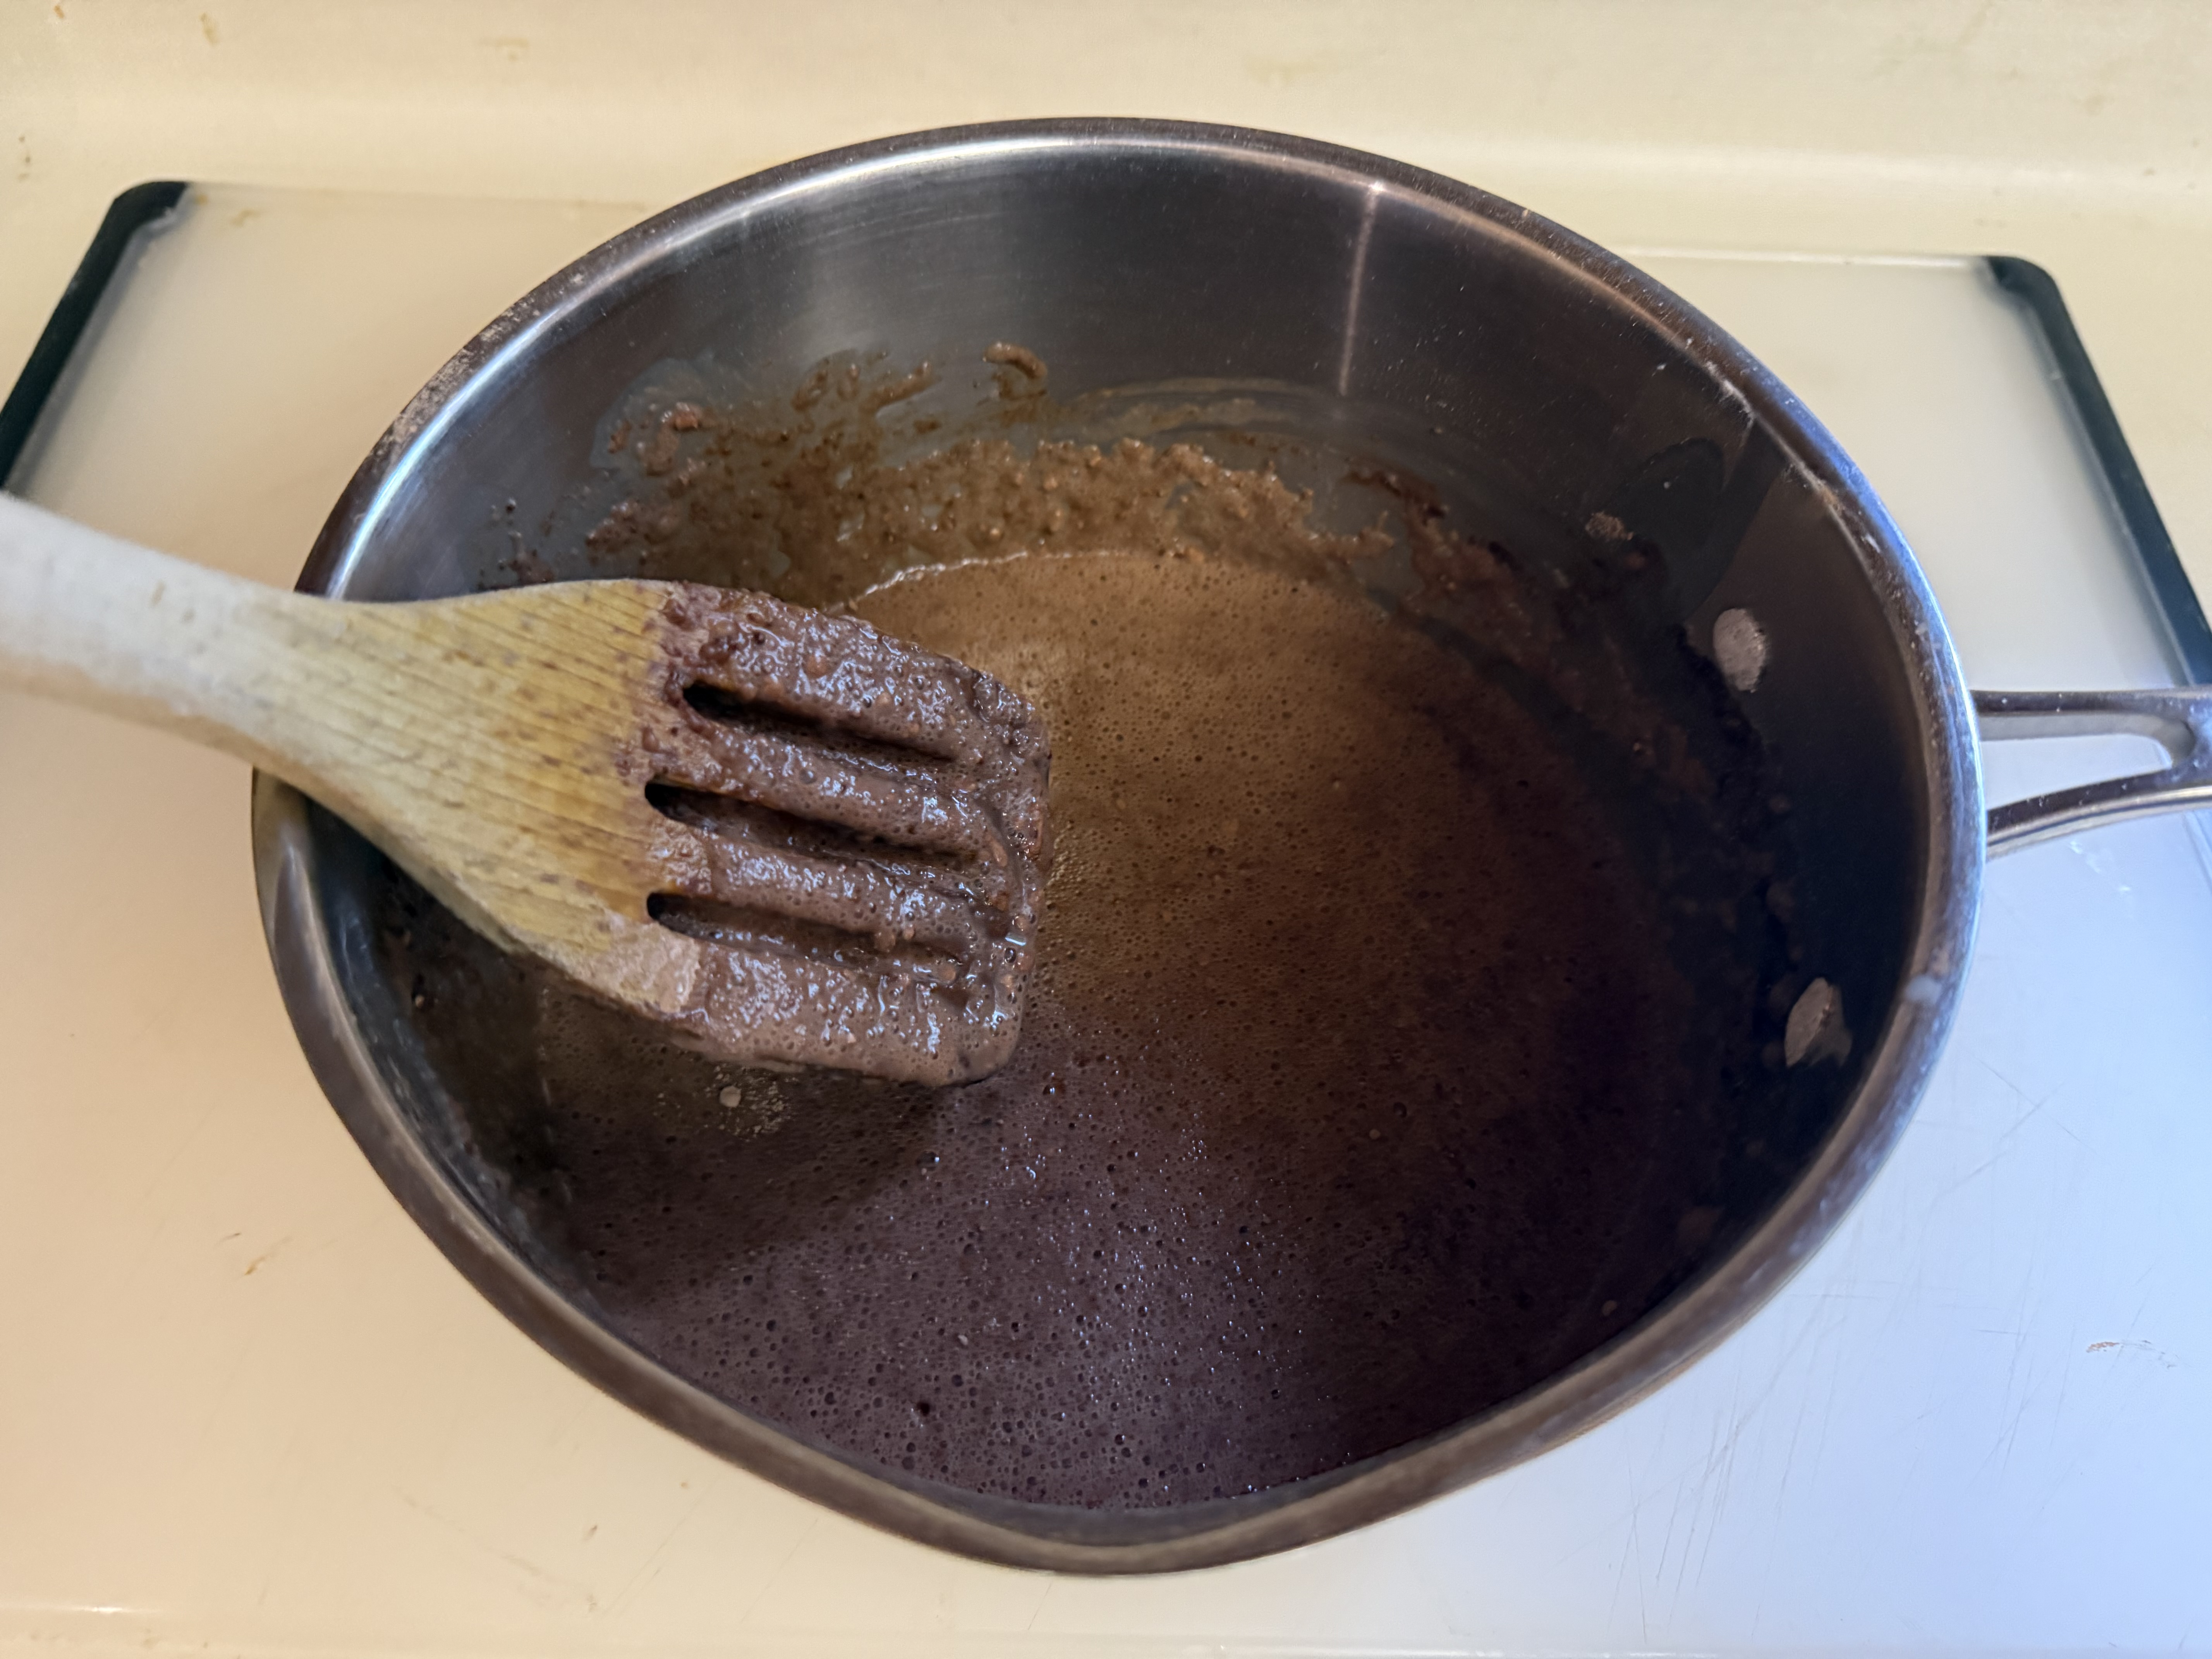
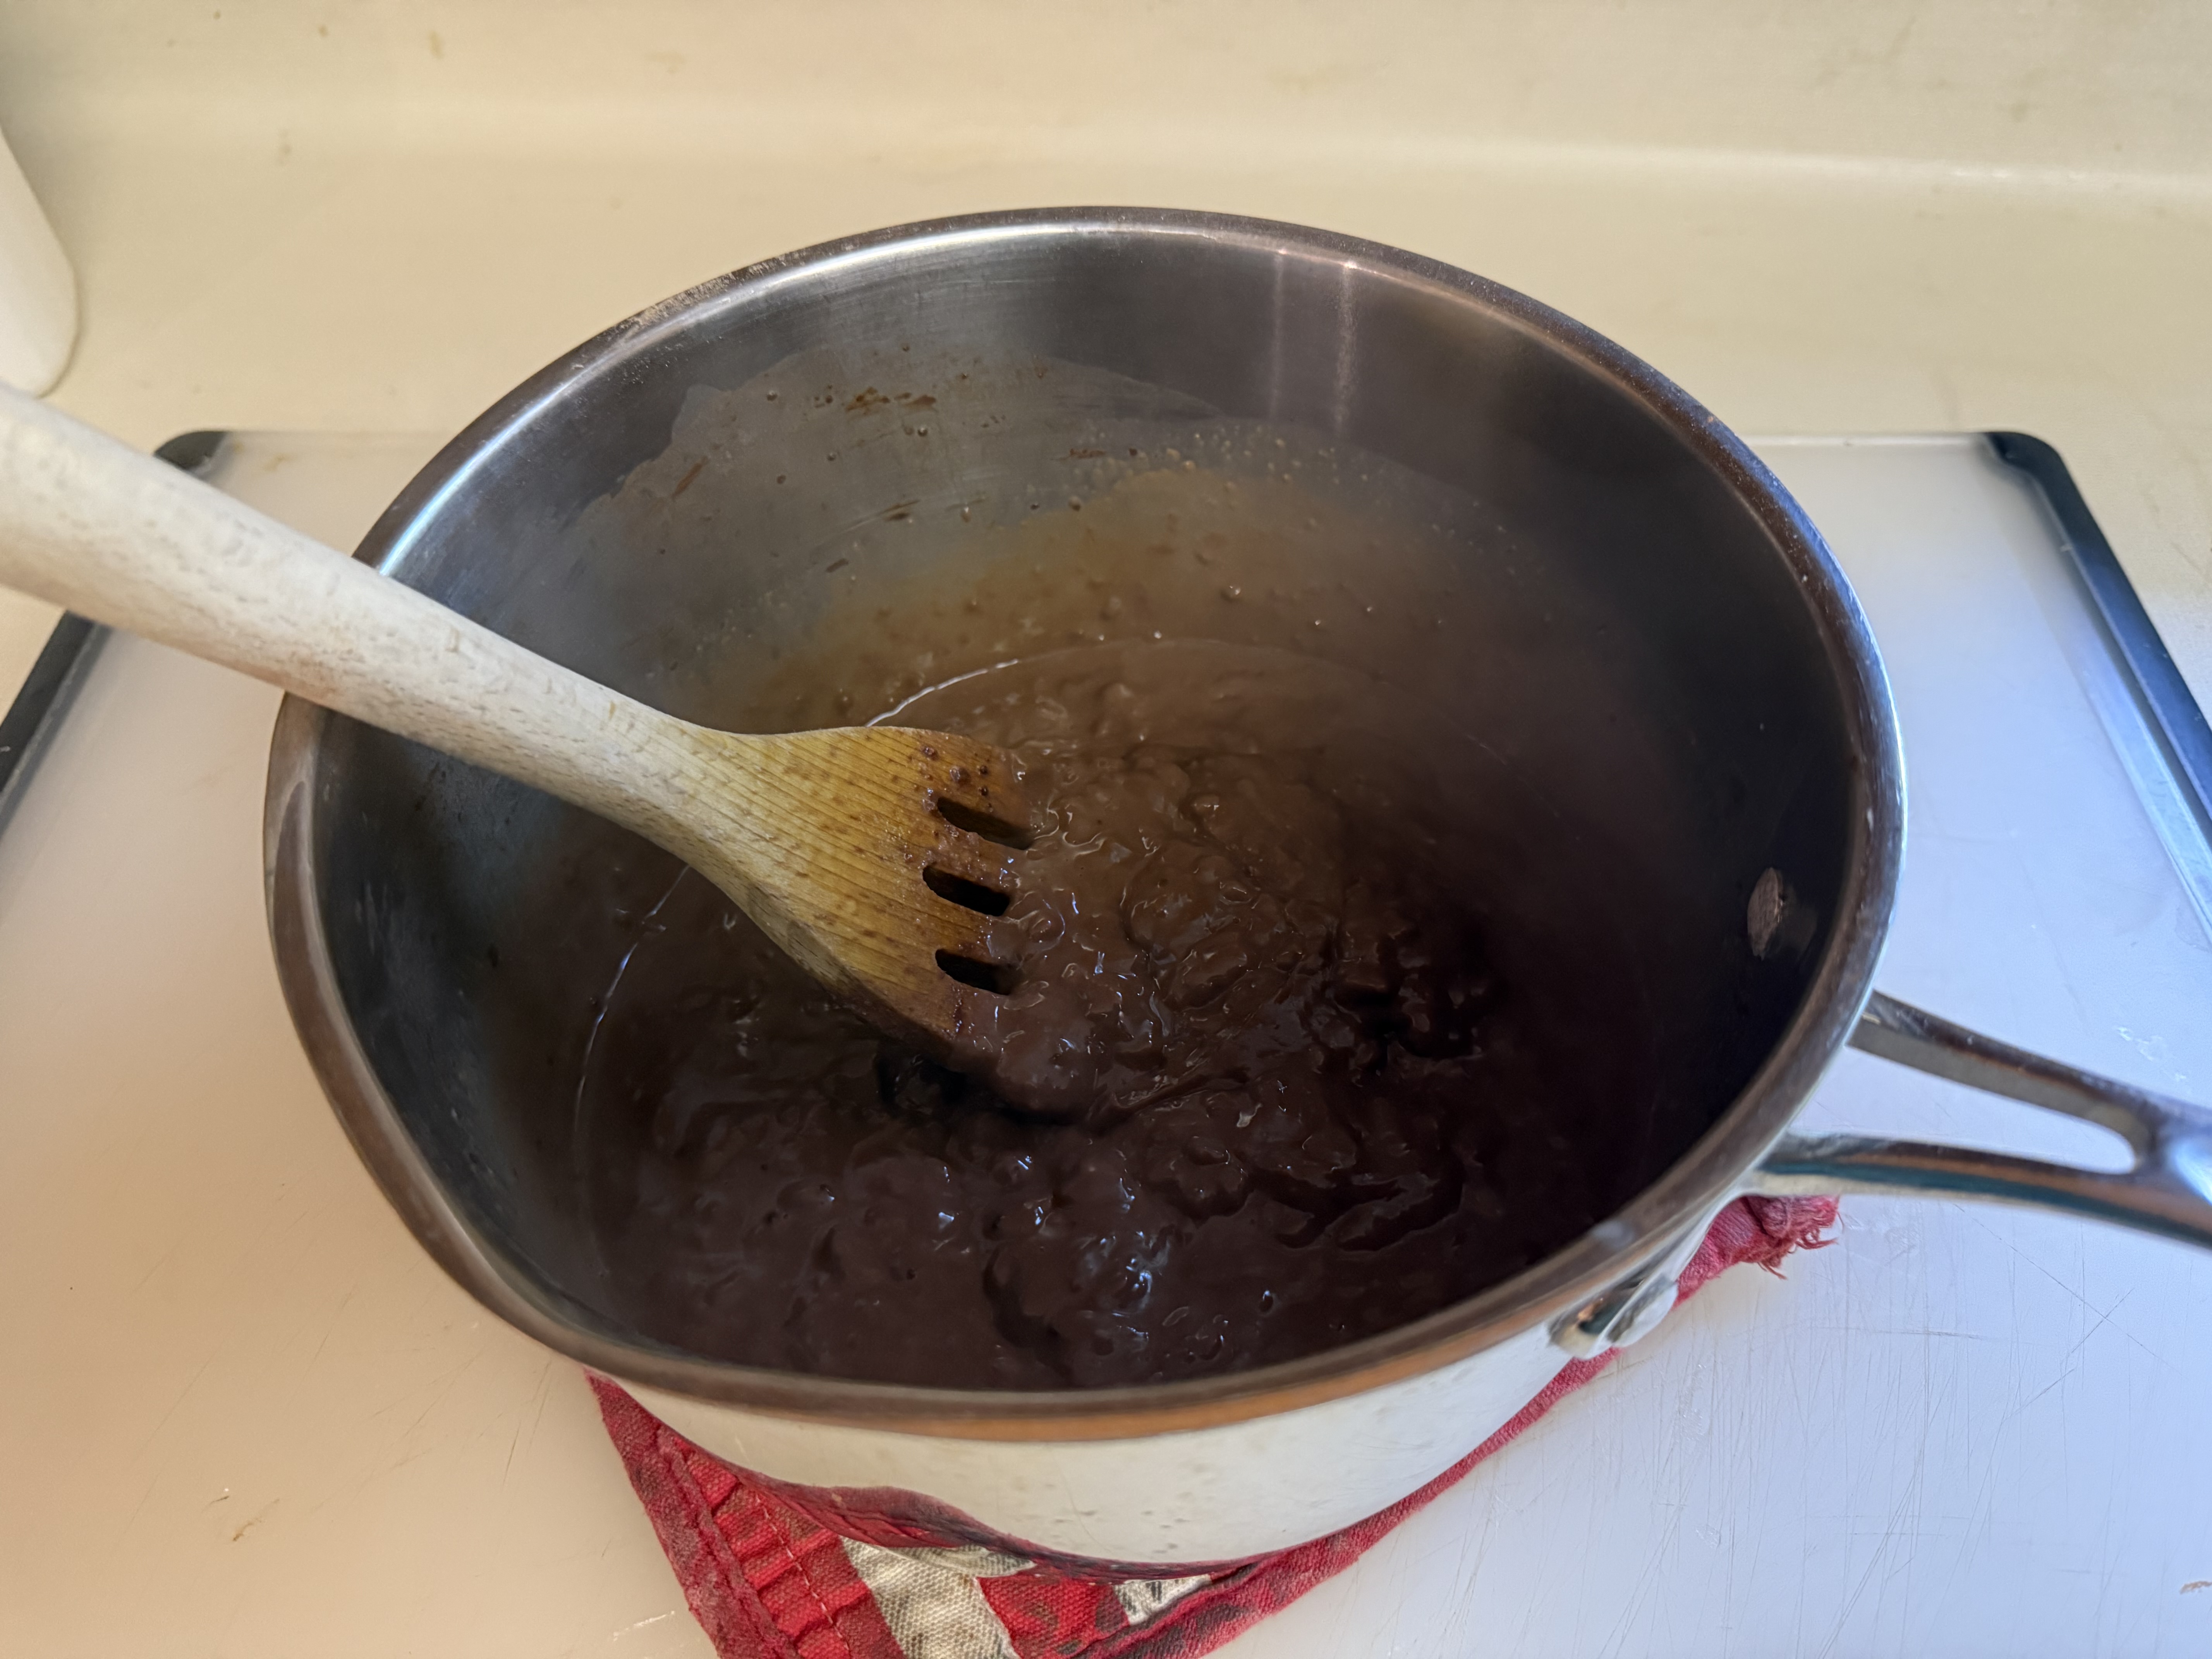
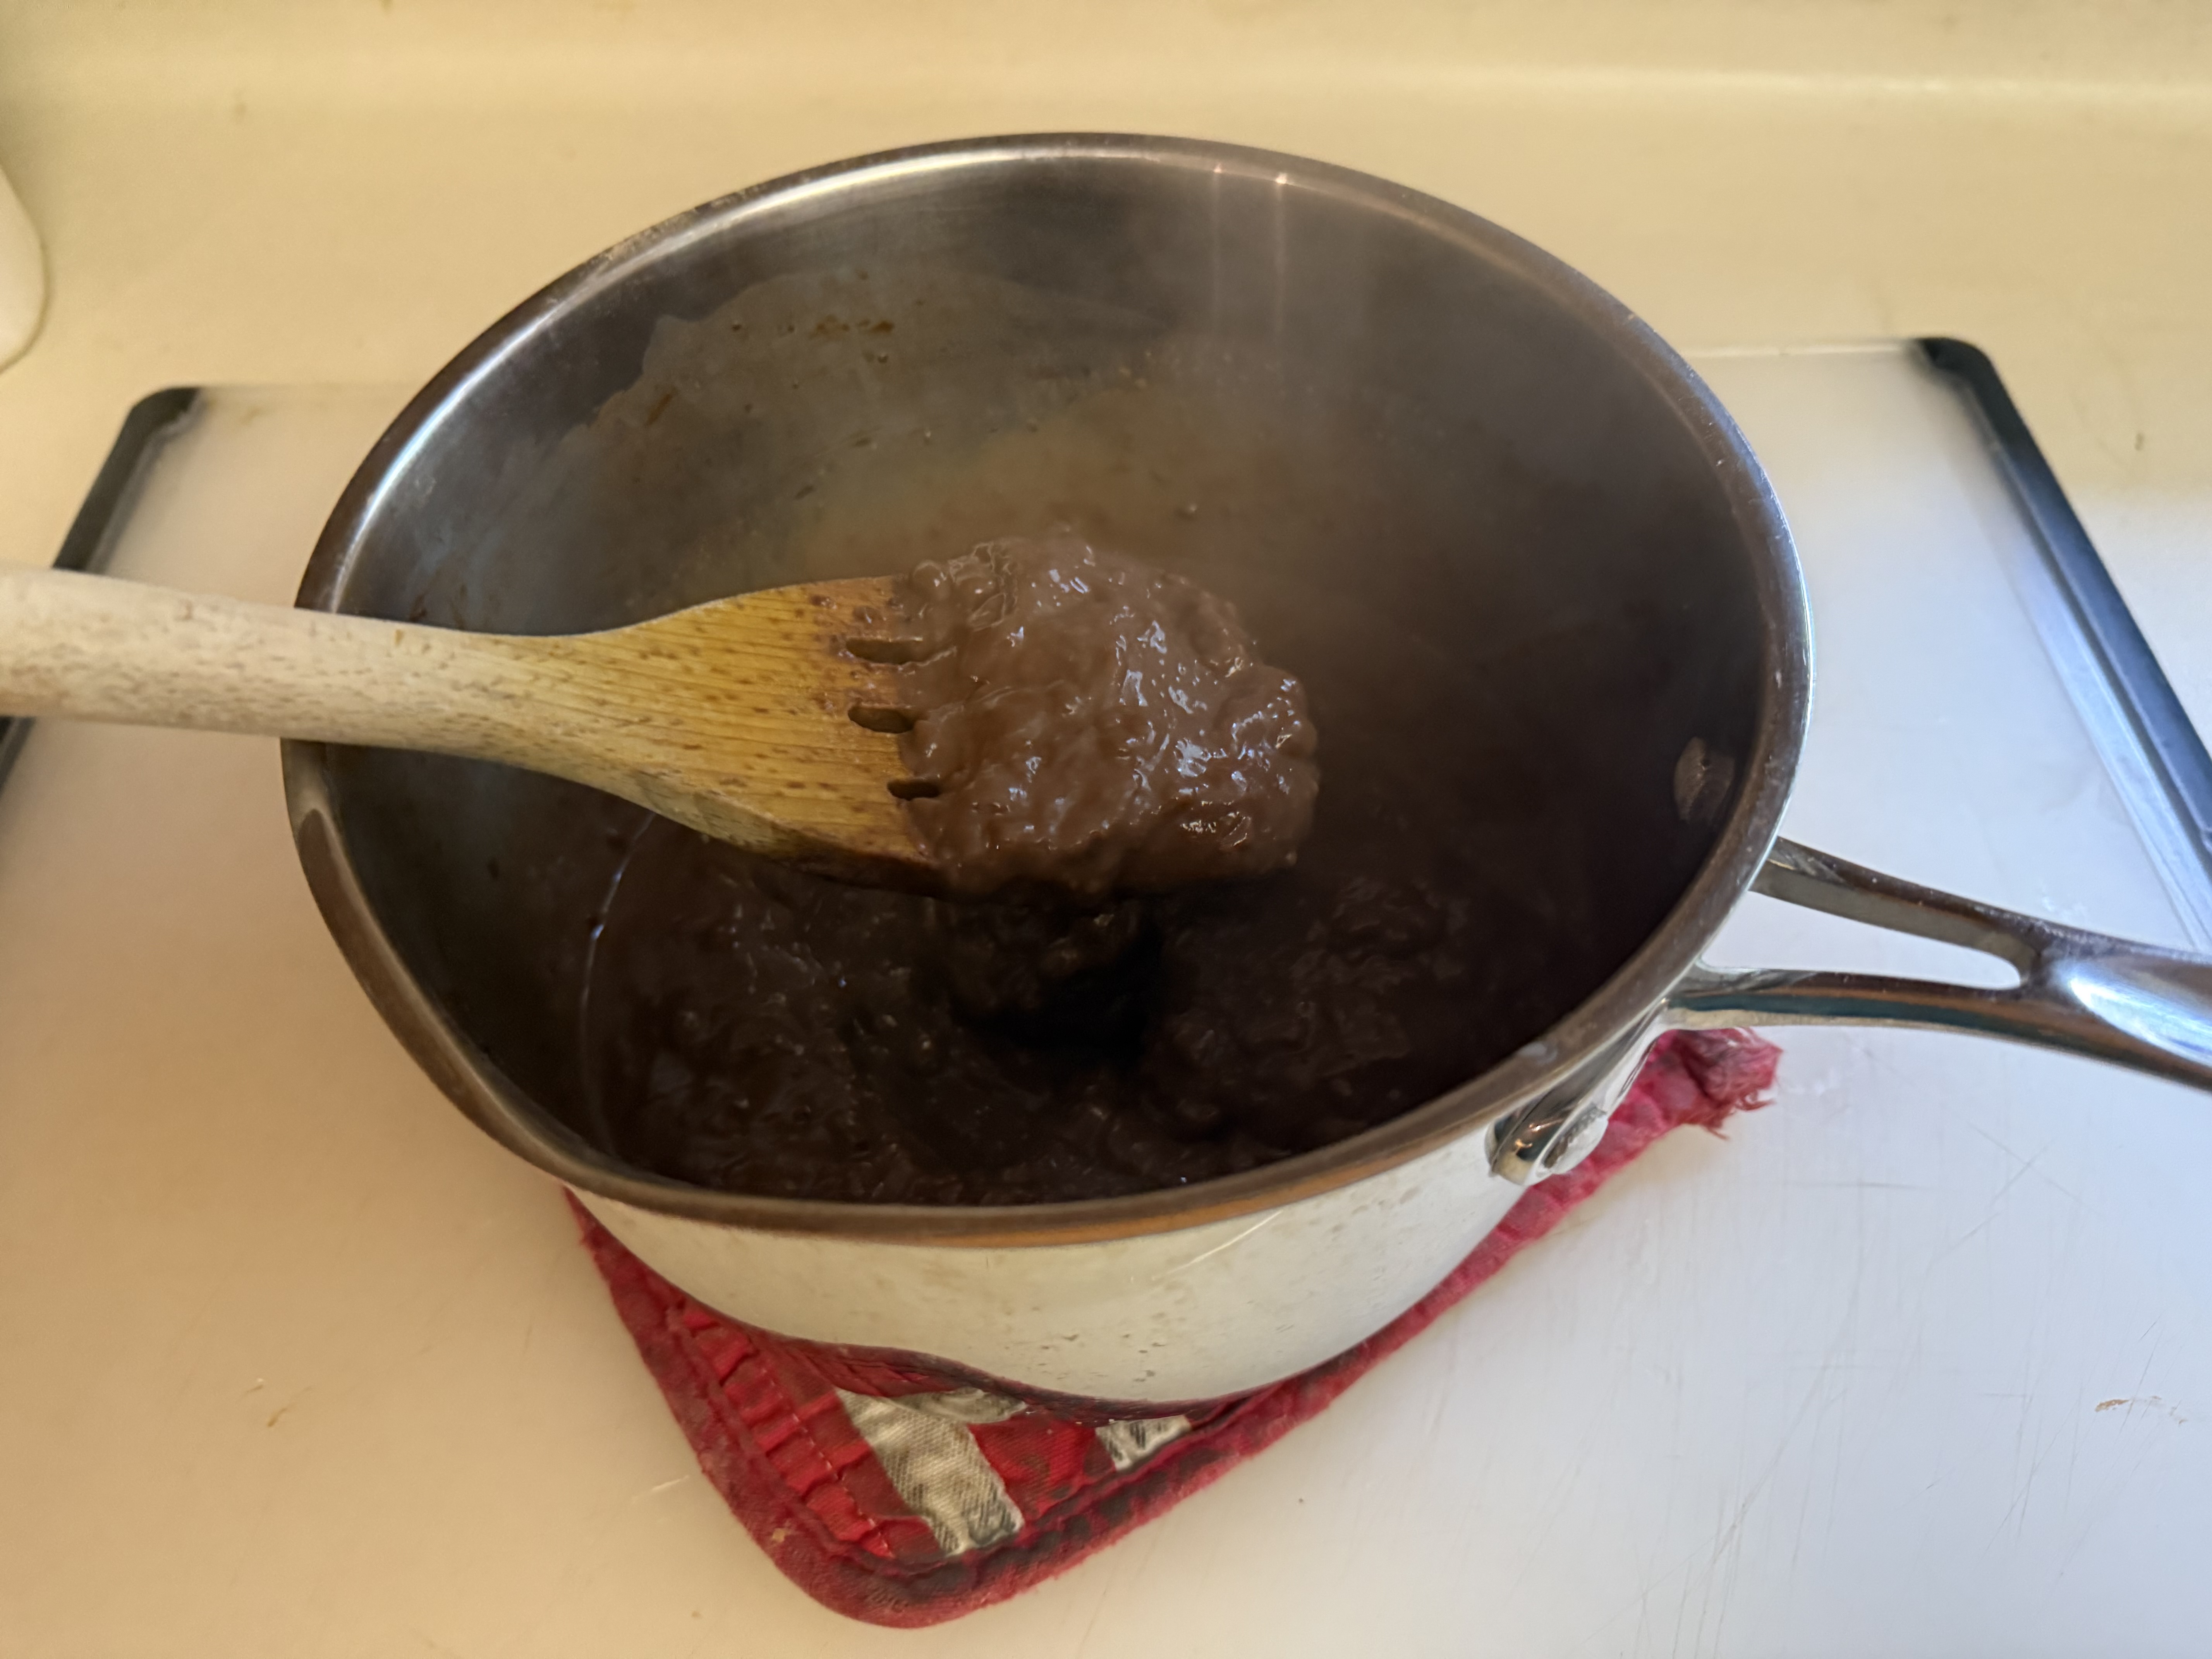
Put on the stove over medium heat — not high heat, please — and stir constantly and cook slowly for about 5 to 8 minutes. (A double boiler will be useful here.) Slowly is the key here. You don’t want clumps of cornstarch and globs of egg yolk. The mixture will bubble and thicken like pudding. Don’t let it boil voraciously! Remove from the heat!
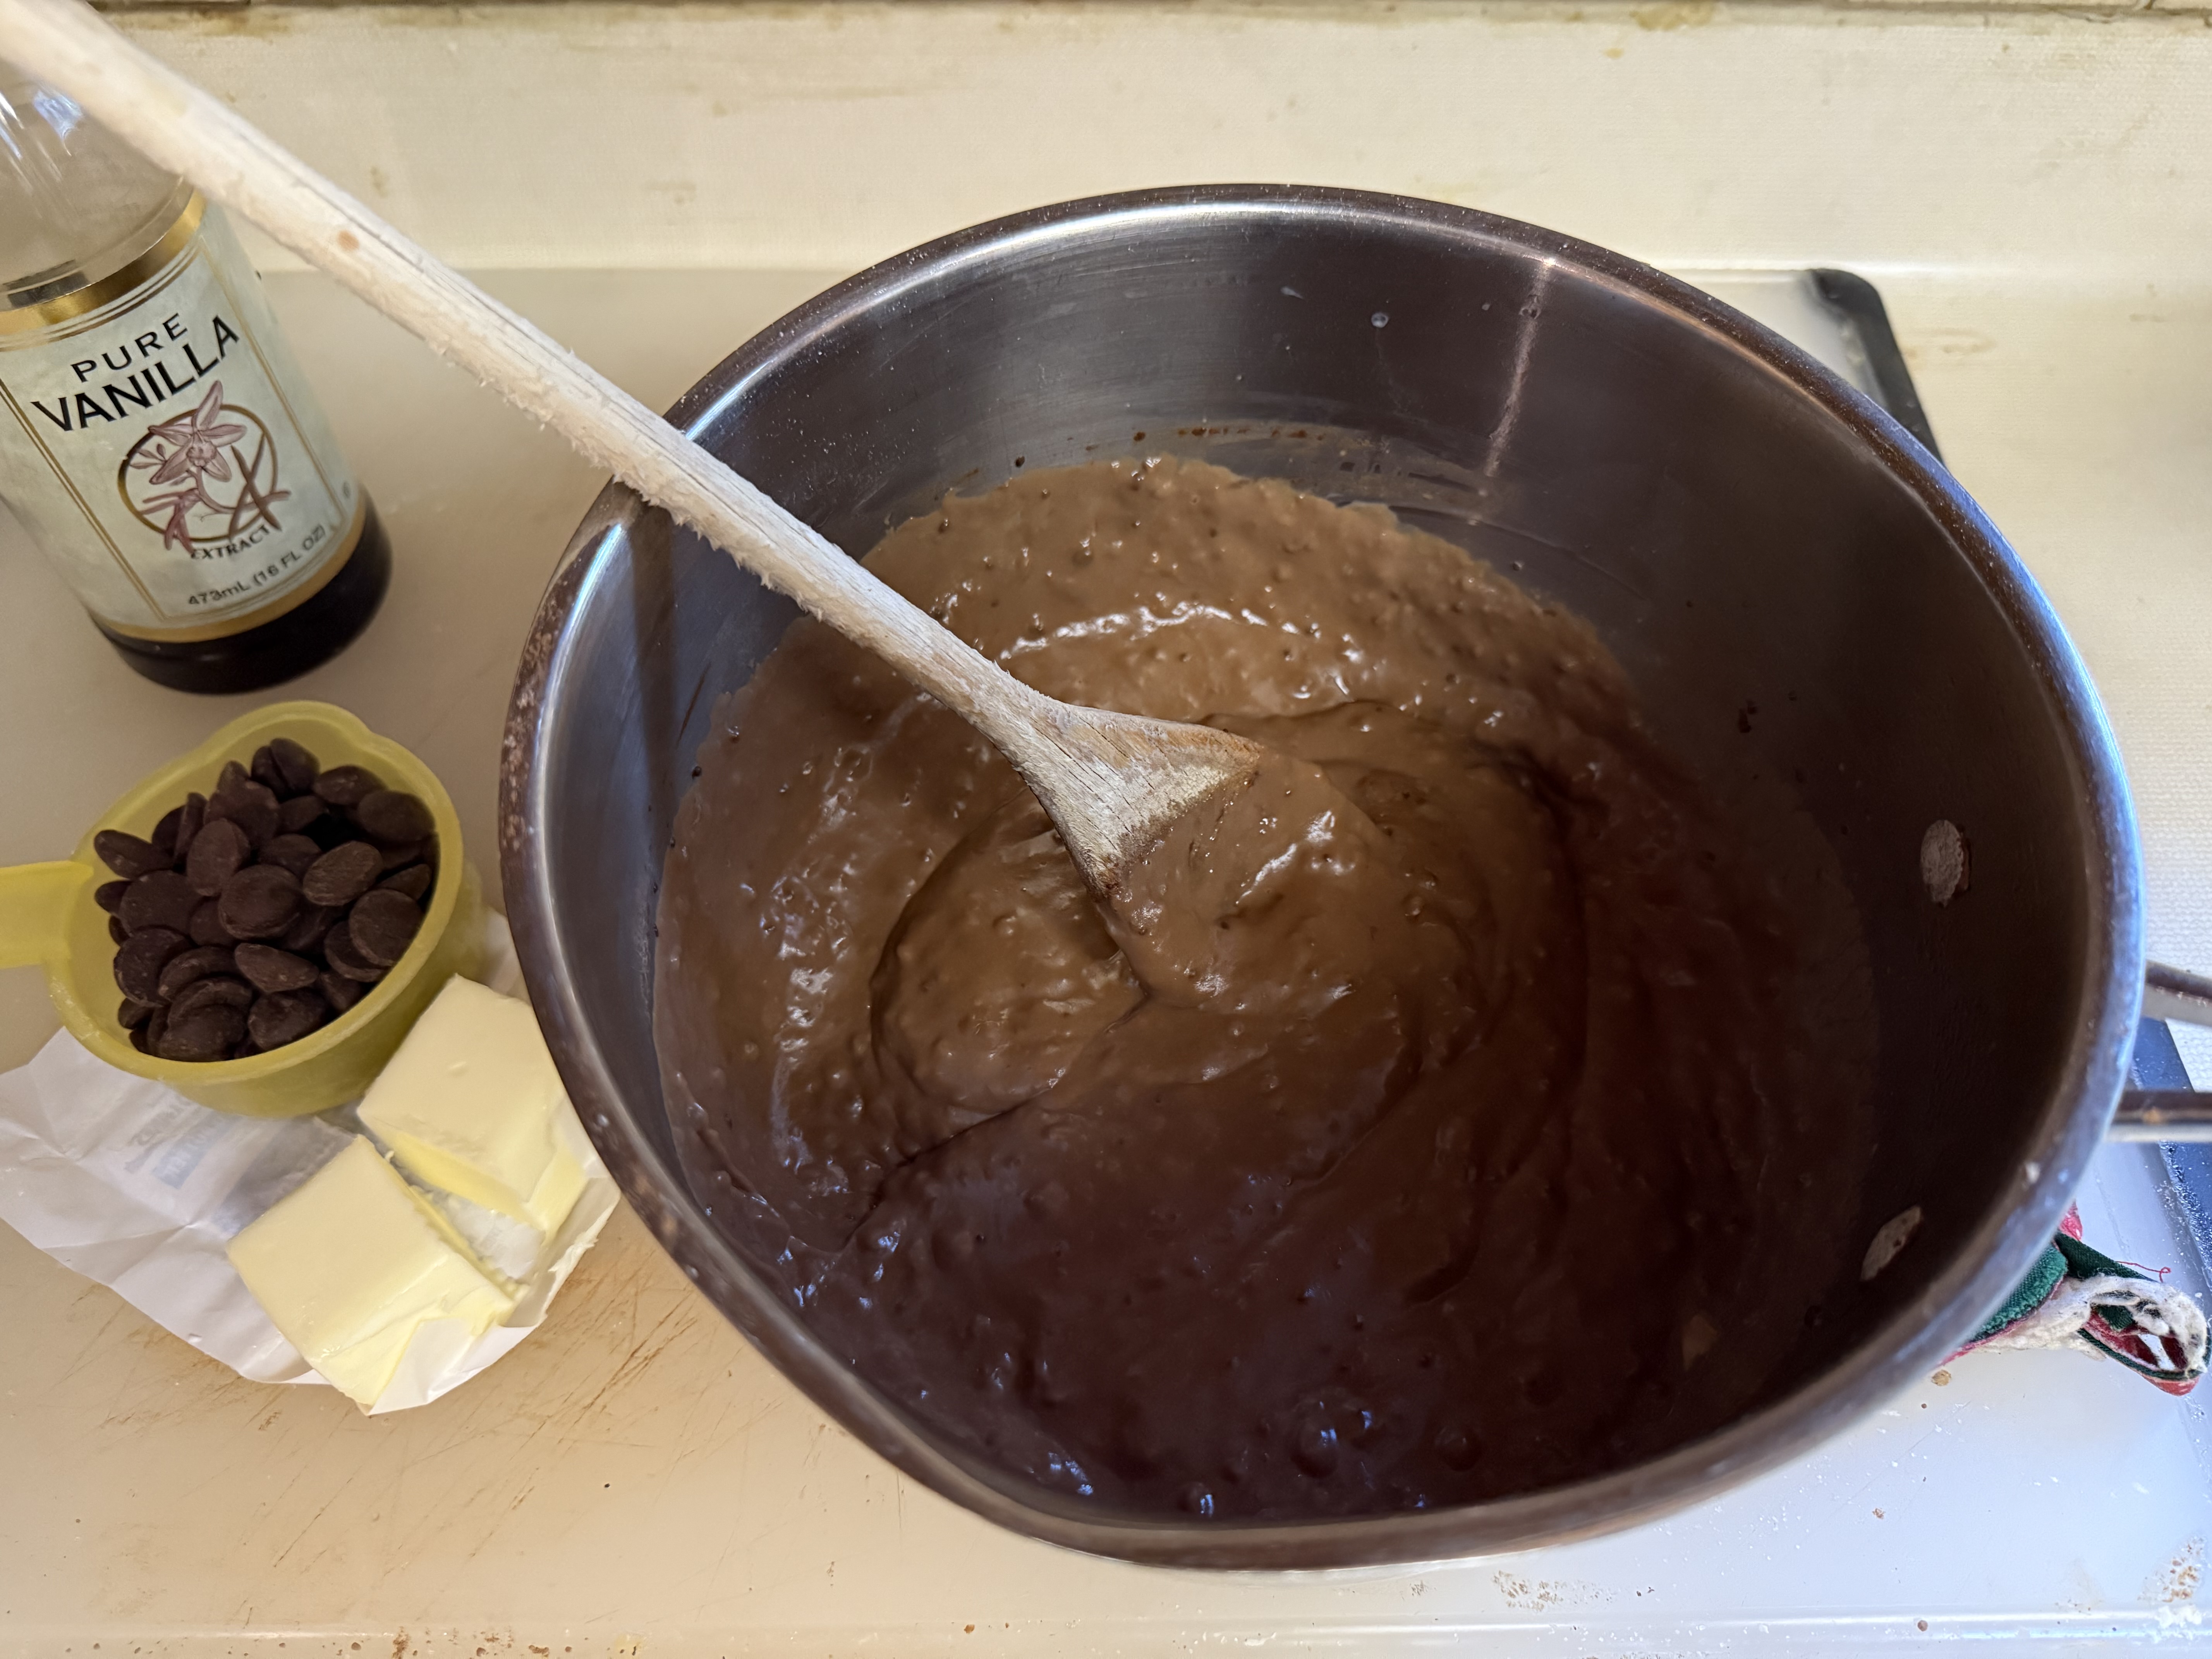
Off the heat, stir in the butter, Ghirardelli Bittersweet Chocolate Chips and vanilla extract. Stir in. These ingredients will melt and mix in.
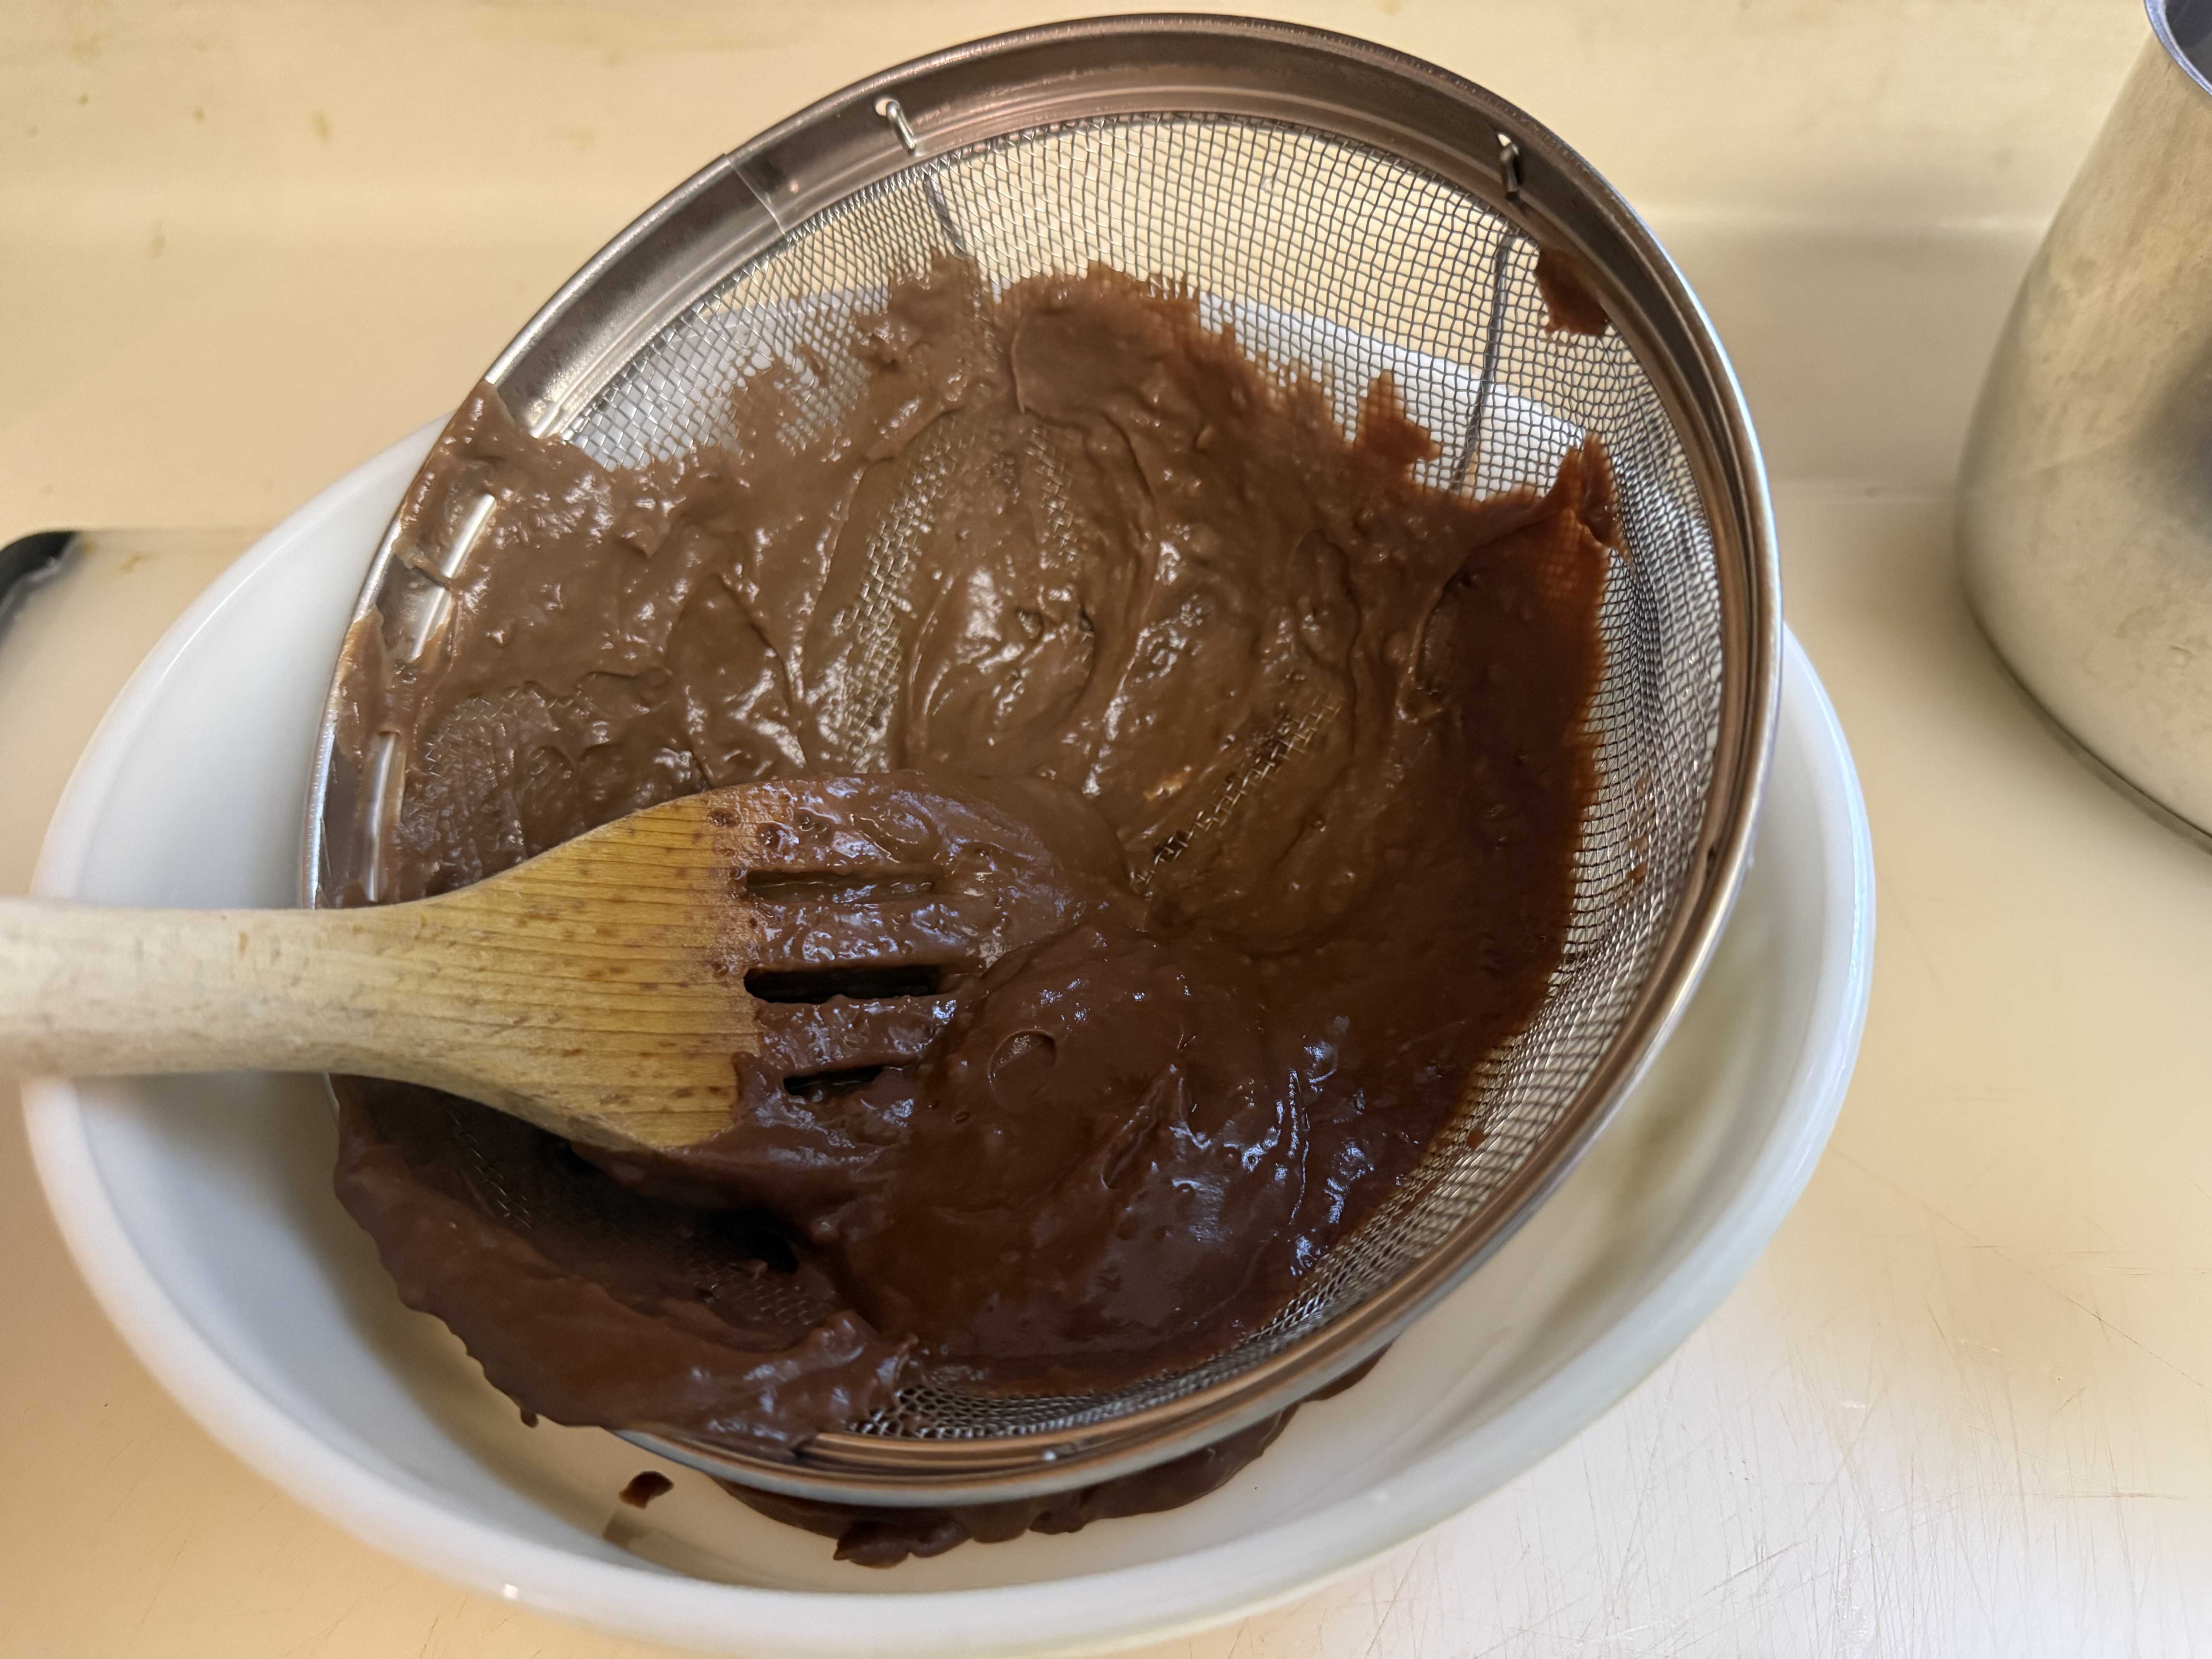
An optional step is to strain the pudding mixture to remove any lumps of pudding. I made several of these pies and decided that it makes a silkier pie — although it does add an extra step.
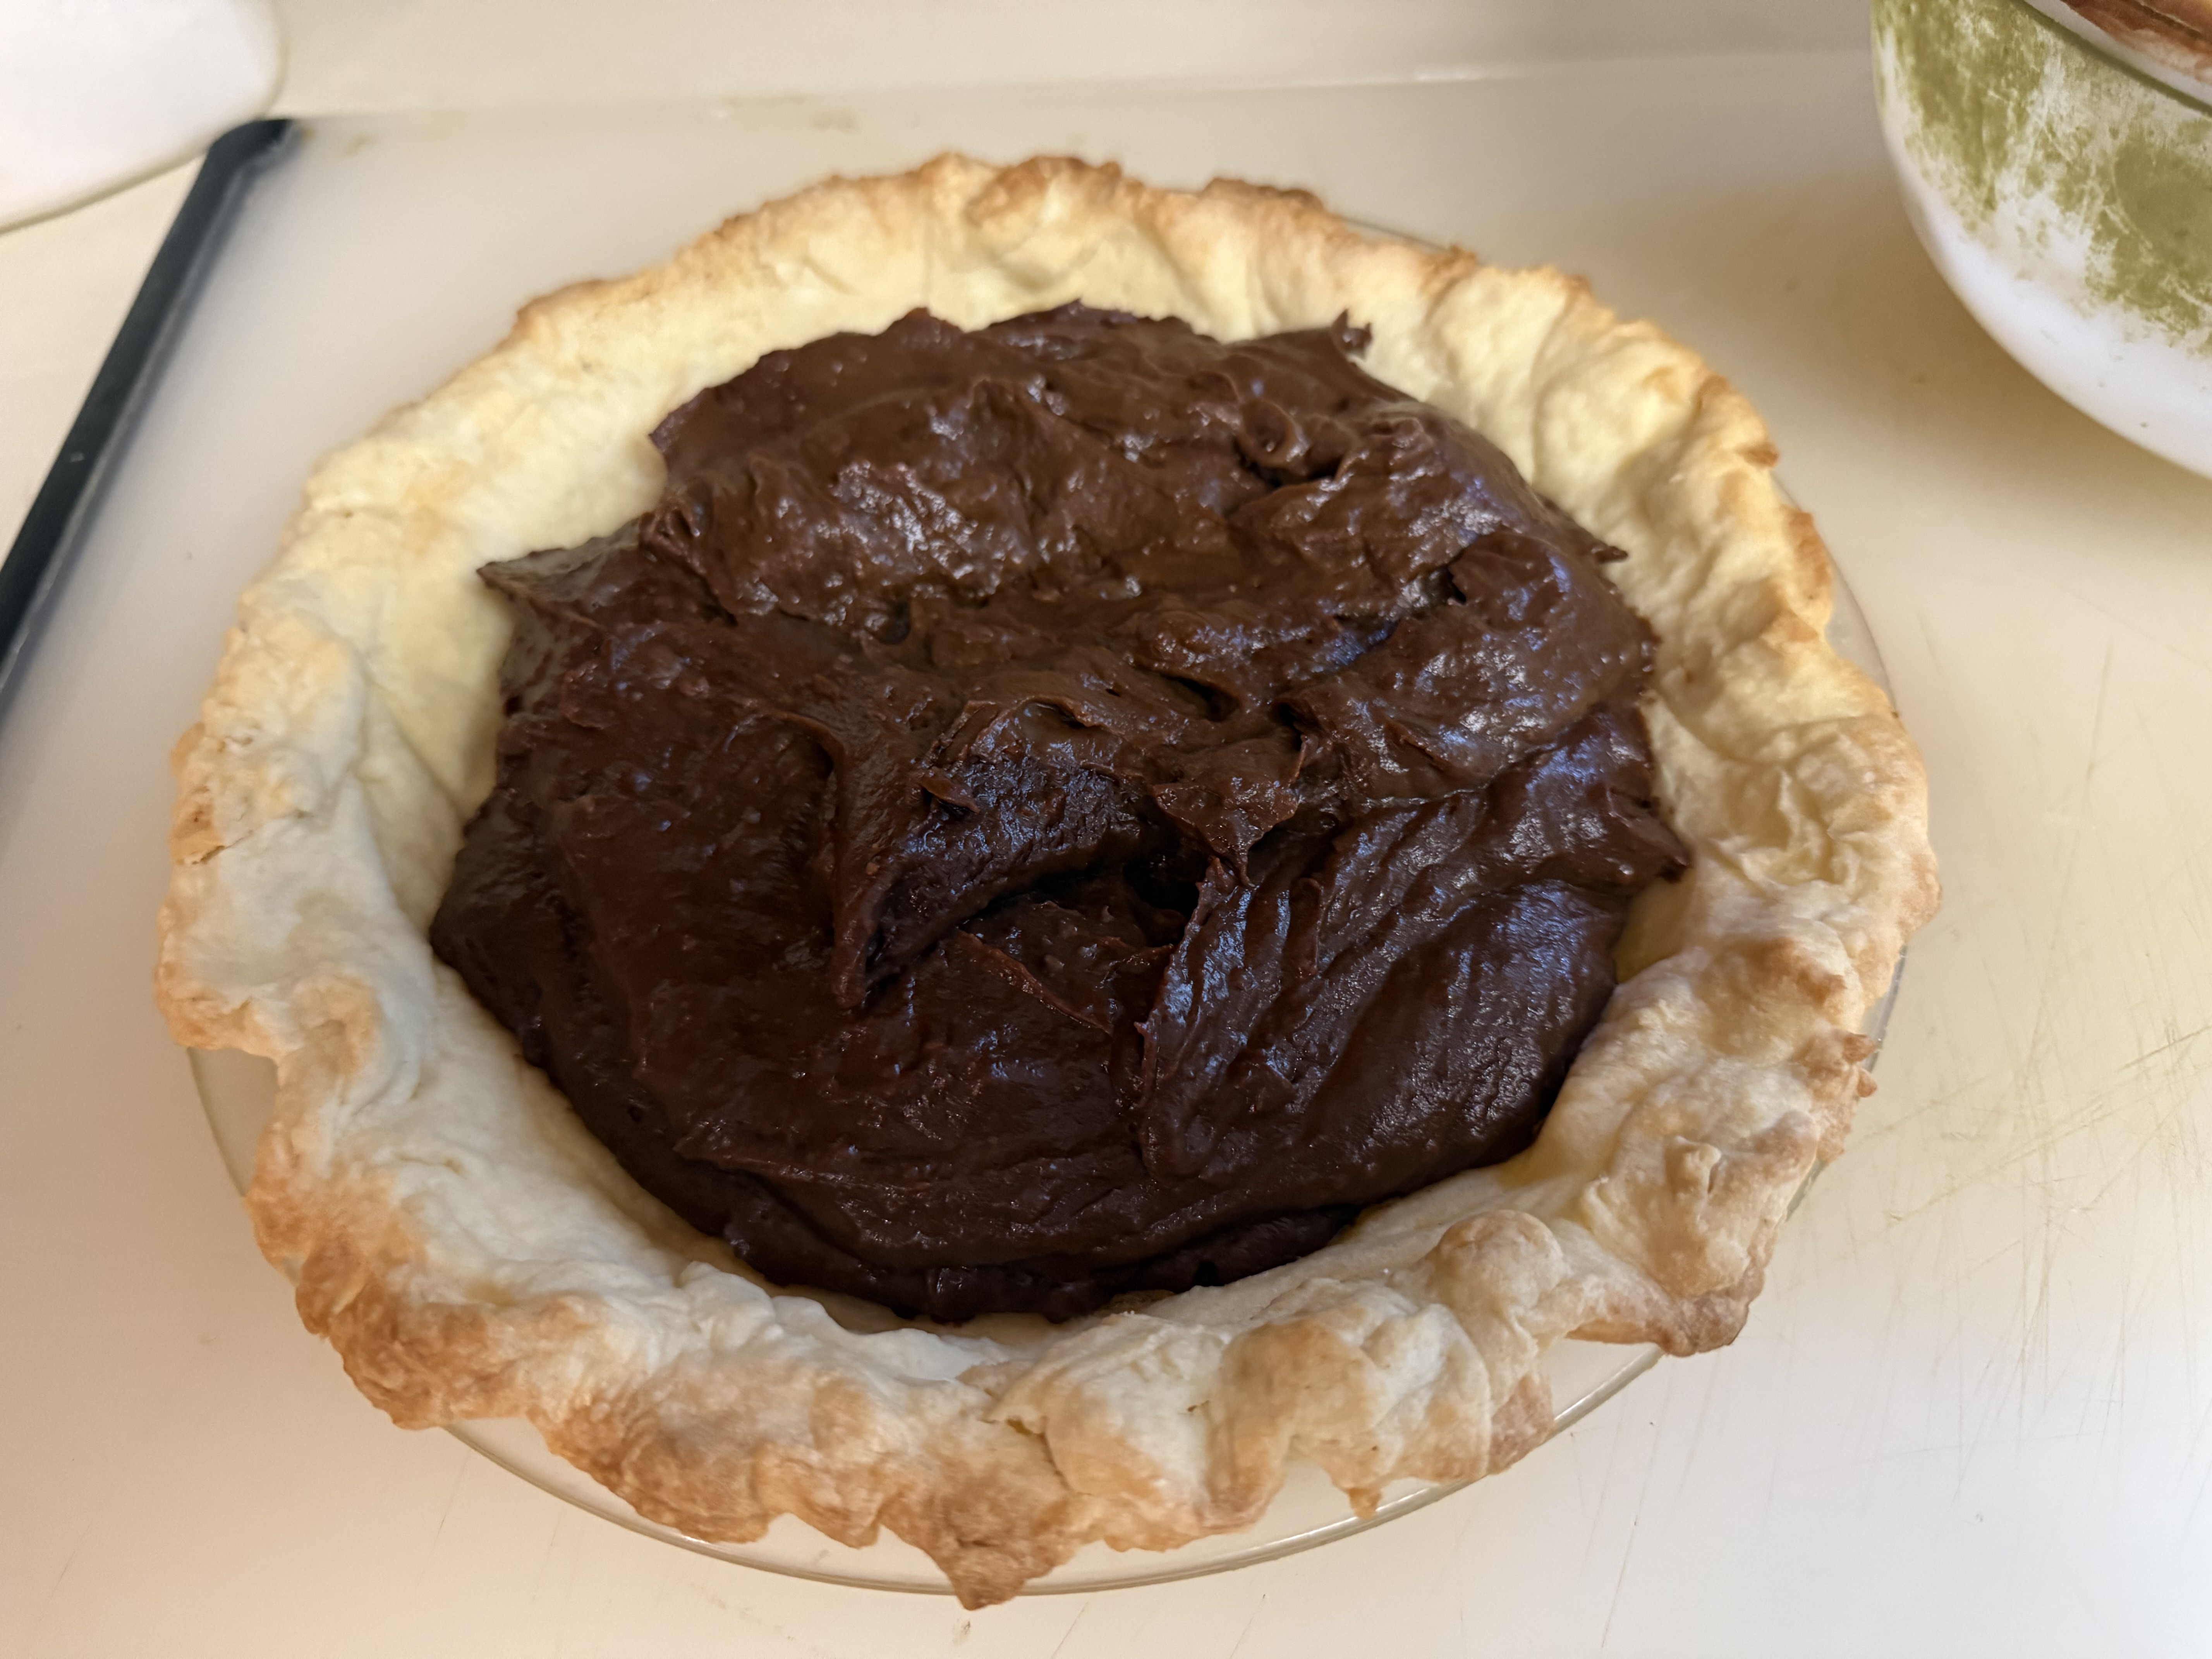
Pour the filling into the baked pie shell. Cover with plastic wrap which touches the chocolate filling. Chill for 2 to 4 hours until the pie thickens.
Add whipped topping (or whip cream) to decorate. If you are energetic, then make a meringue topping and broil in oven to brown the meringue.
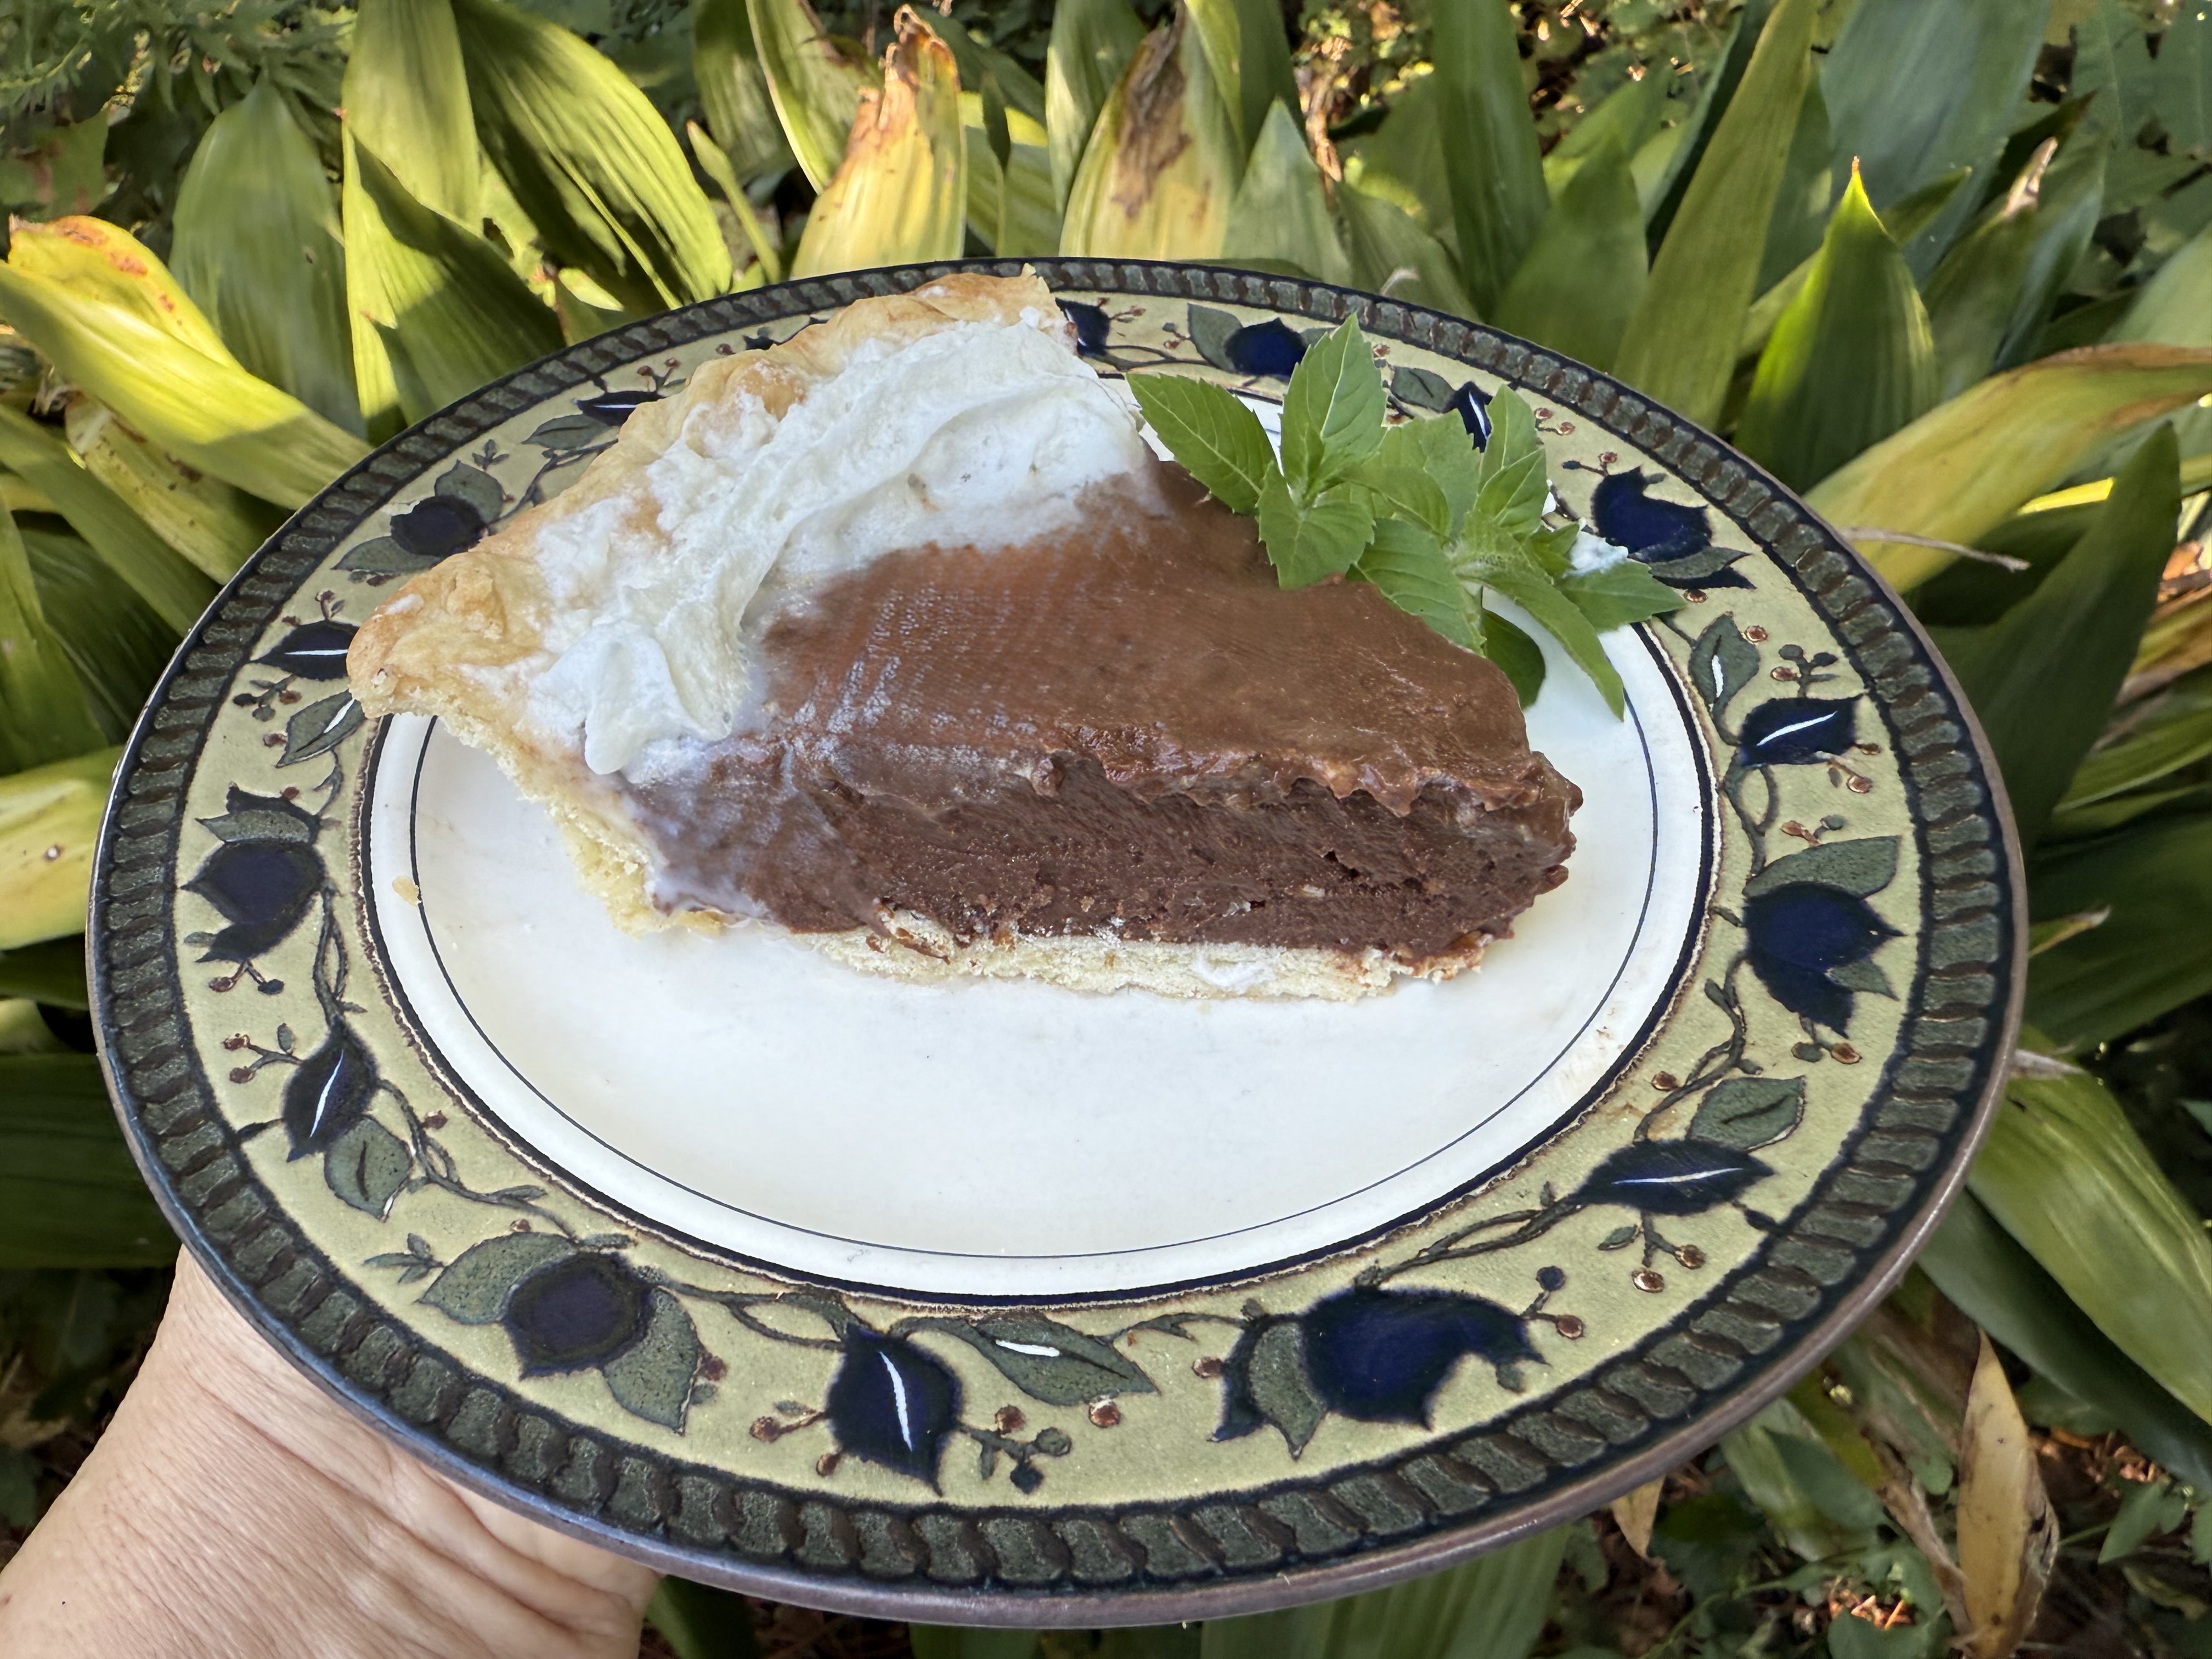
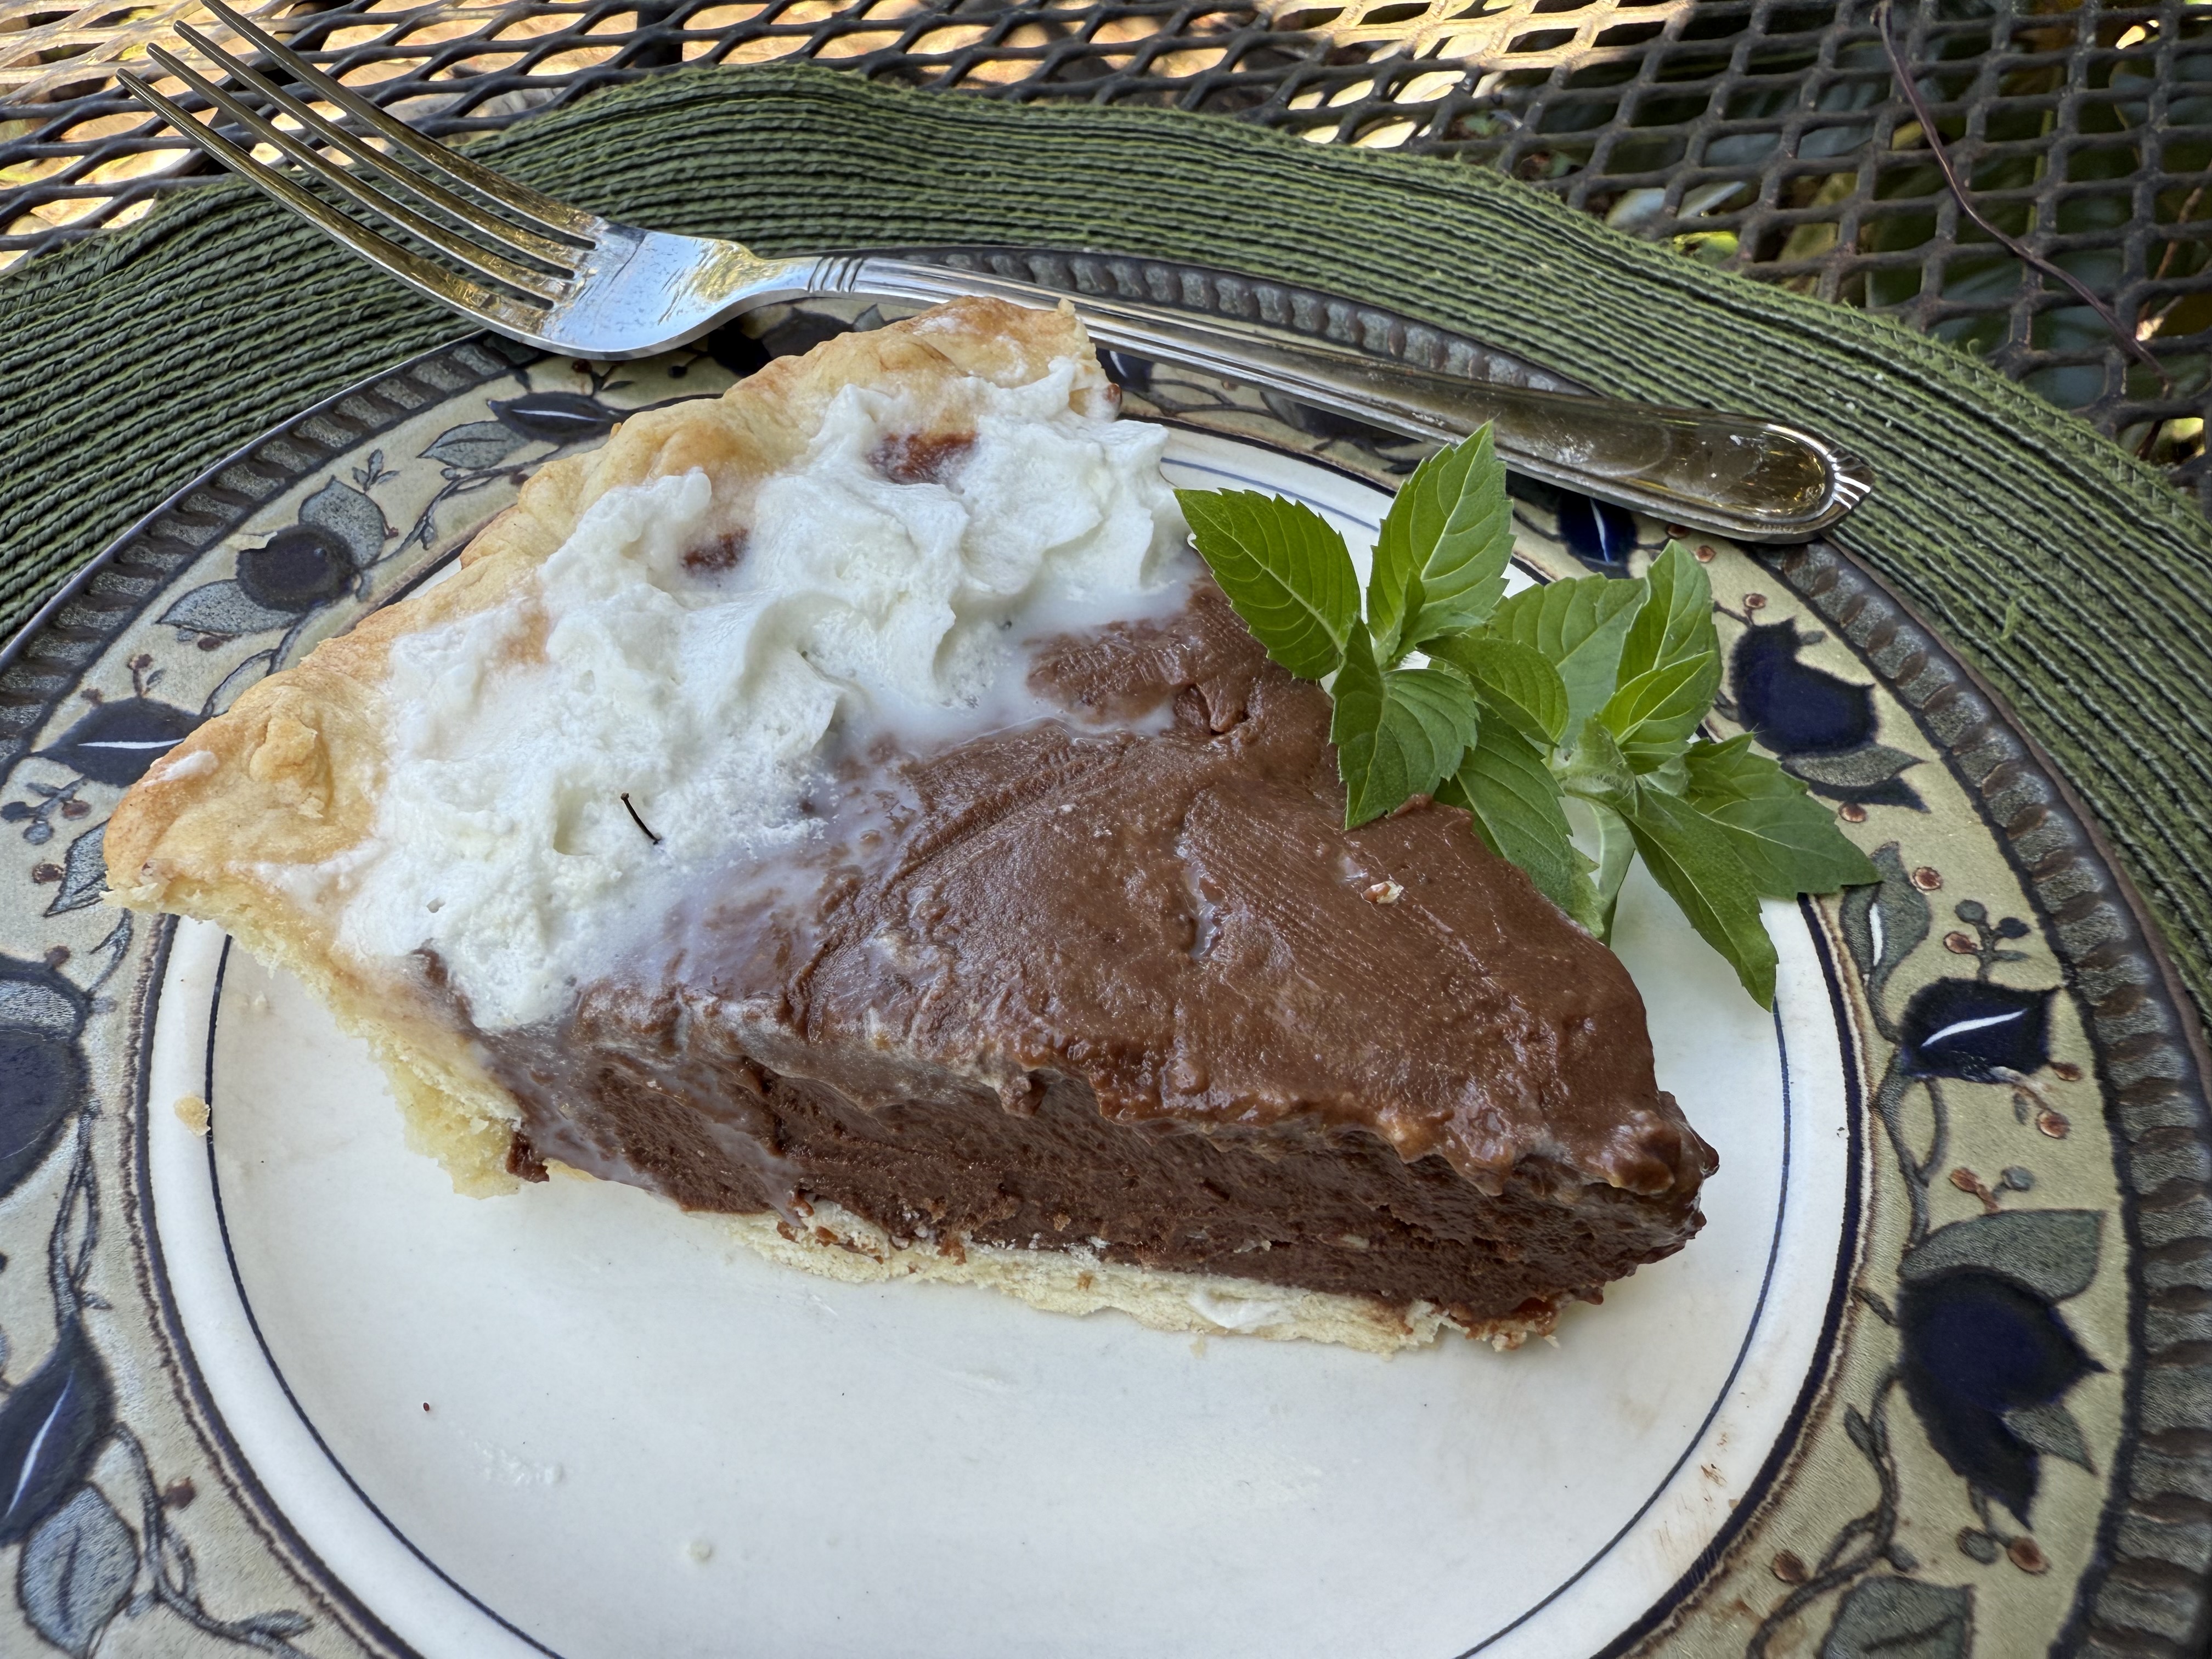
Cut and serve. This pie is delicious! Rich and fudgy — but not too, too sweet. My kind of dessert. Plus, the chocolate pudding/custard is really not difficult to make. Just mix it over medium heat — and take your time — don’t try to speed up the process by cooking on high heat. Will I use a soft pastry flour to make a pie crust in the future? No, I’ll save the Snavely’s Mill pastry flour for a special cake!
Enjoy this “Timeless Chocolate Cream Pie” for a special birthday celebration. And, I believe that Lea’s Lunchroom is still going strong in LaCompte, Louisiana. I do confess that I like my chocolate pie better.
Timeless Chocolate Cream Pie
Ingredients:
- 1/2 cup granulated sugar
- 3 Tbsp cornstarch
- 4 Tbsp unsweetened cocoa powder
- 1/2 tsp salt
- 2 cups whole milk
- 2 large egg yolks, beaten (use egg whites for another recipe)
- 1/2 cup (4 oz) Ghirardelli Bittersweet Chocolate Chips
- 2 Tbsp butter
- 1 tsp vanilla
- 1 pie crust (9″- diameter), baked and cooled
- Whipped cream or whipped topping
Method and Steps:
- In a medium saucepan, stir together the sugar, cornstarch, cocoa powder and salt.
- Whisk in the milk and beaten egg yolks.
- Stir over medium heat until the mixture just barely comes to a boil and starts to thicken like pudding. This may take from 5 to 8 minutes. Stir constantly, scraping down sides and bottom of pan.
- Remove from heat. Stir in butter, bittersweet chocolate chips and vanilla extract. Stir until all the ingredients are combined.
- Optional step: Strain the pudding filling through a fine sieve to remove lumps. Press firmly to extract all the pudding filling.
- Pour the pudding into the pie crust and cover with plastic wrap. Be sure to place the plastic wrap directly on the filling.
- Refrigerate for 2 to 4 hours, until completely chilled and the plastic wrap comes off clean.
- Decorate with whipped cream or whipped topping.
- Cut into slices and serve.
Baked Rich, Flaky Pie Crust Shell
Ingredients:
- 1-1/4 cups flour, plus extra to dust pastry board
- 2 Tbsp sugar
- 1/4 tsp salt
- 1 stick (1/2 cup butter) cut into chunks
- 1/4 cup ice water, plus more if needed
Method and Steps:
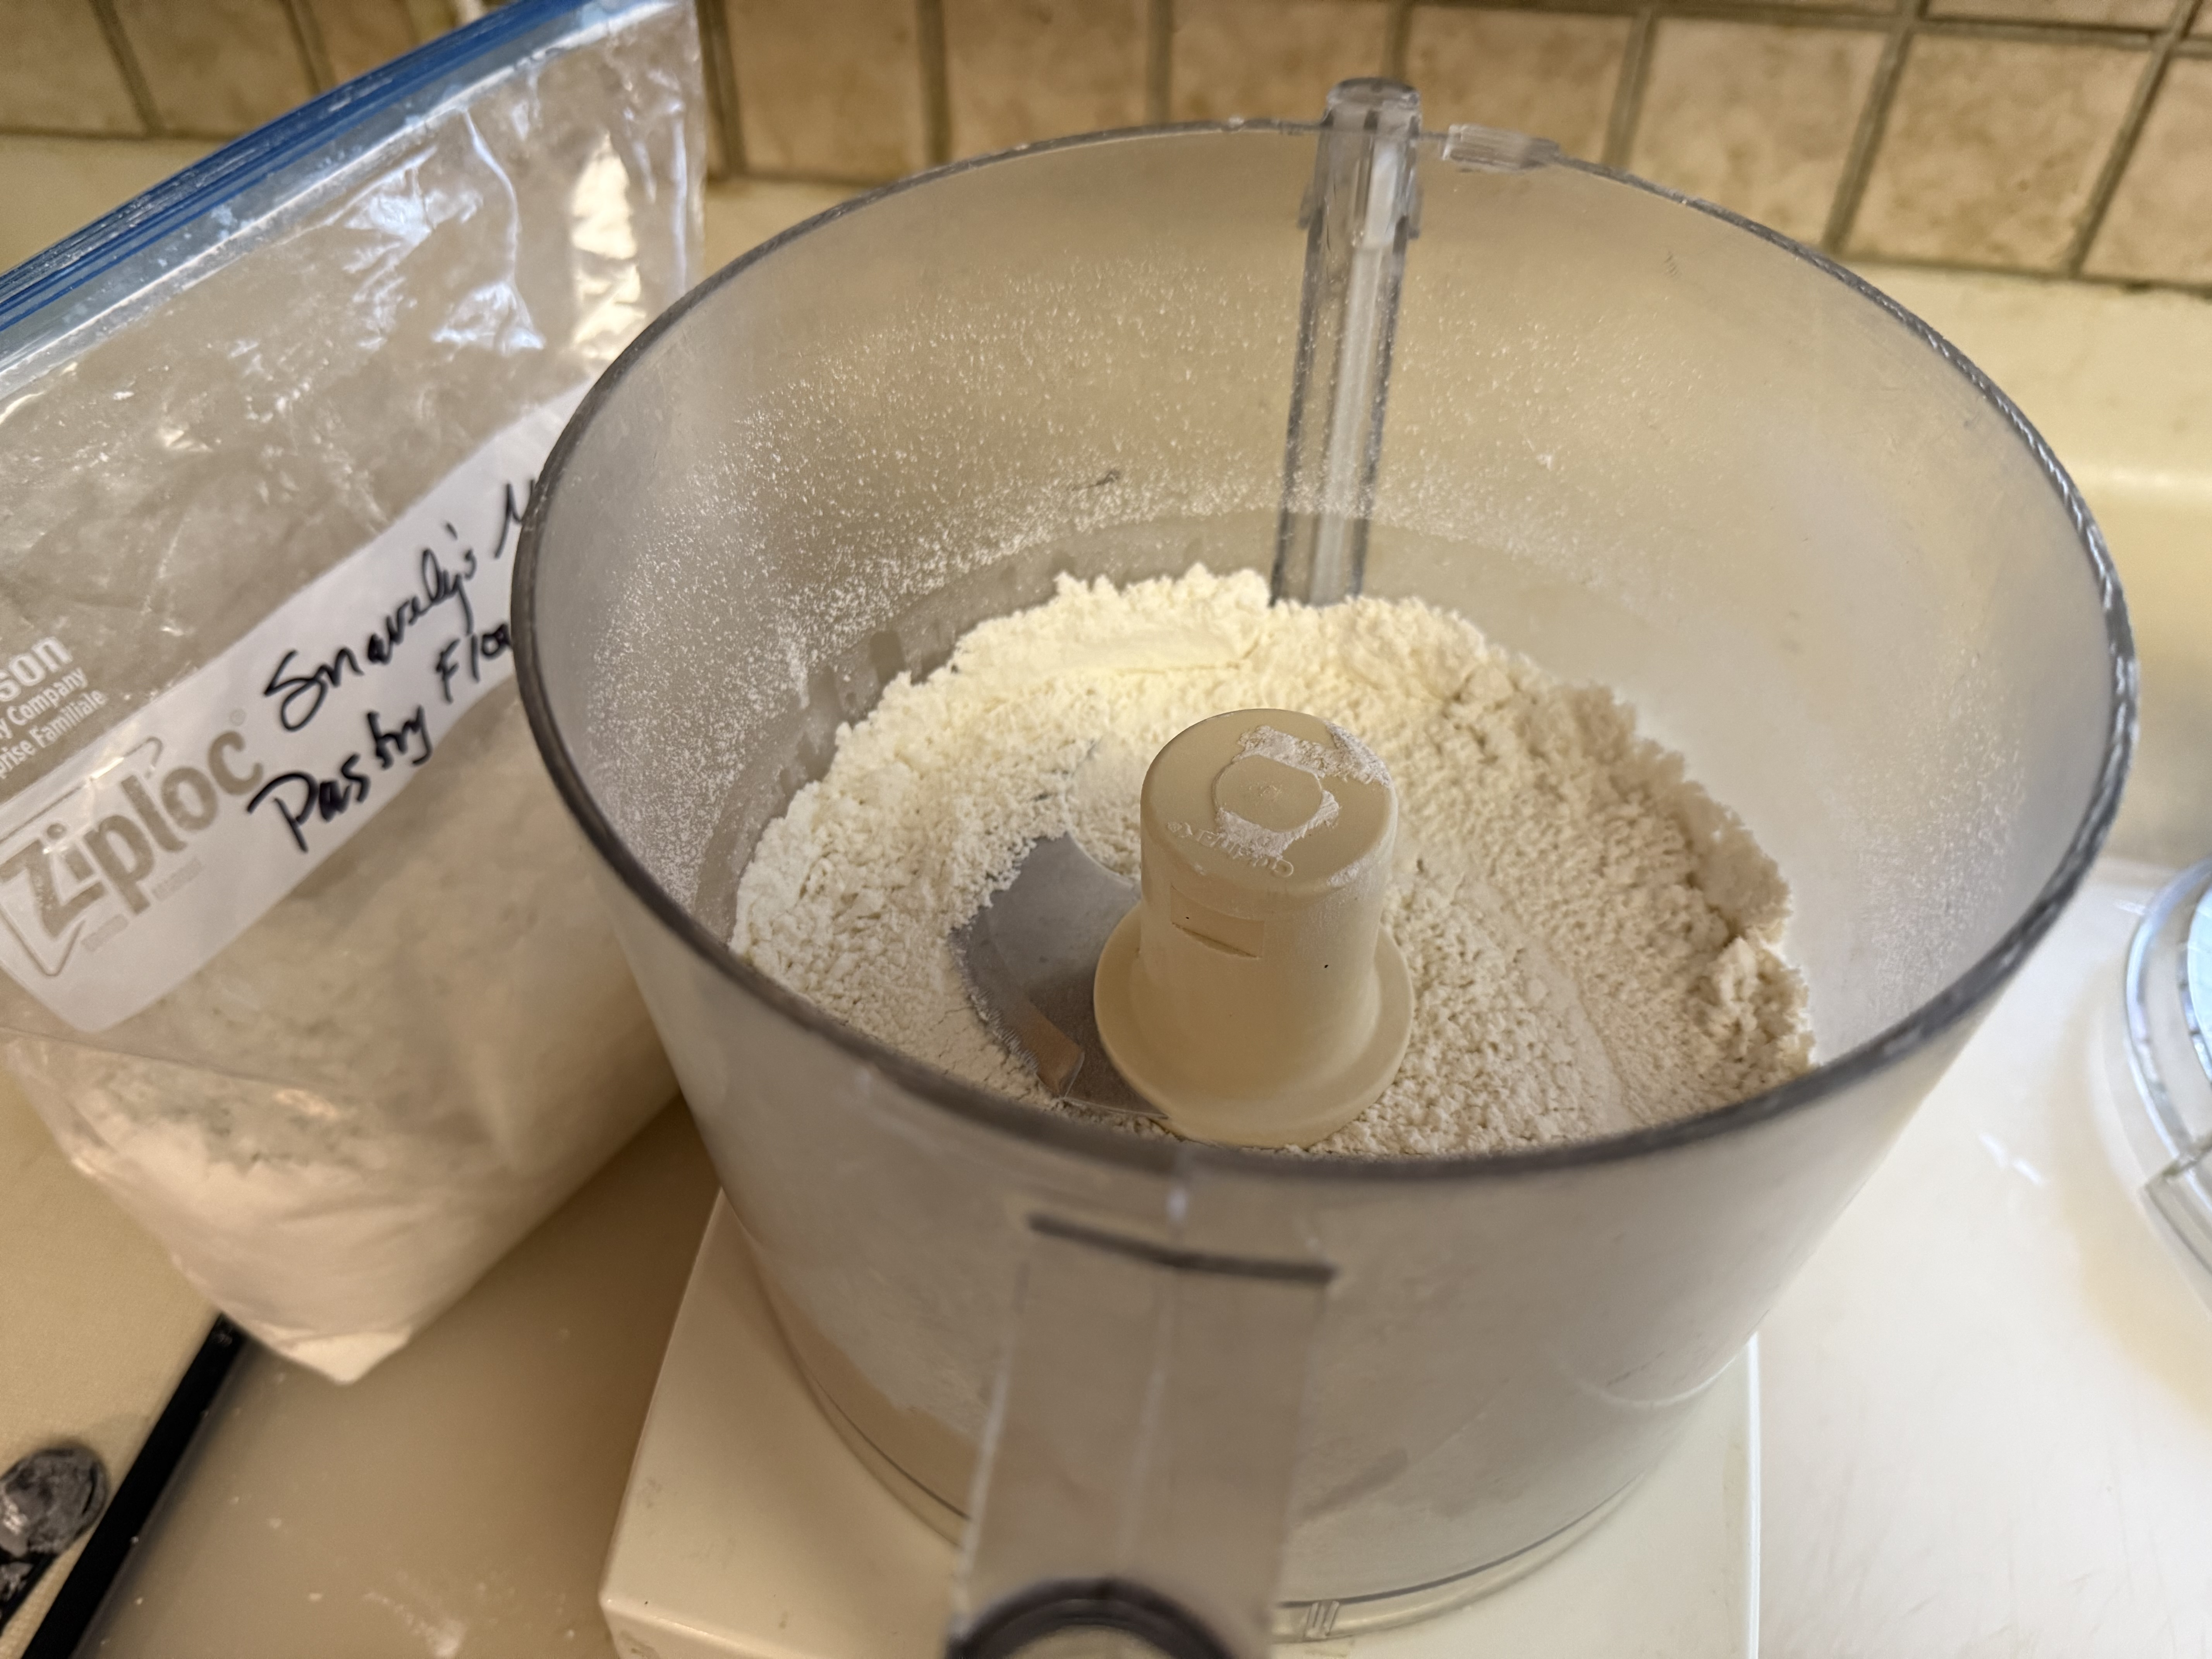
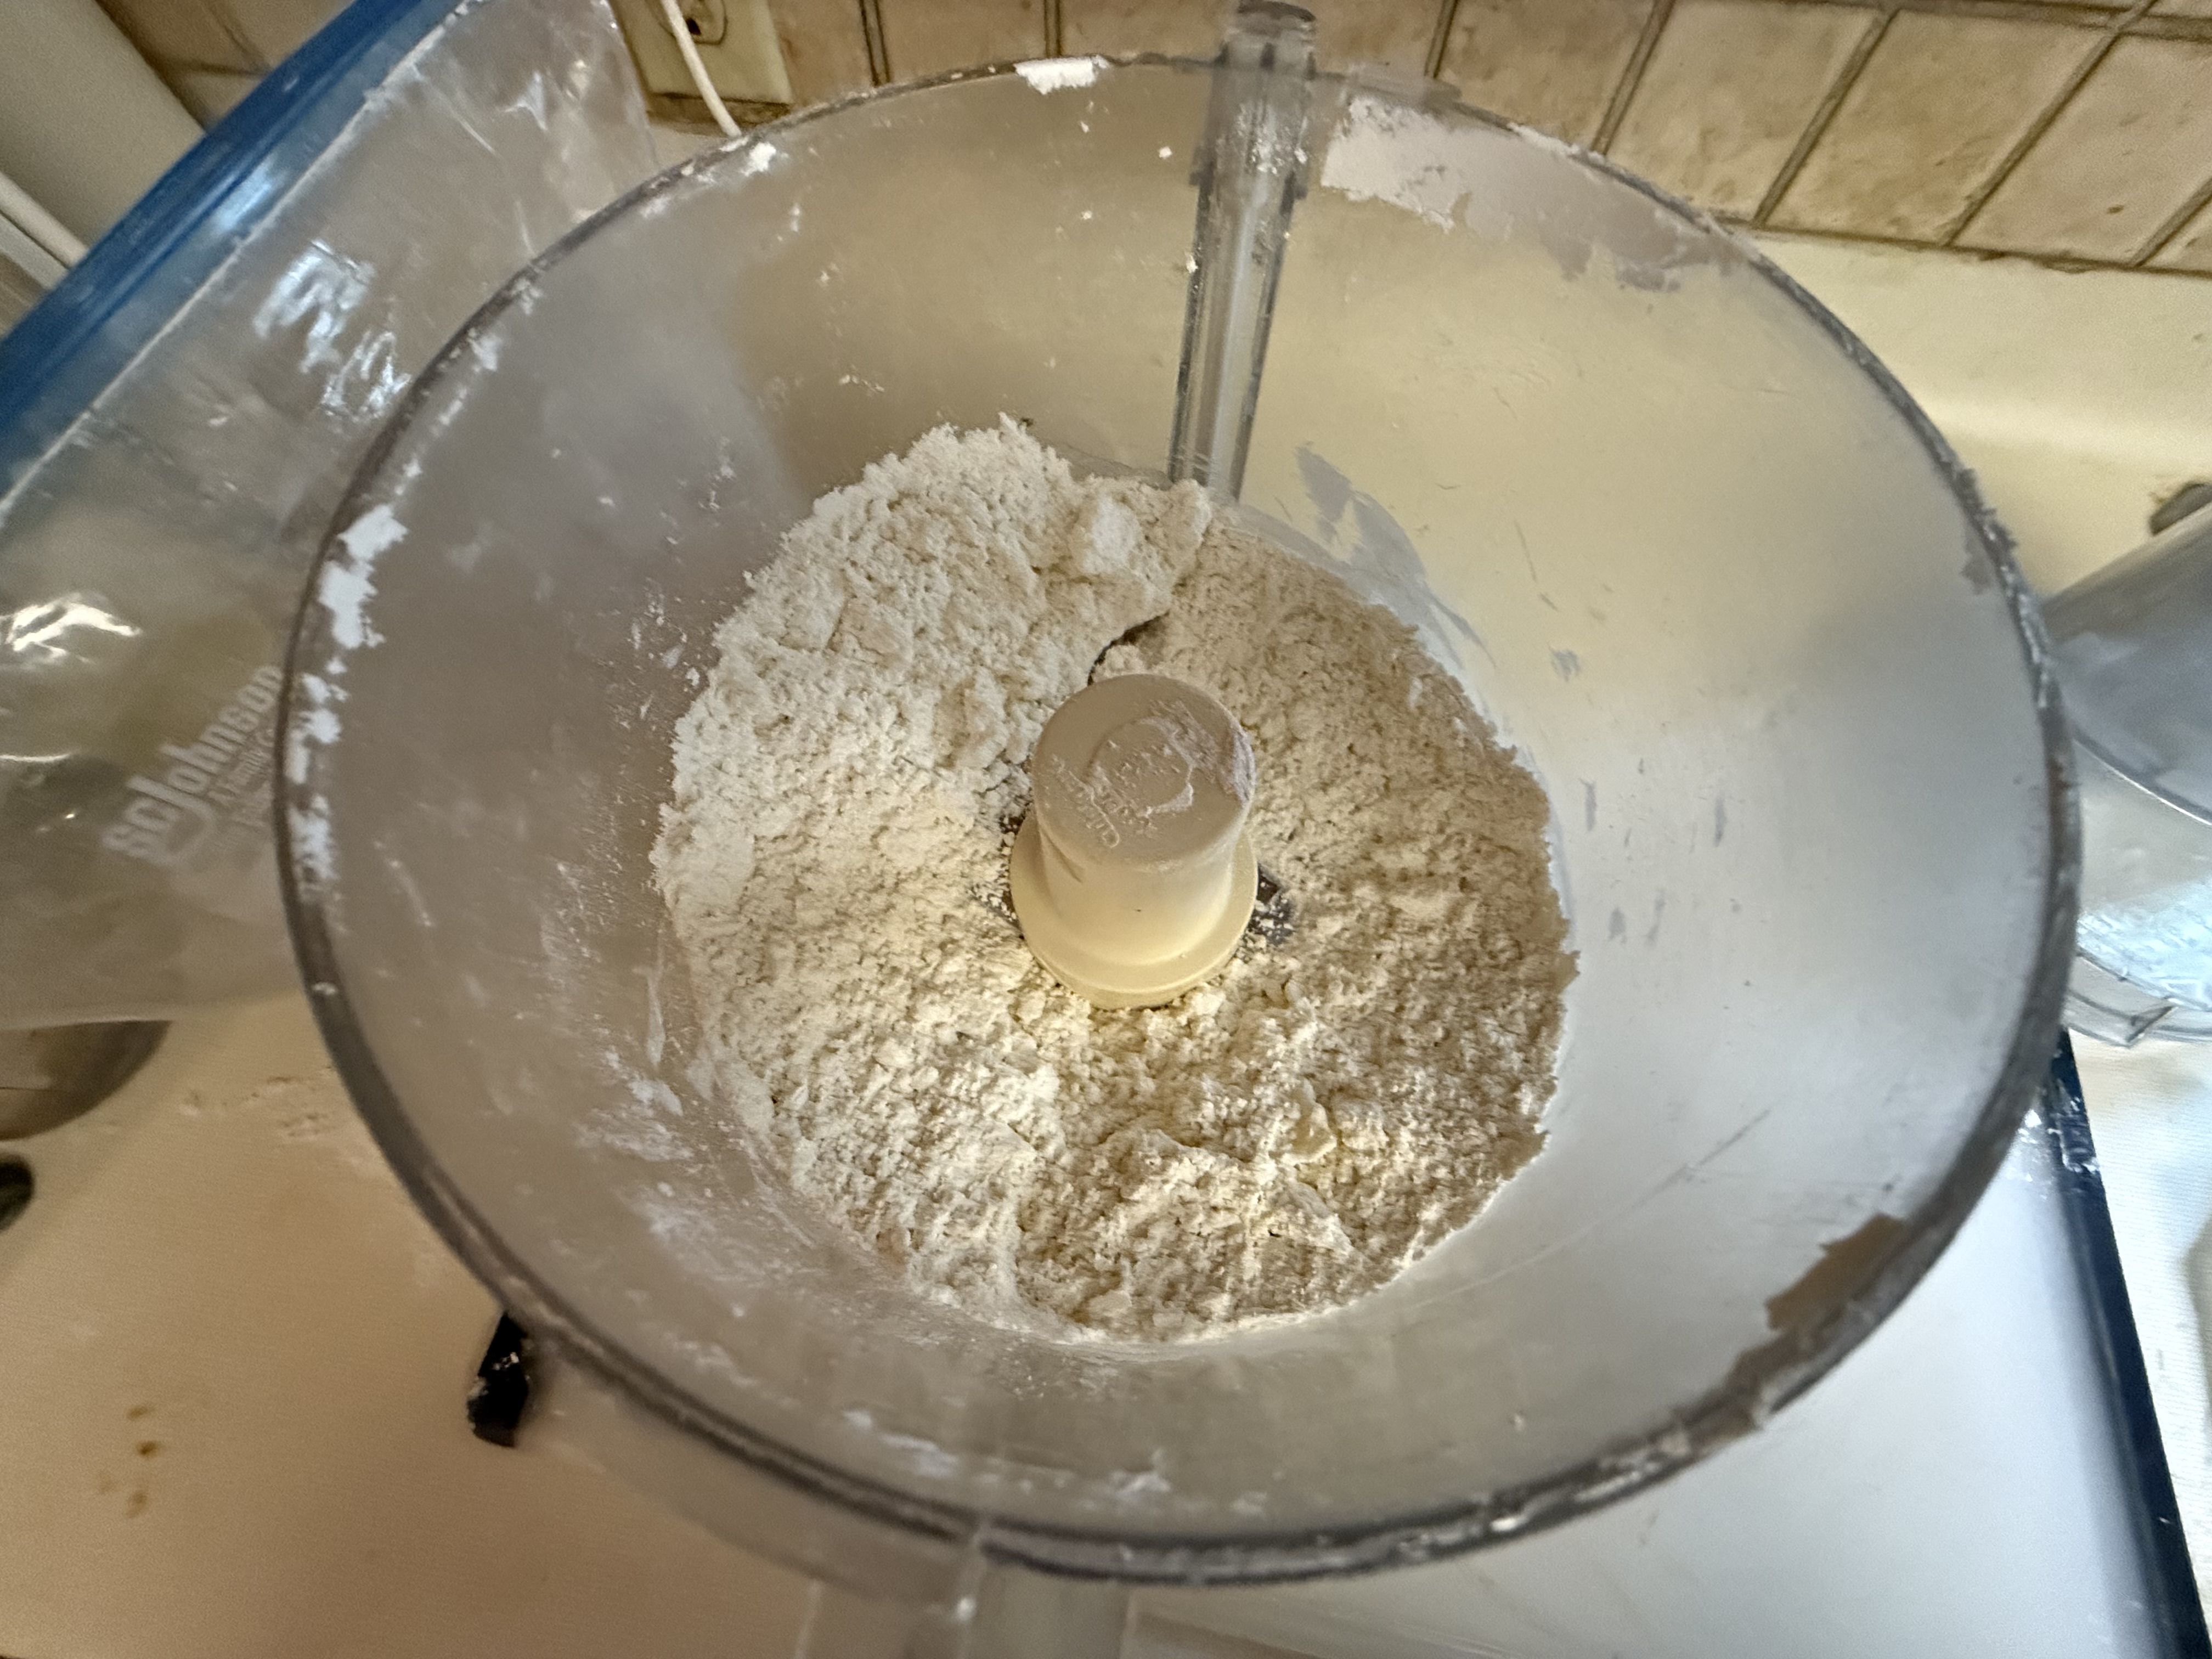
- Add flour, sugar and salt to a large food processor bowl. Pulse to combine. Alternatively, stir with rubber spatula to combine.
- Add butter chunks and pulse for 5 to 10 times until the butter is cut course, grainy mixture.
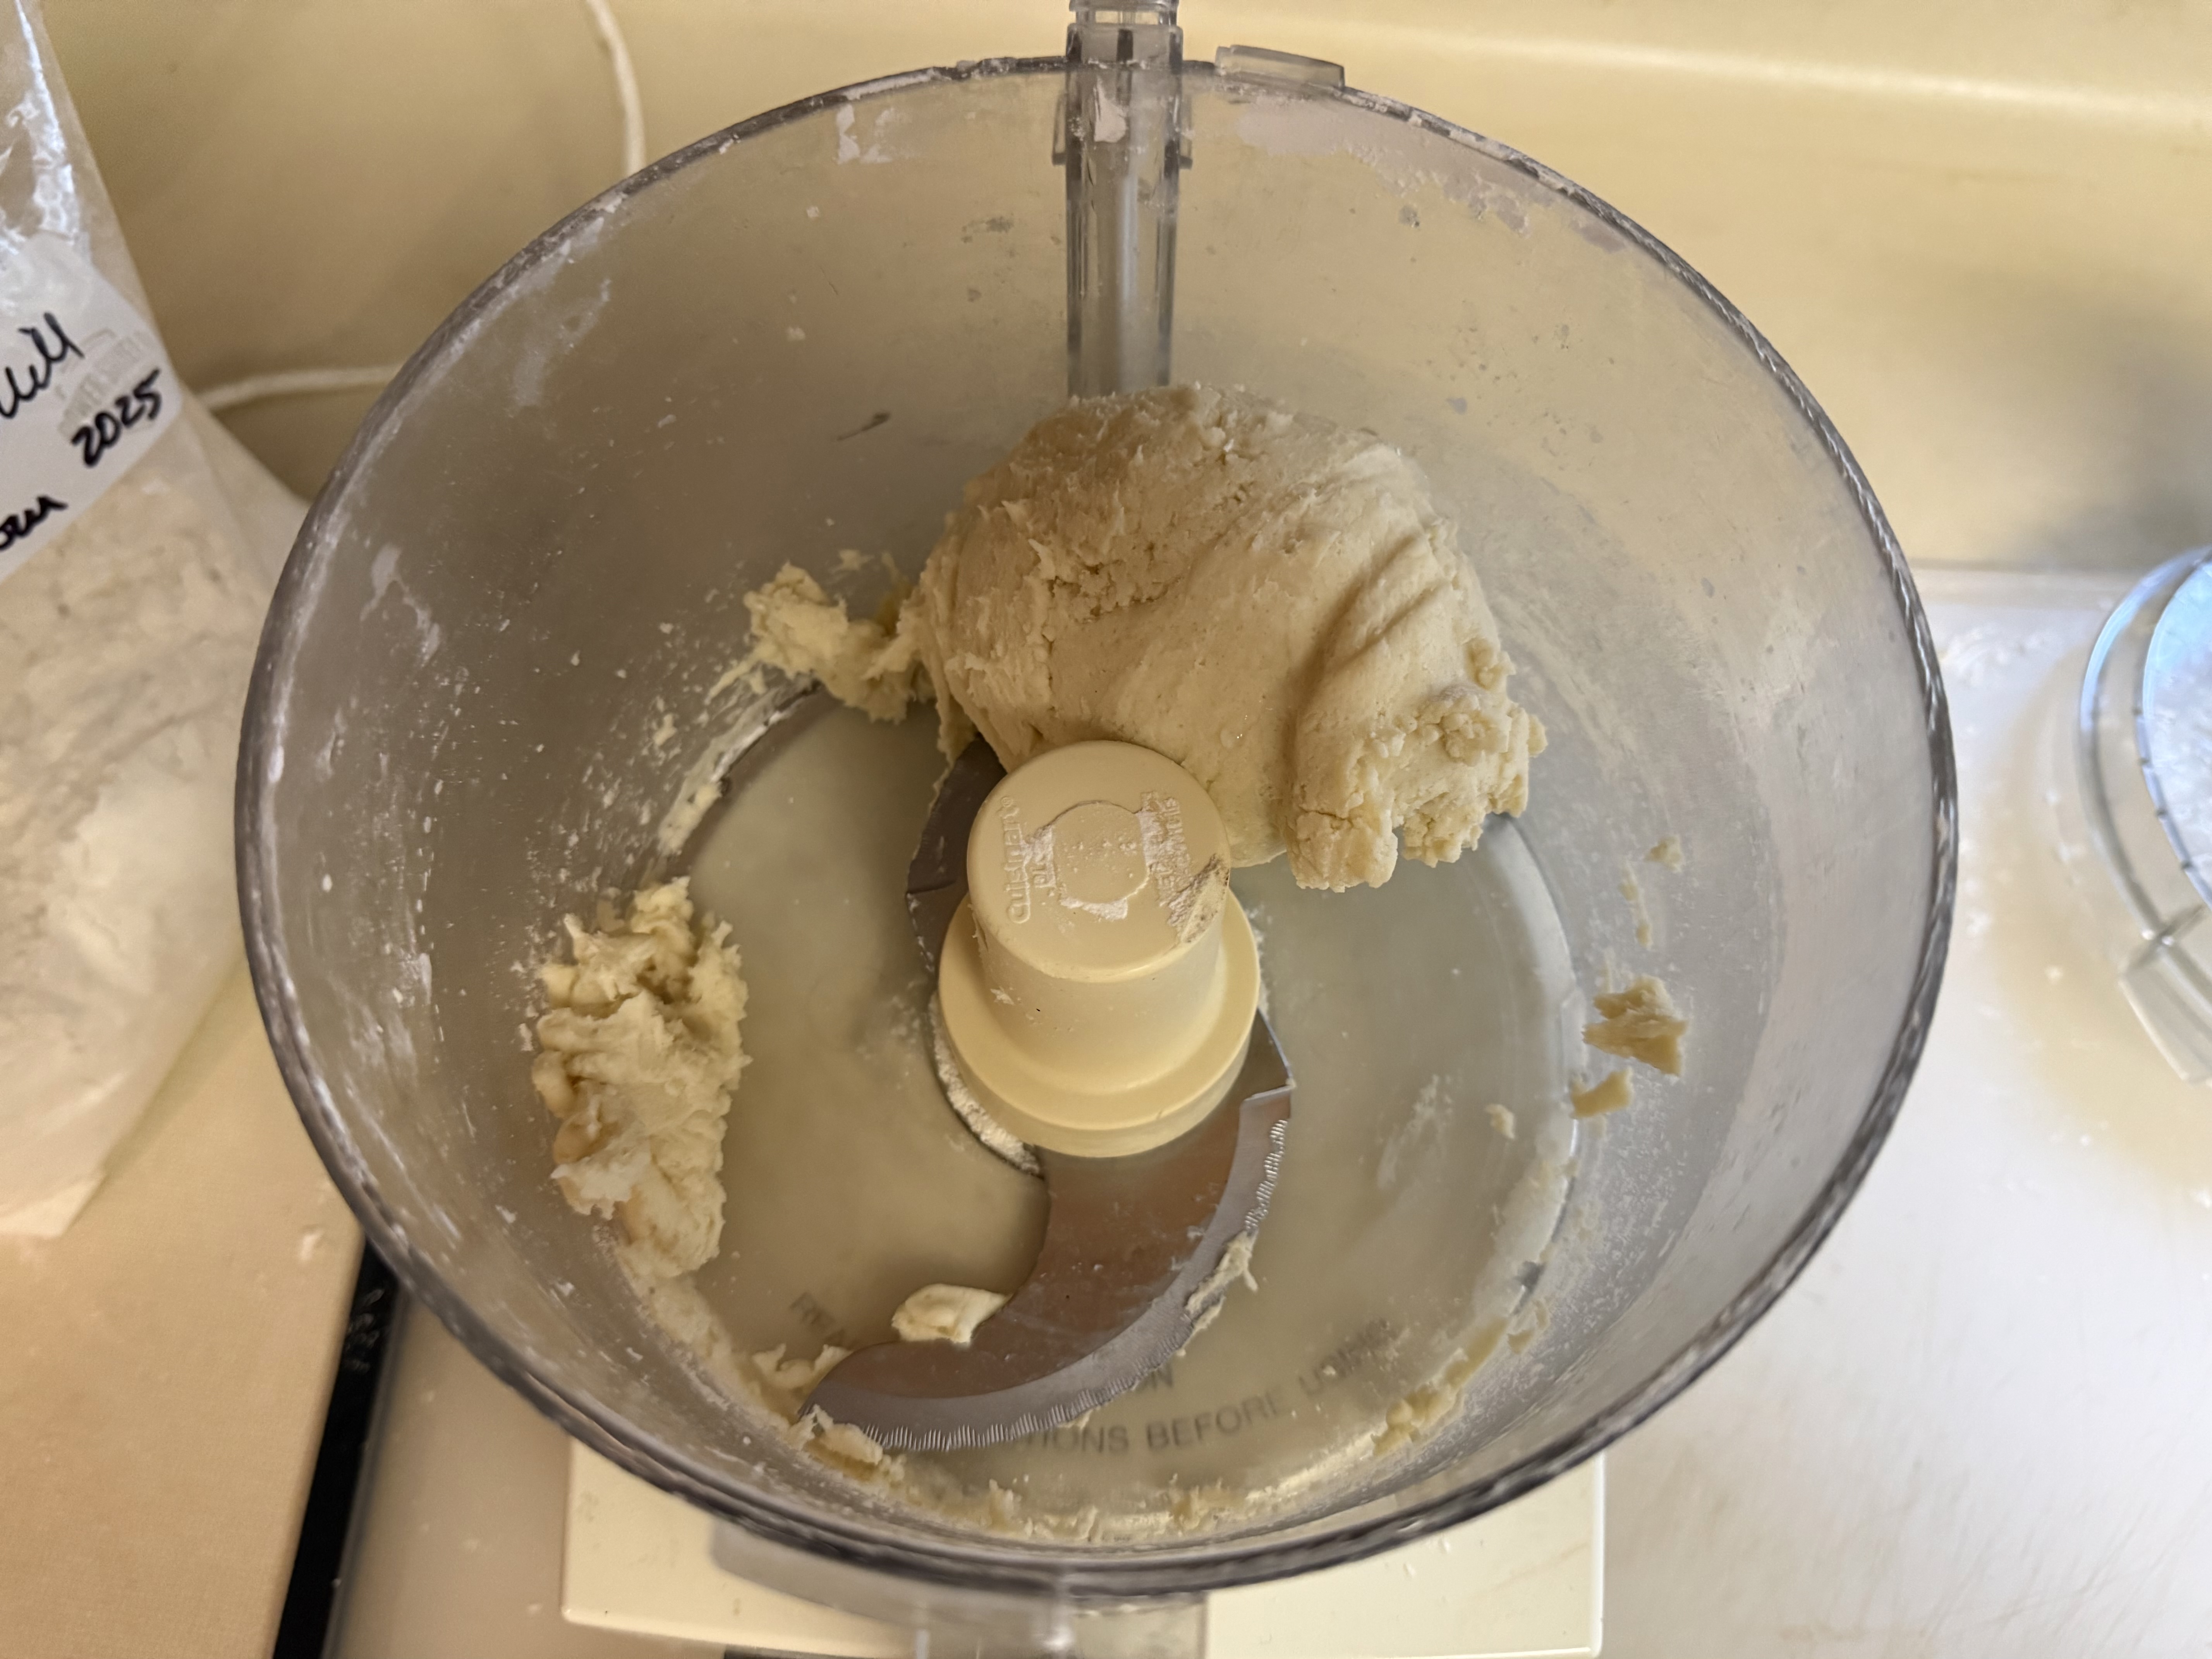
- With processor bowl running, adding 1/4 cup ice water. Continue to pulse until dough begins to form into a ball. Add additional water, 1 Tbsp at a time if needed.
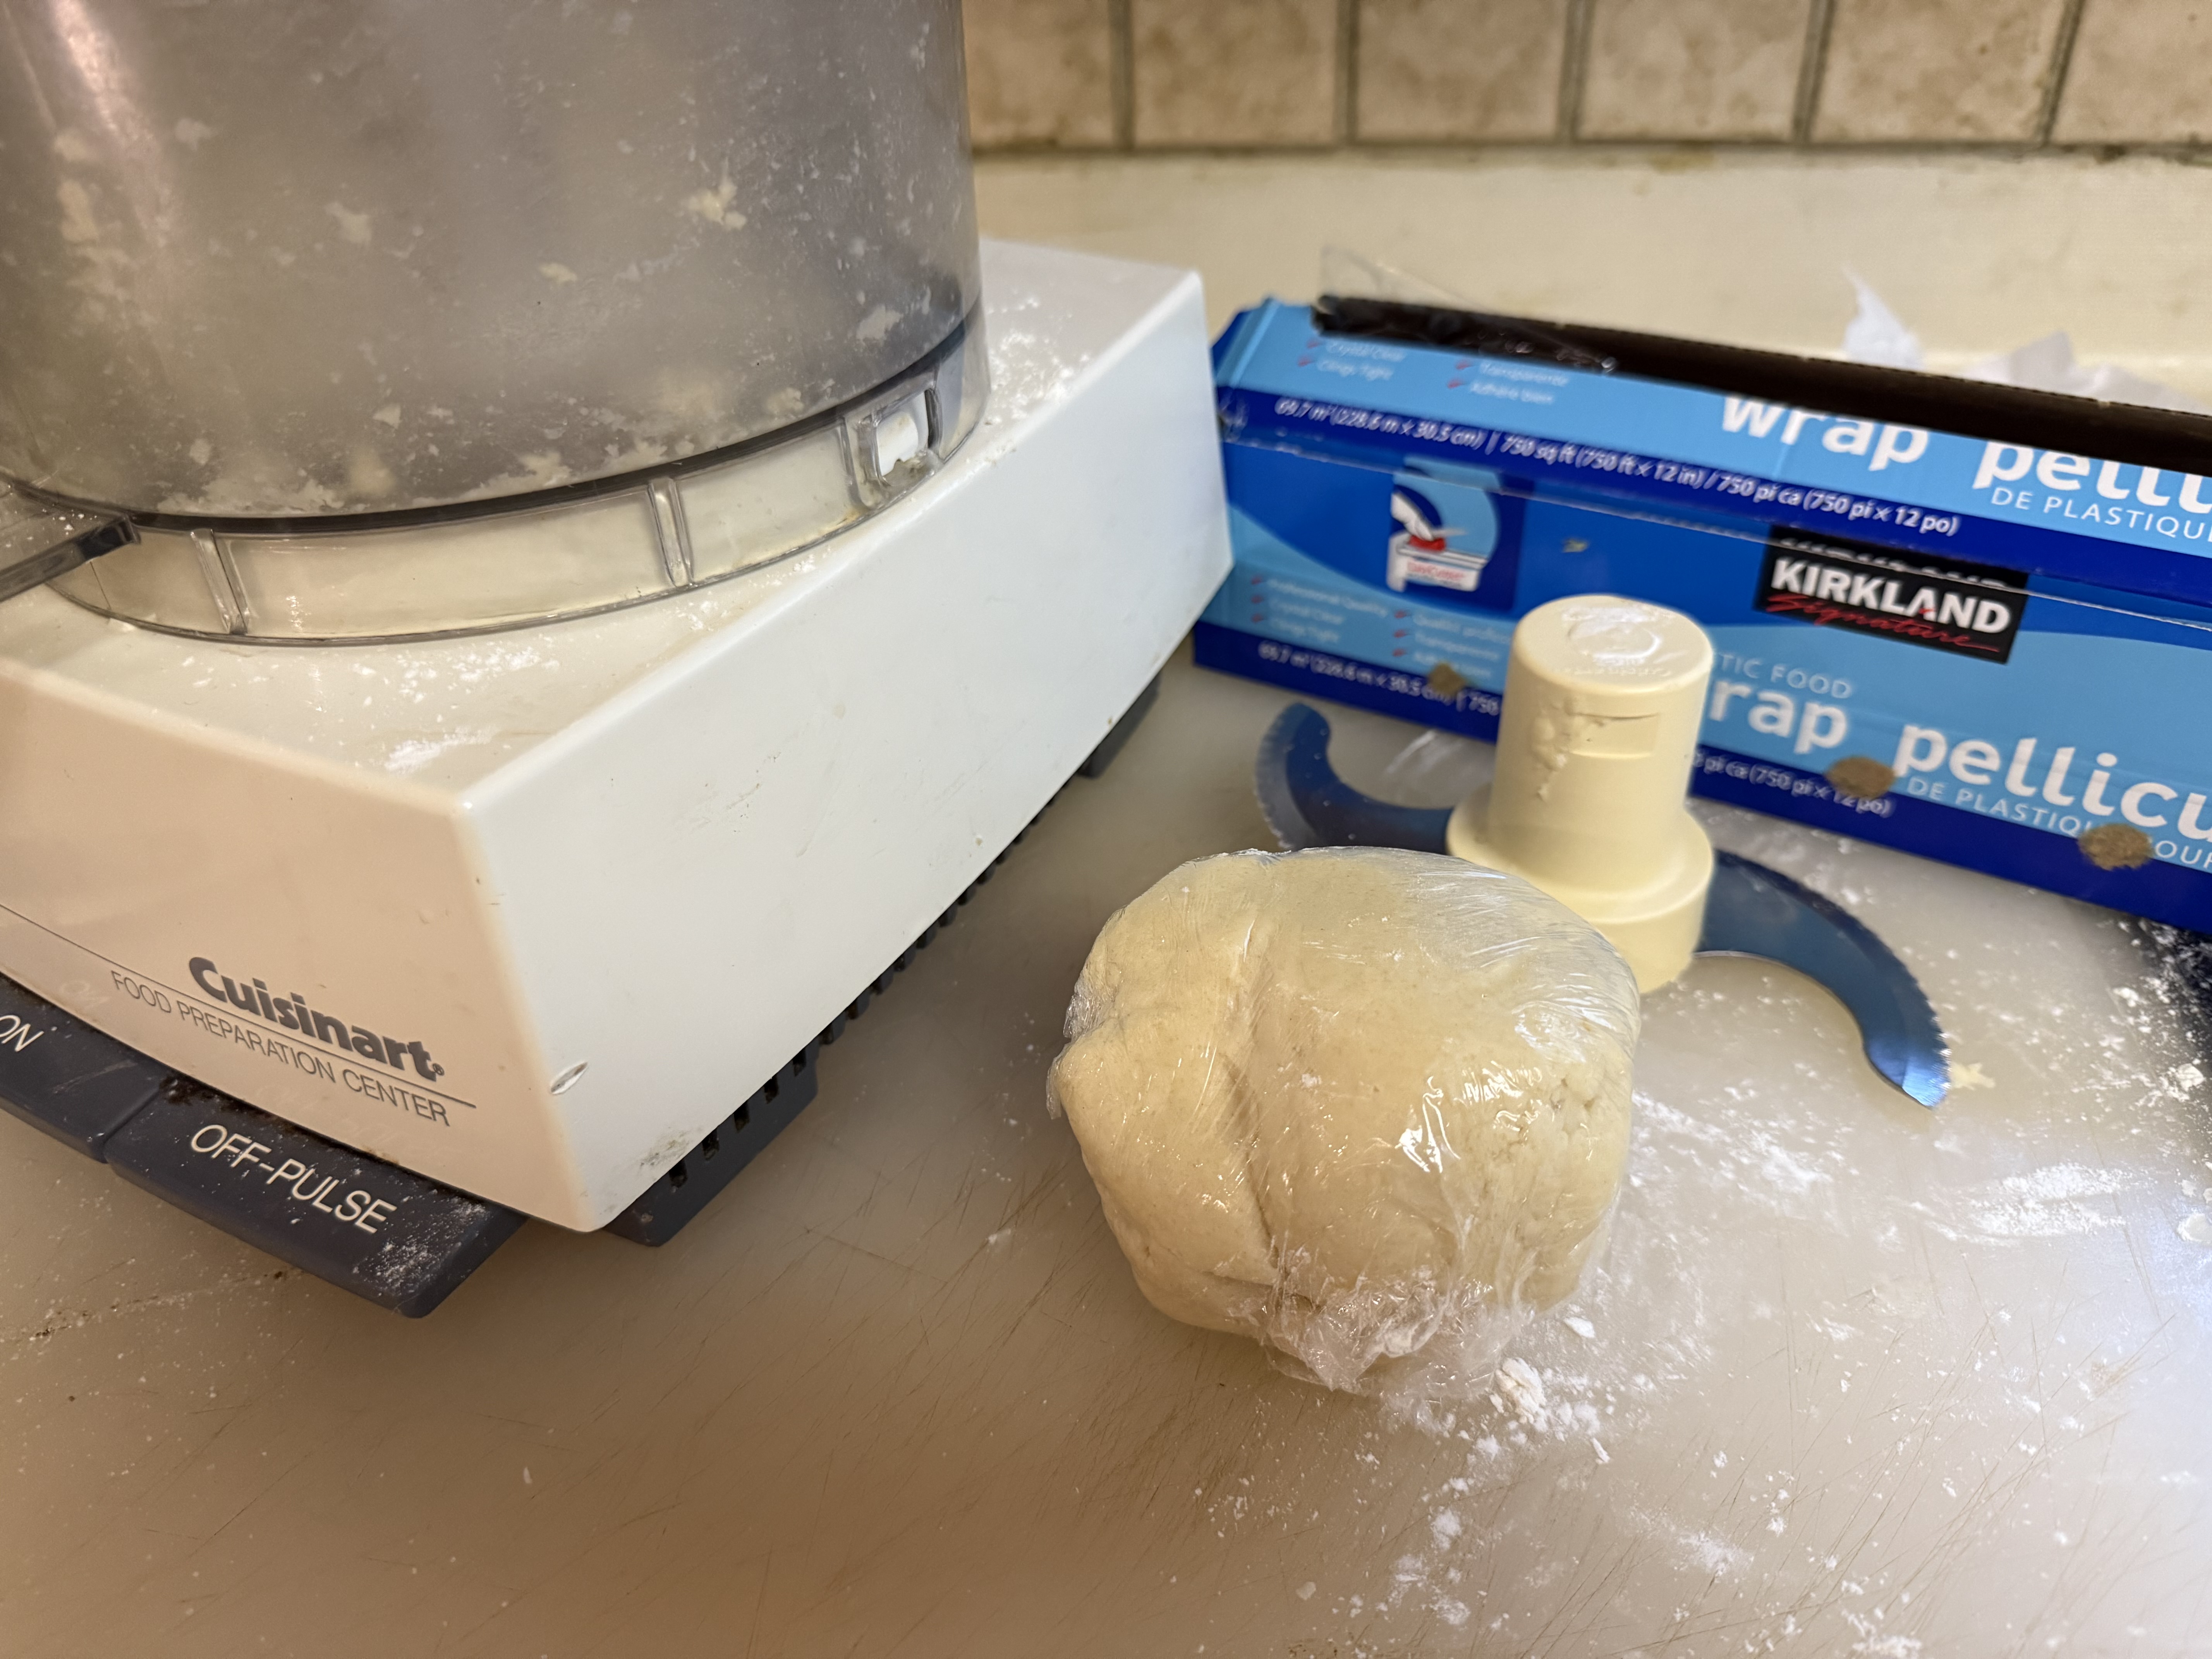
- Shape pastry into a ball, cover with plastic wrap and chill for 45 minutes in refrigerator. (May refrigerate pastry overnight. In this case, remove from refrigerator about an hour in advance so the pastry will be pliable and easy to roll out.)
- After 45 minutes, finish and bake pie shell. Heat oven to 375 degrees.
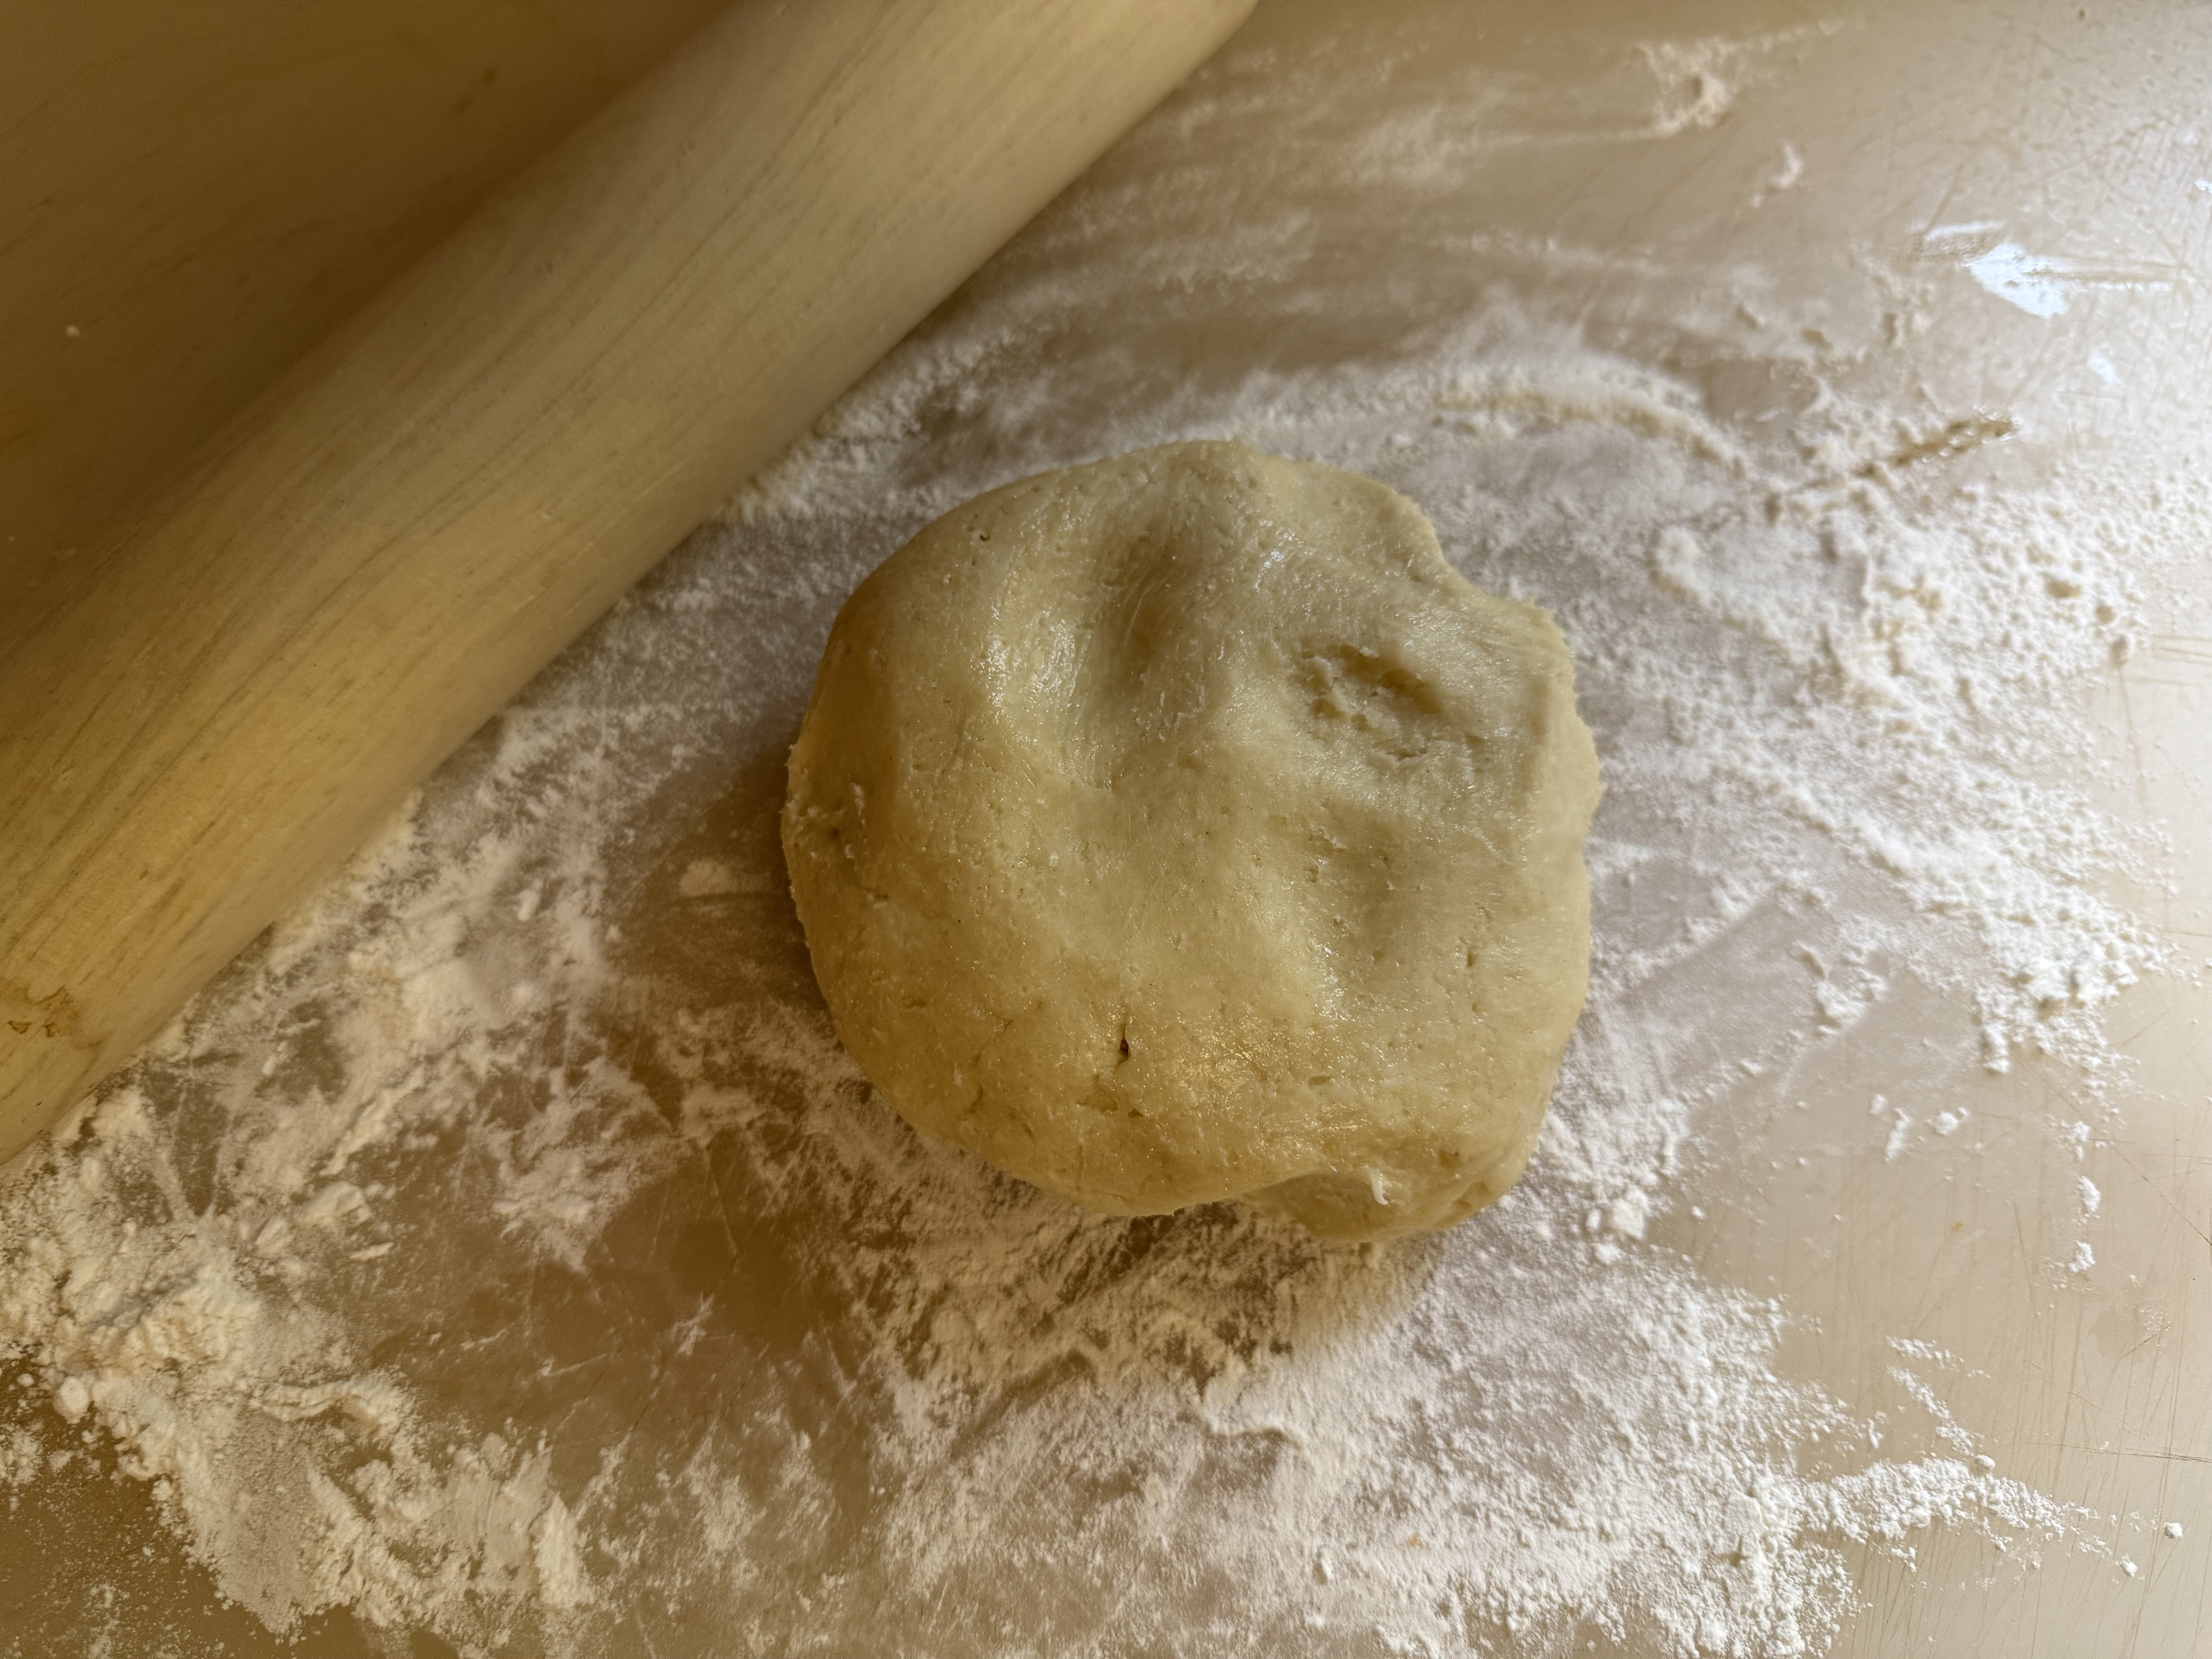
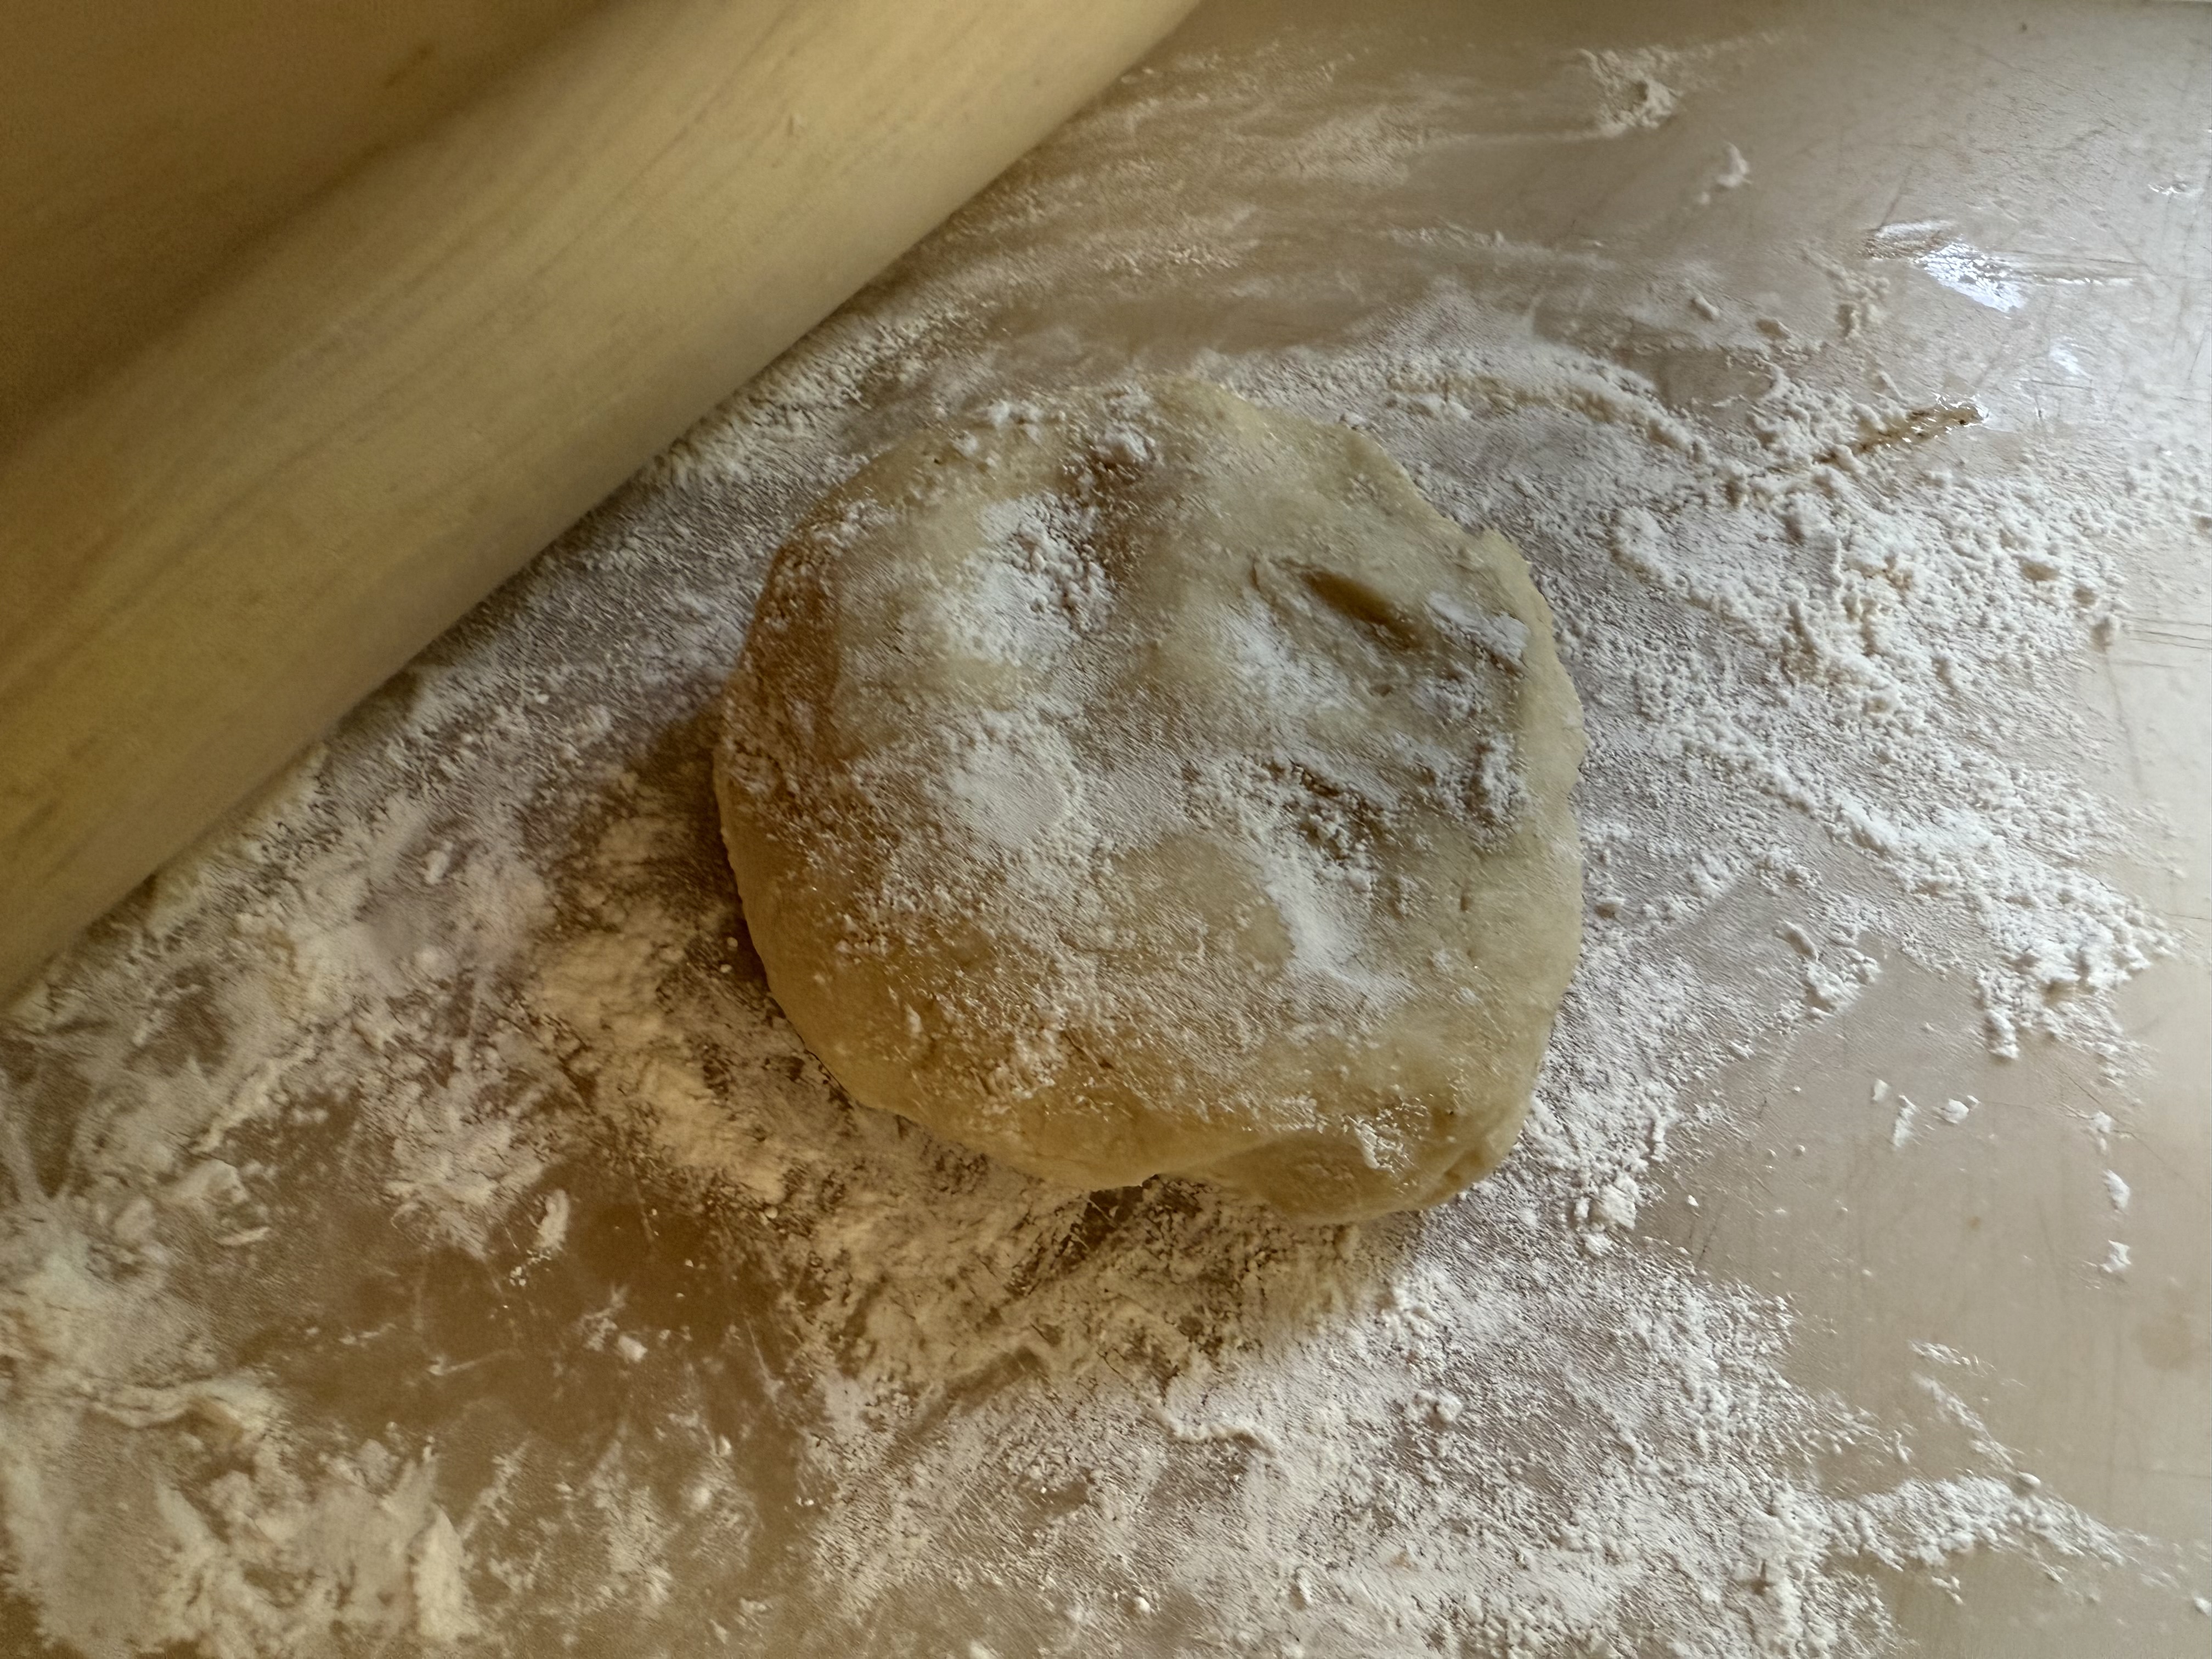
- Remove from refrigerator and place dough on well-floured pastry board. Flour top of pastry ball, too.
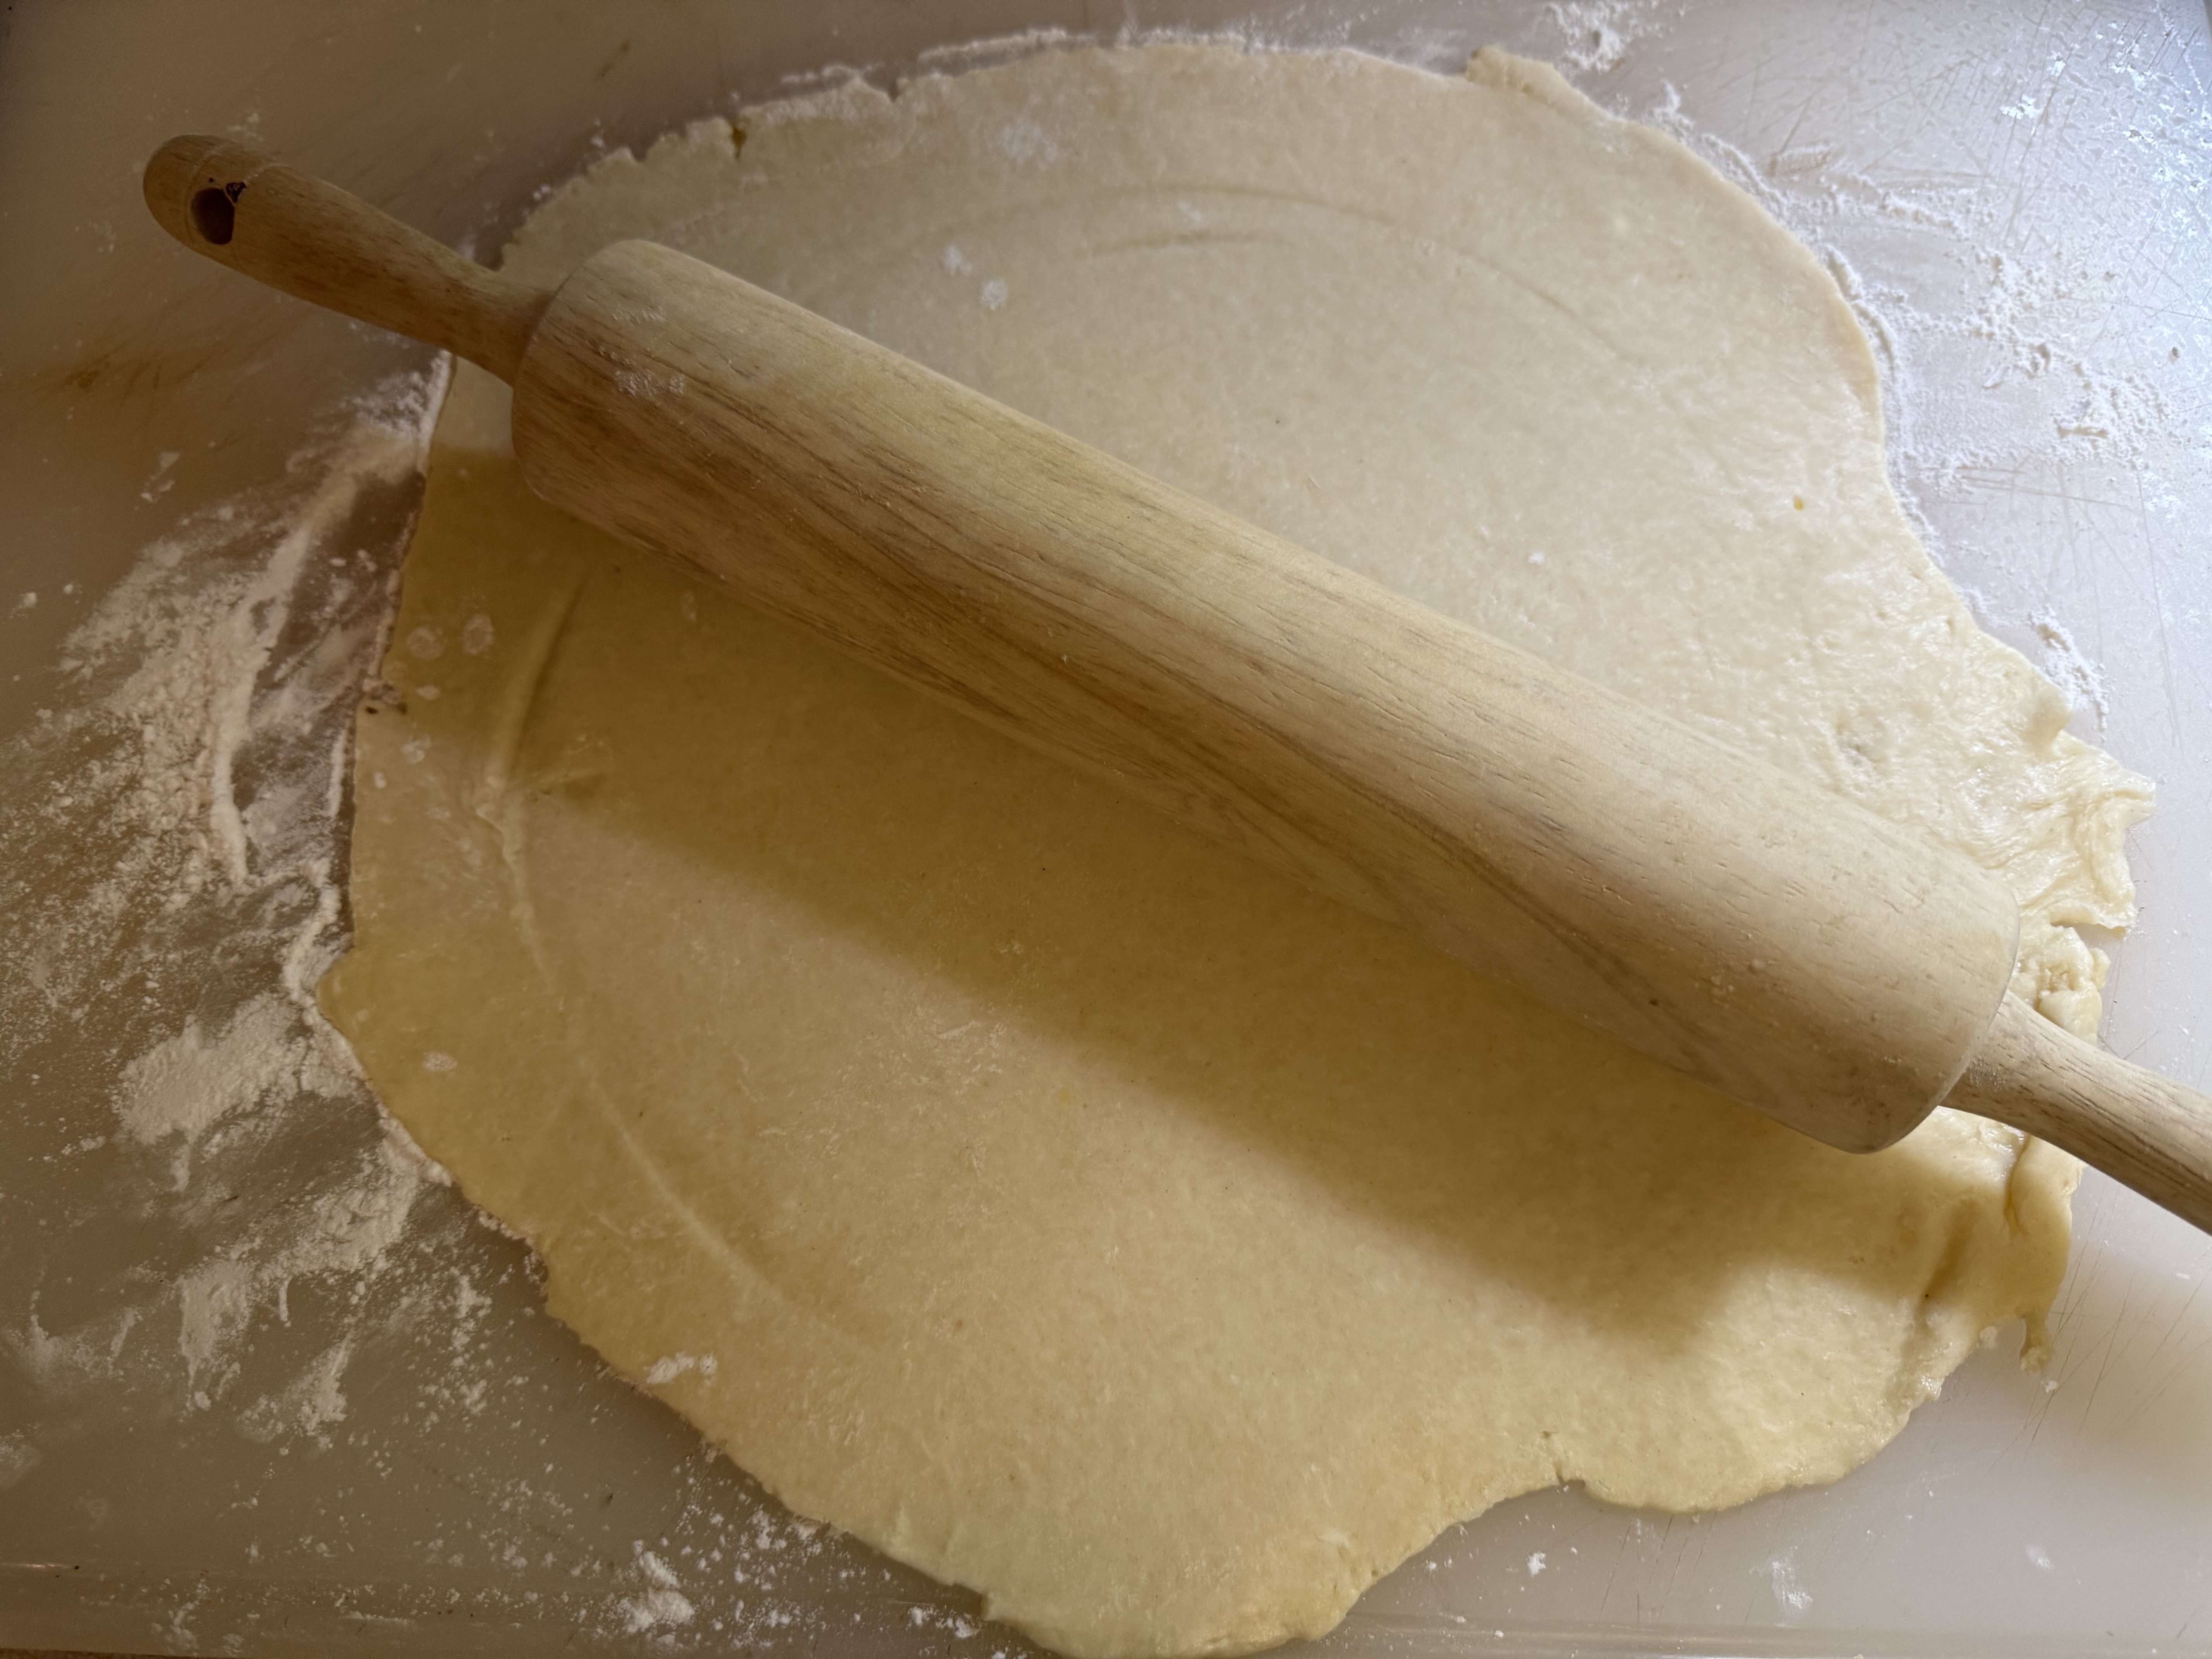
- Use rolling pin to gently roll dough into a circle which is 2″ larger than diameter of pie pan. Turn dough occasionally sprinkling more flour beneath and on top of the dough. Dough will be about 1/4″ thick. Work quickly so that the pastry stays as cold as possible.
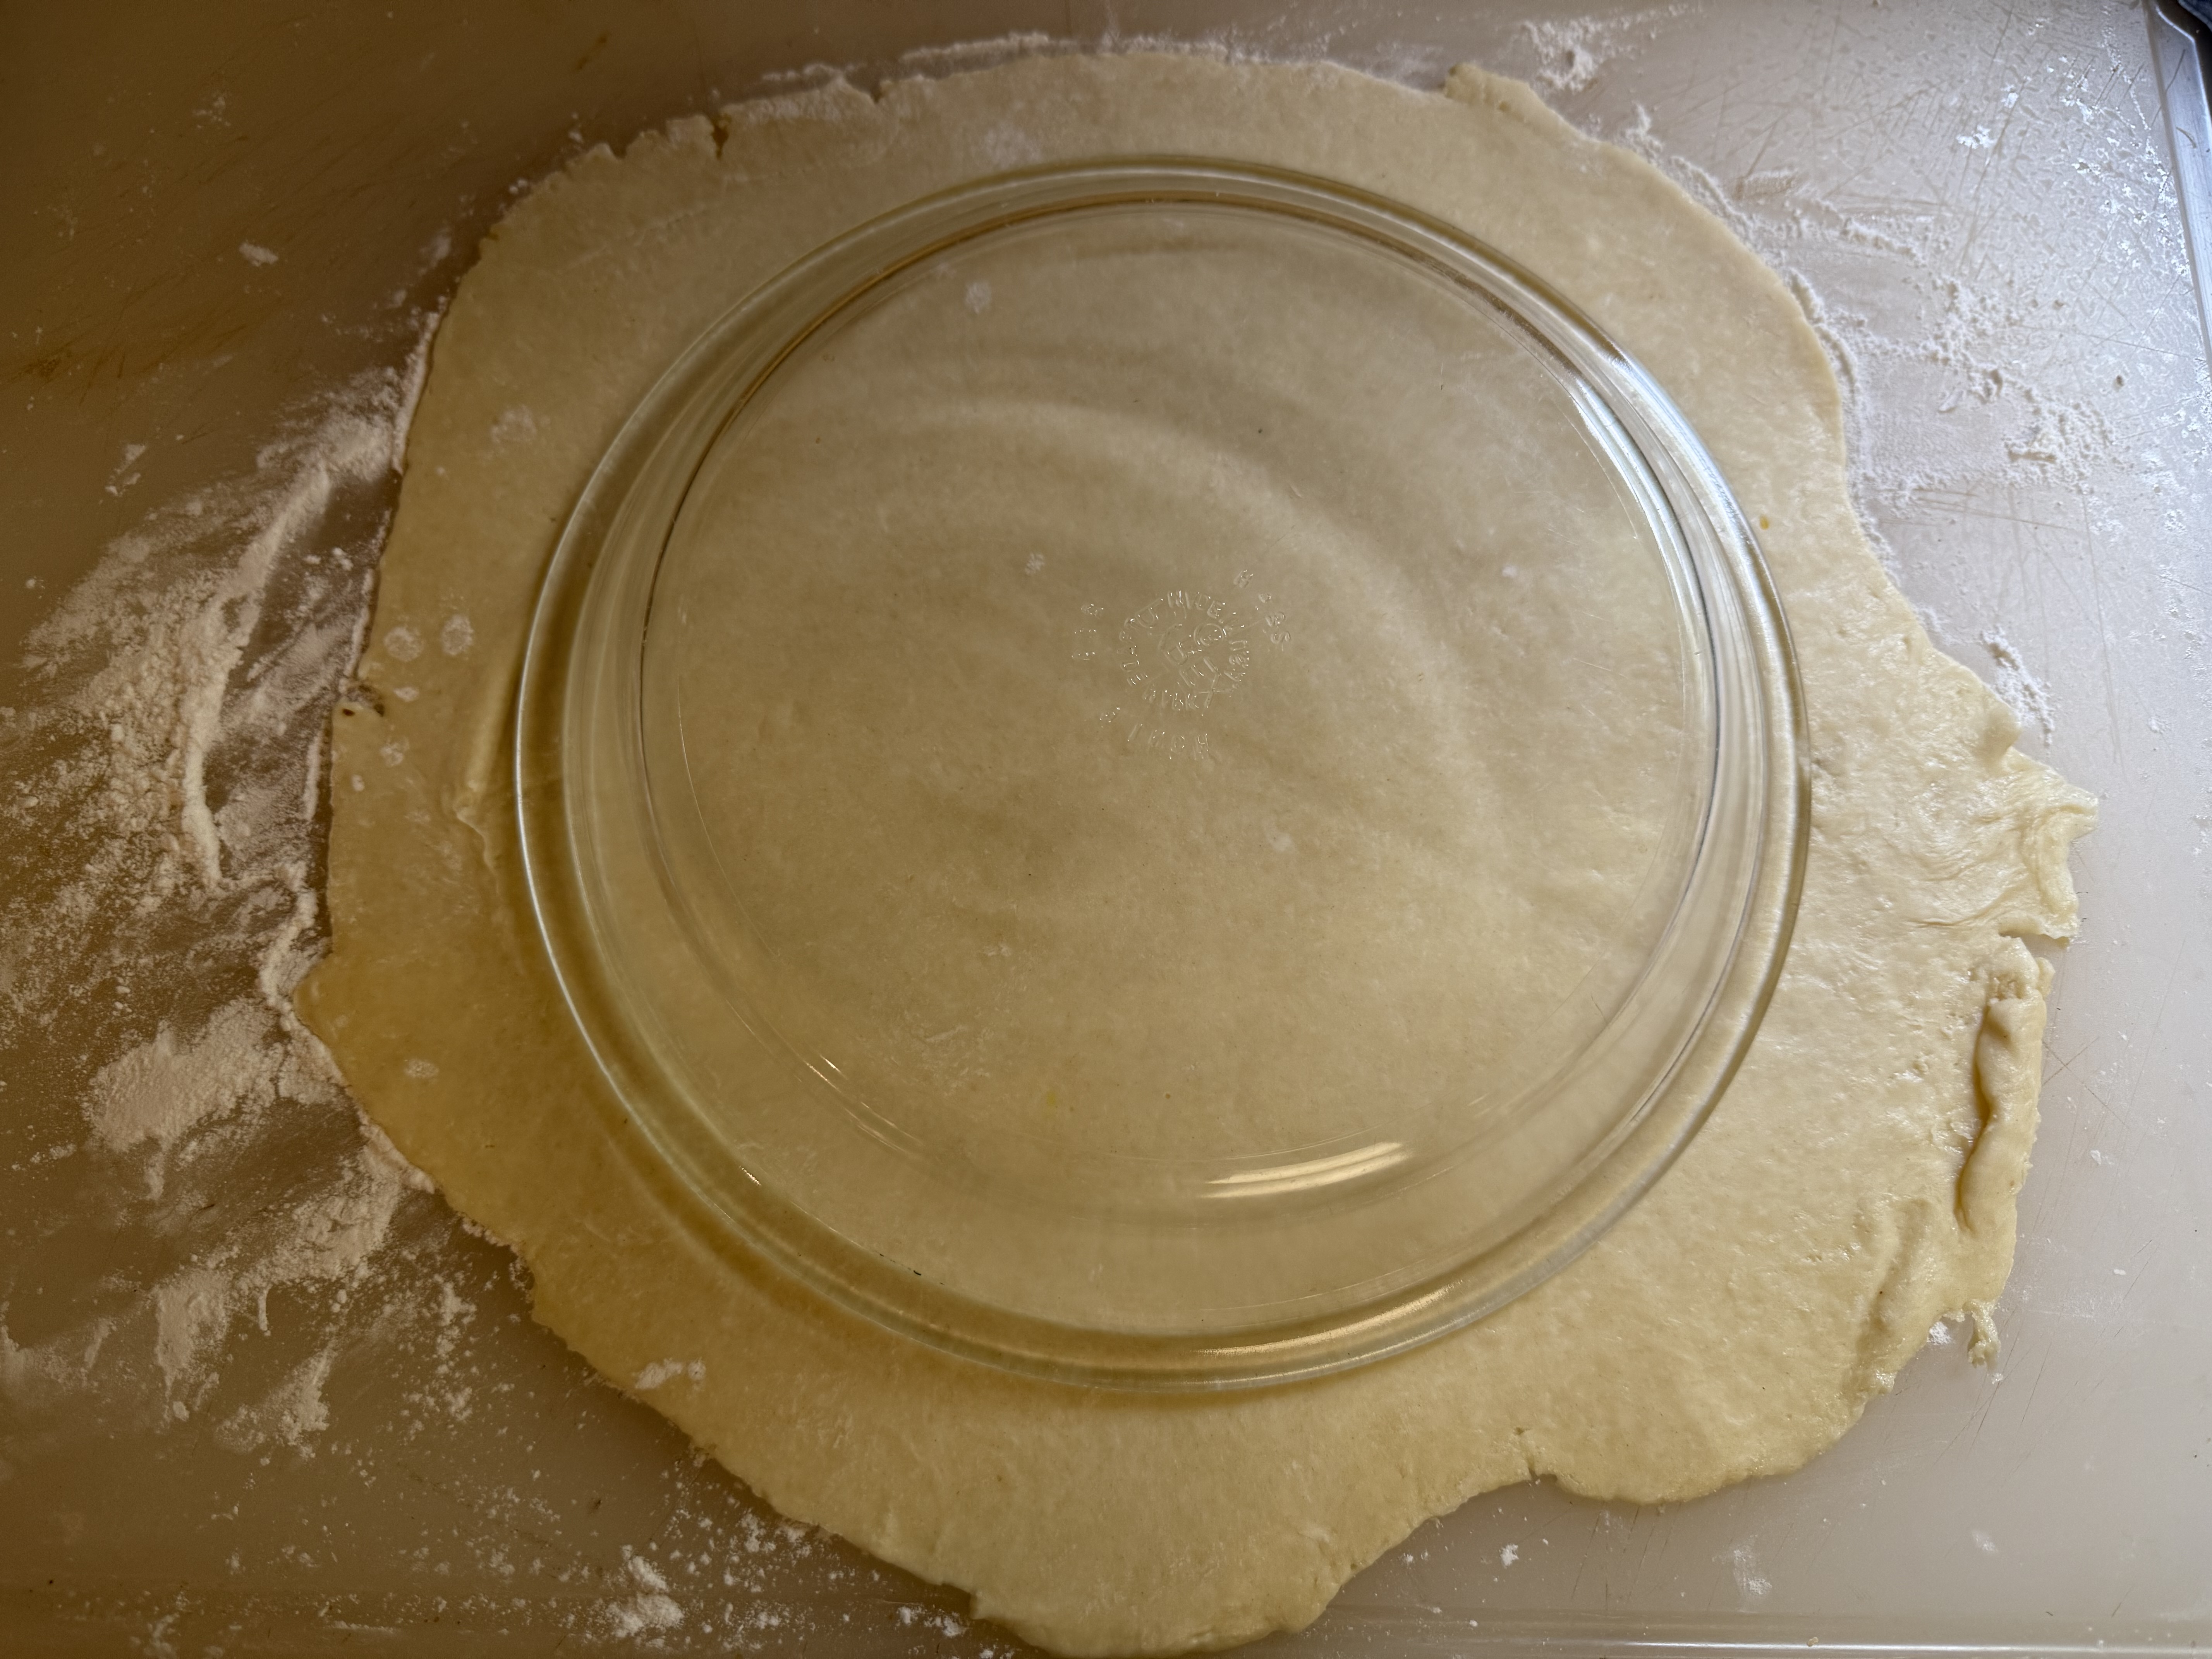
- Transfer dough to standard 9″ pie pan, trying not to stretch dough. Press pie dough all the way to the edges.
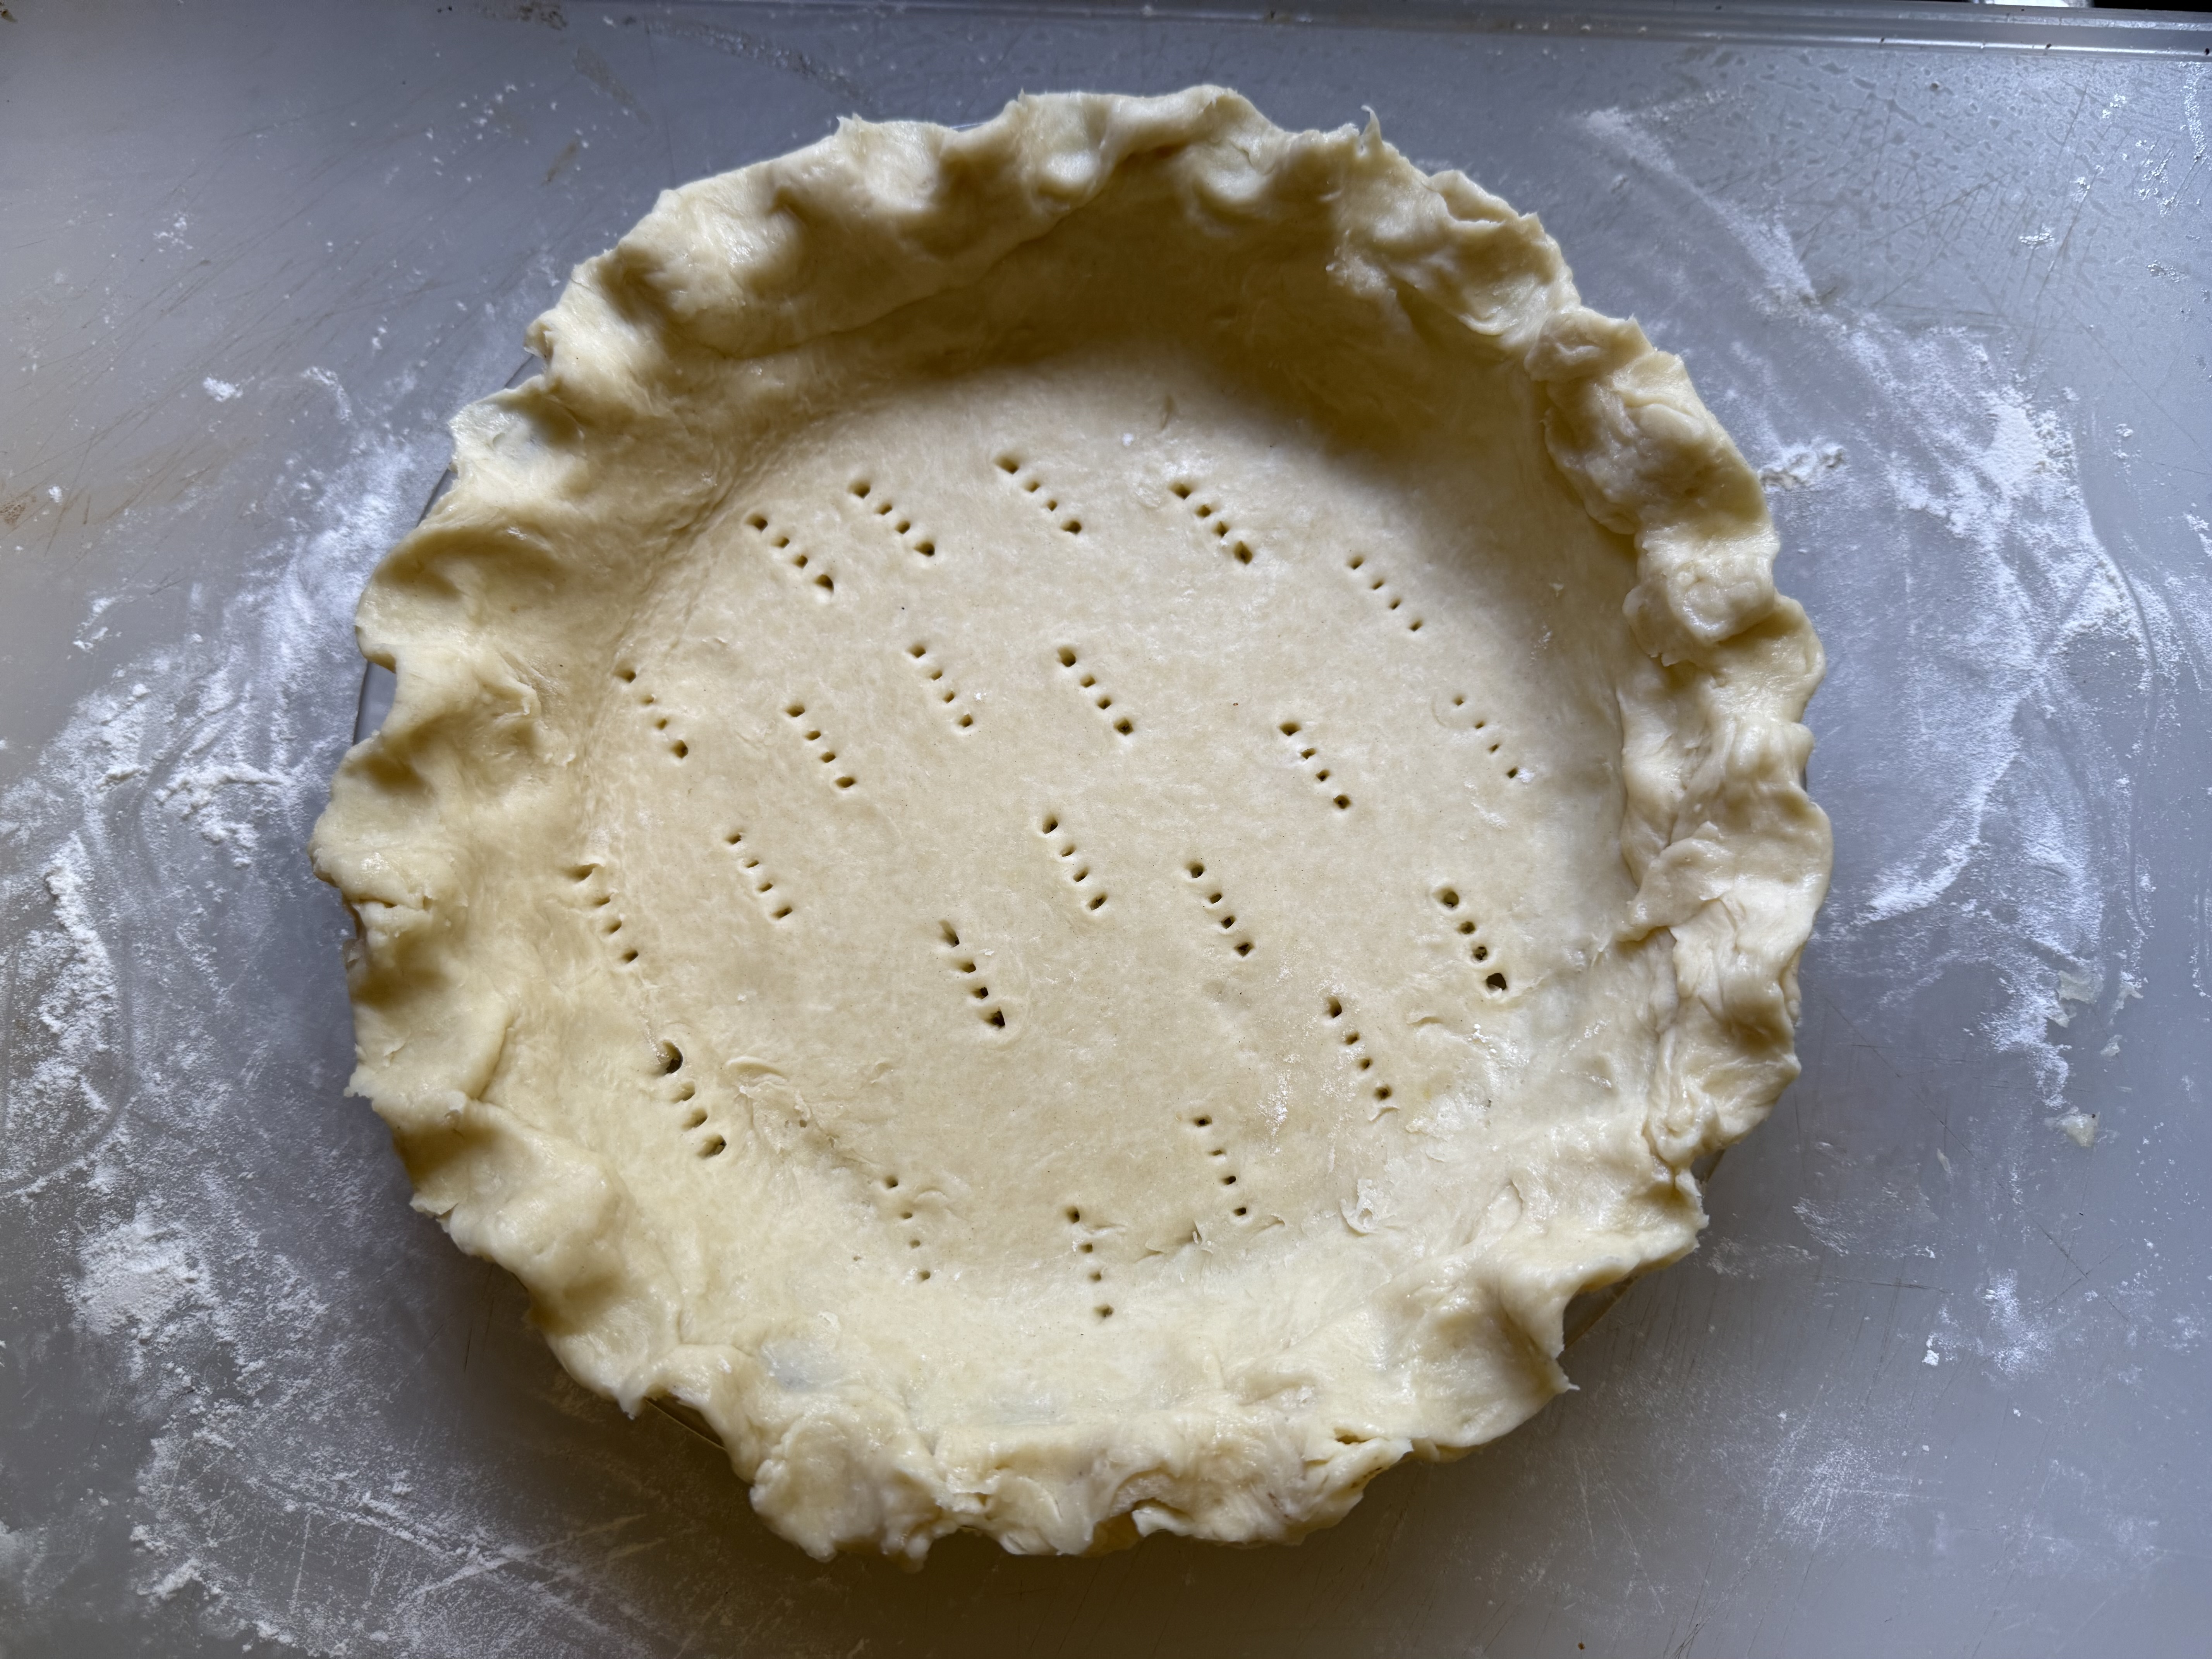
- Use a fork to polk holes into bottom of pie crust, about 1″ apart.
- Trim top edges and crimp.
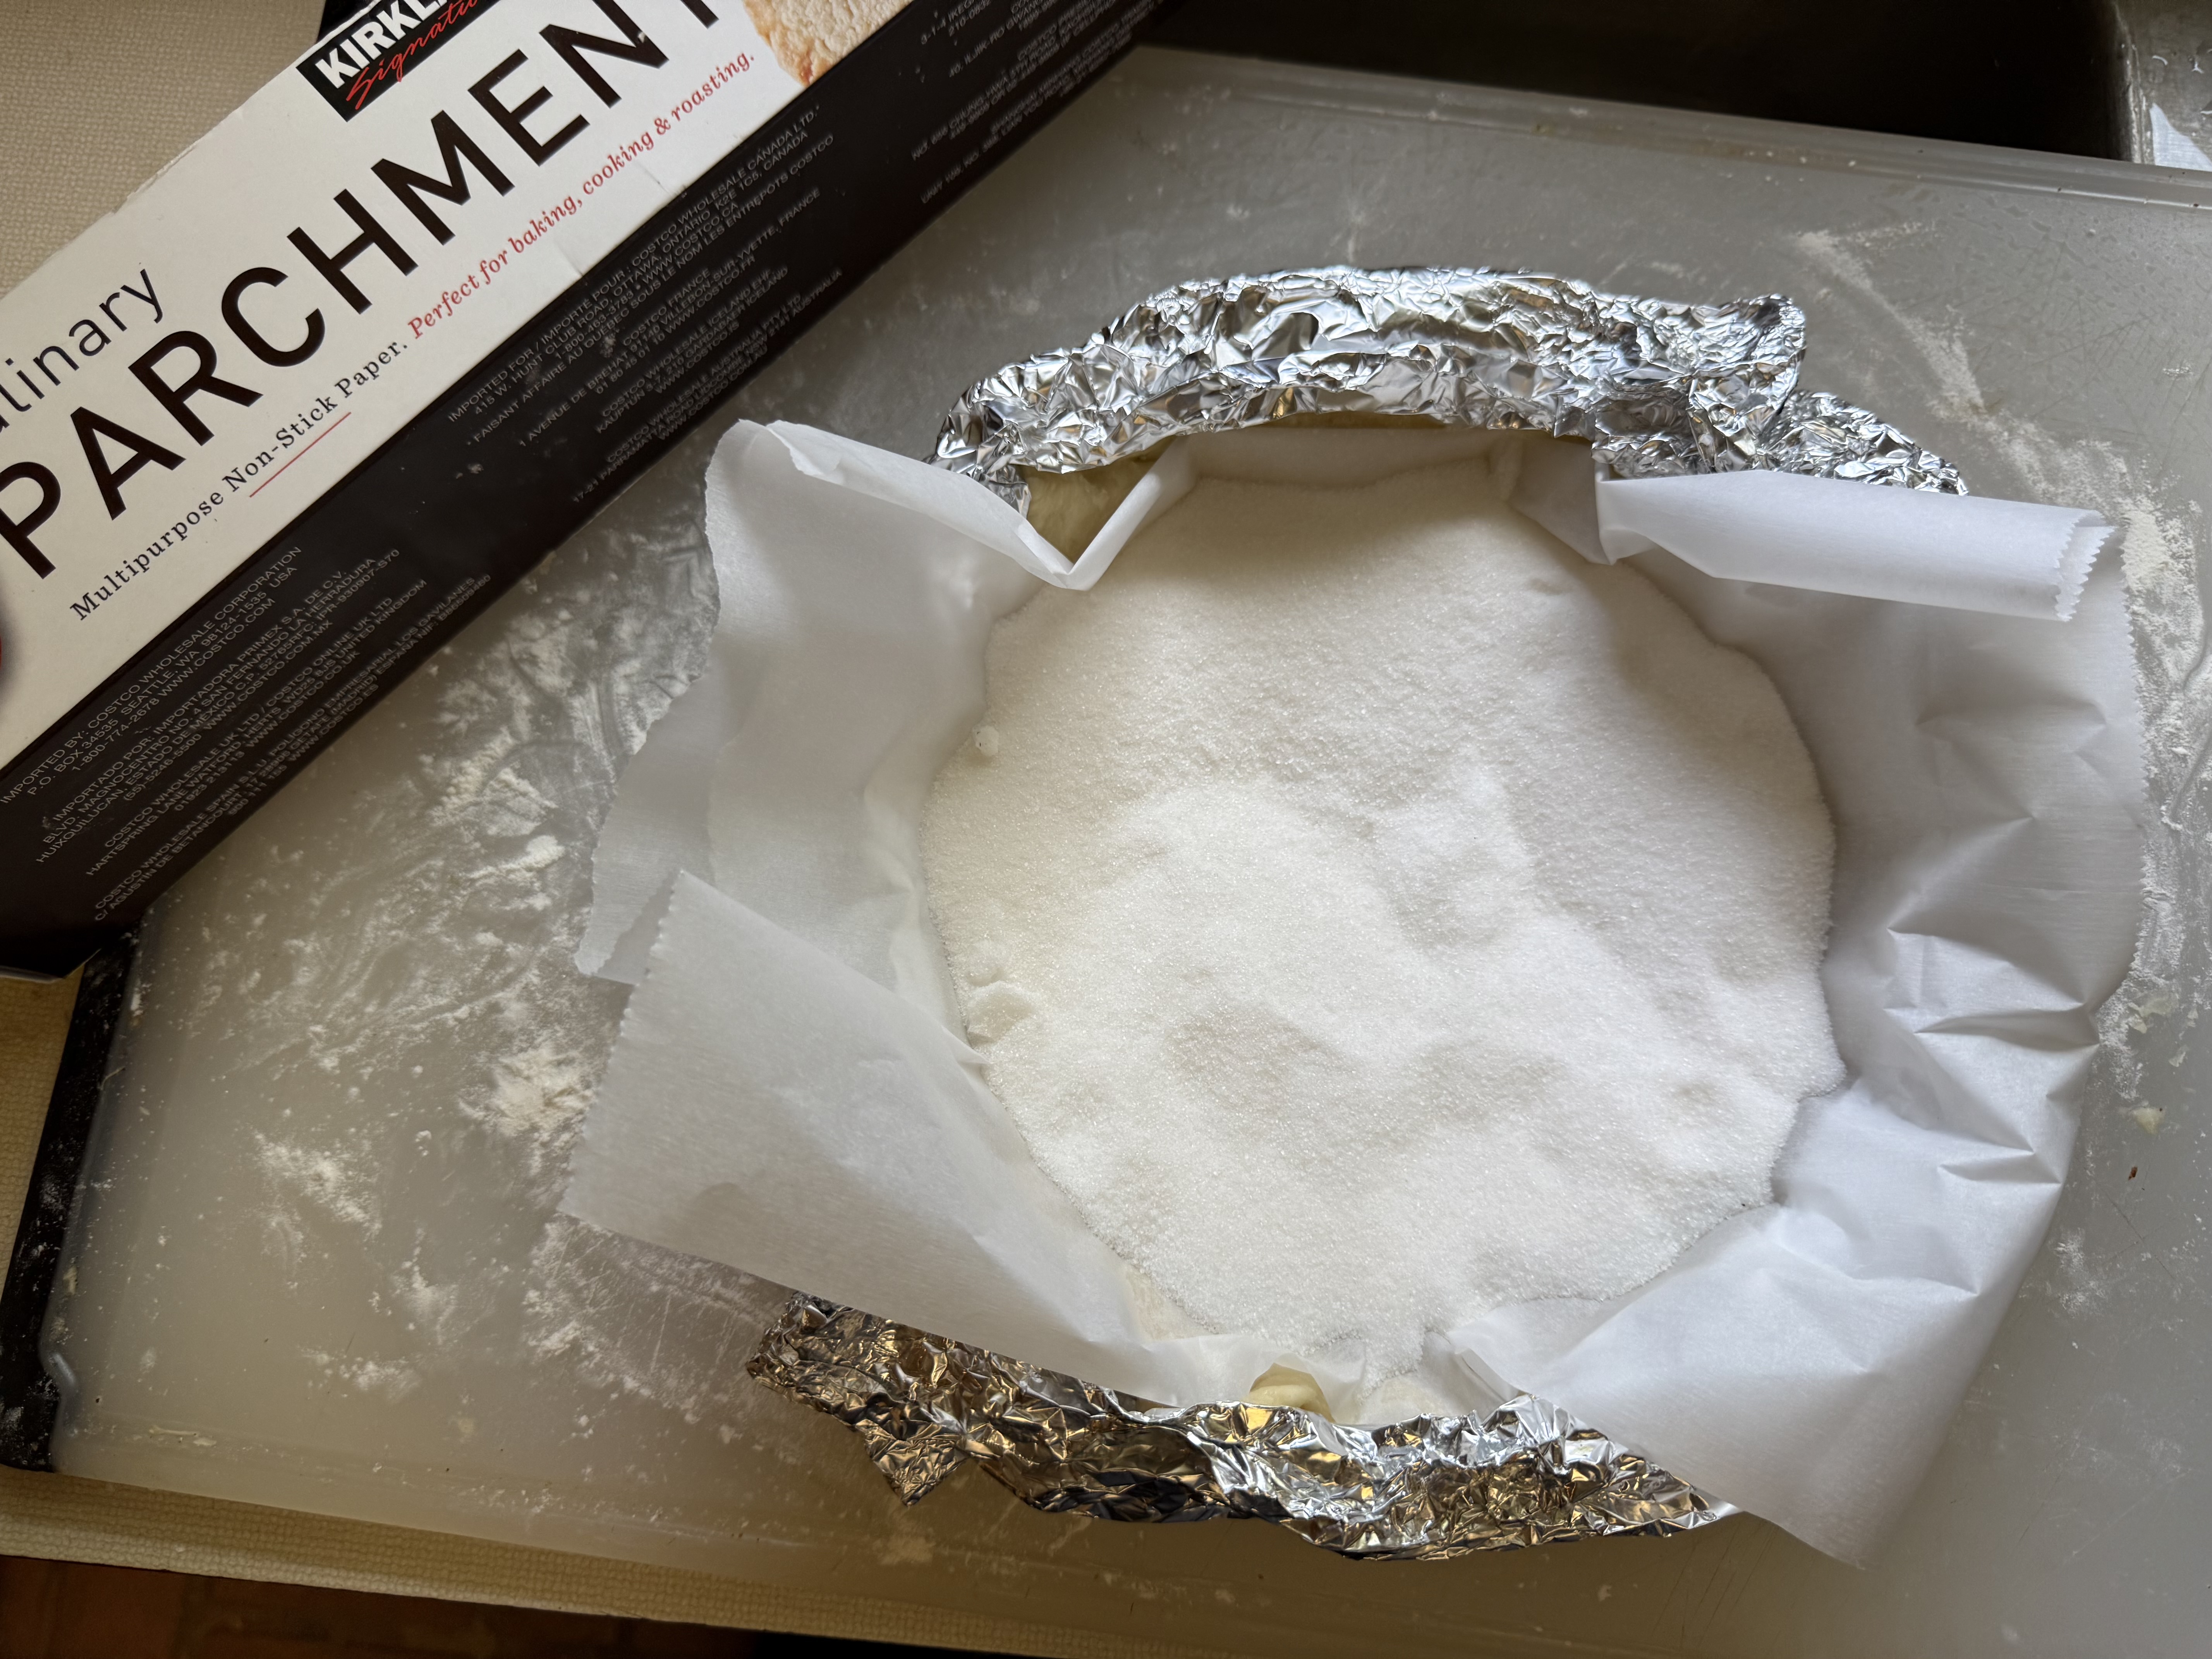
- Use a long piece of aluminum foil and place around crimped top edge of pie shell to protect edge.
- Place a piece of parchment paper in bottom and up sides of pan. Carefully press all the way to the edges. Add pie weights to bottom of pan to weight it down. (Sugar, uncooked rice or dried beans can be used as pie weights.)
- Bake in 375 degree oven for 20 – 25 minutes.*
- Remove from oven. Remove foil from top edges and parchment paper filled with pie weights.
- Place back in oven and bake for an additional 5 to 10 minutes to “set” the bottom of the pie shell.
- Remove from oven and cool to room temperature.
- May freeze unbaked pie shell for future use, if desired. Remove from freezer, thaw and proceed at Step #11.
*NOTE: Cooking time depends upon material of pie pan and placement in oven.
Making a Pie Shell Using a Food Processor
Here are my steps for making a quick and simple pie shell using a food processor.
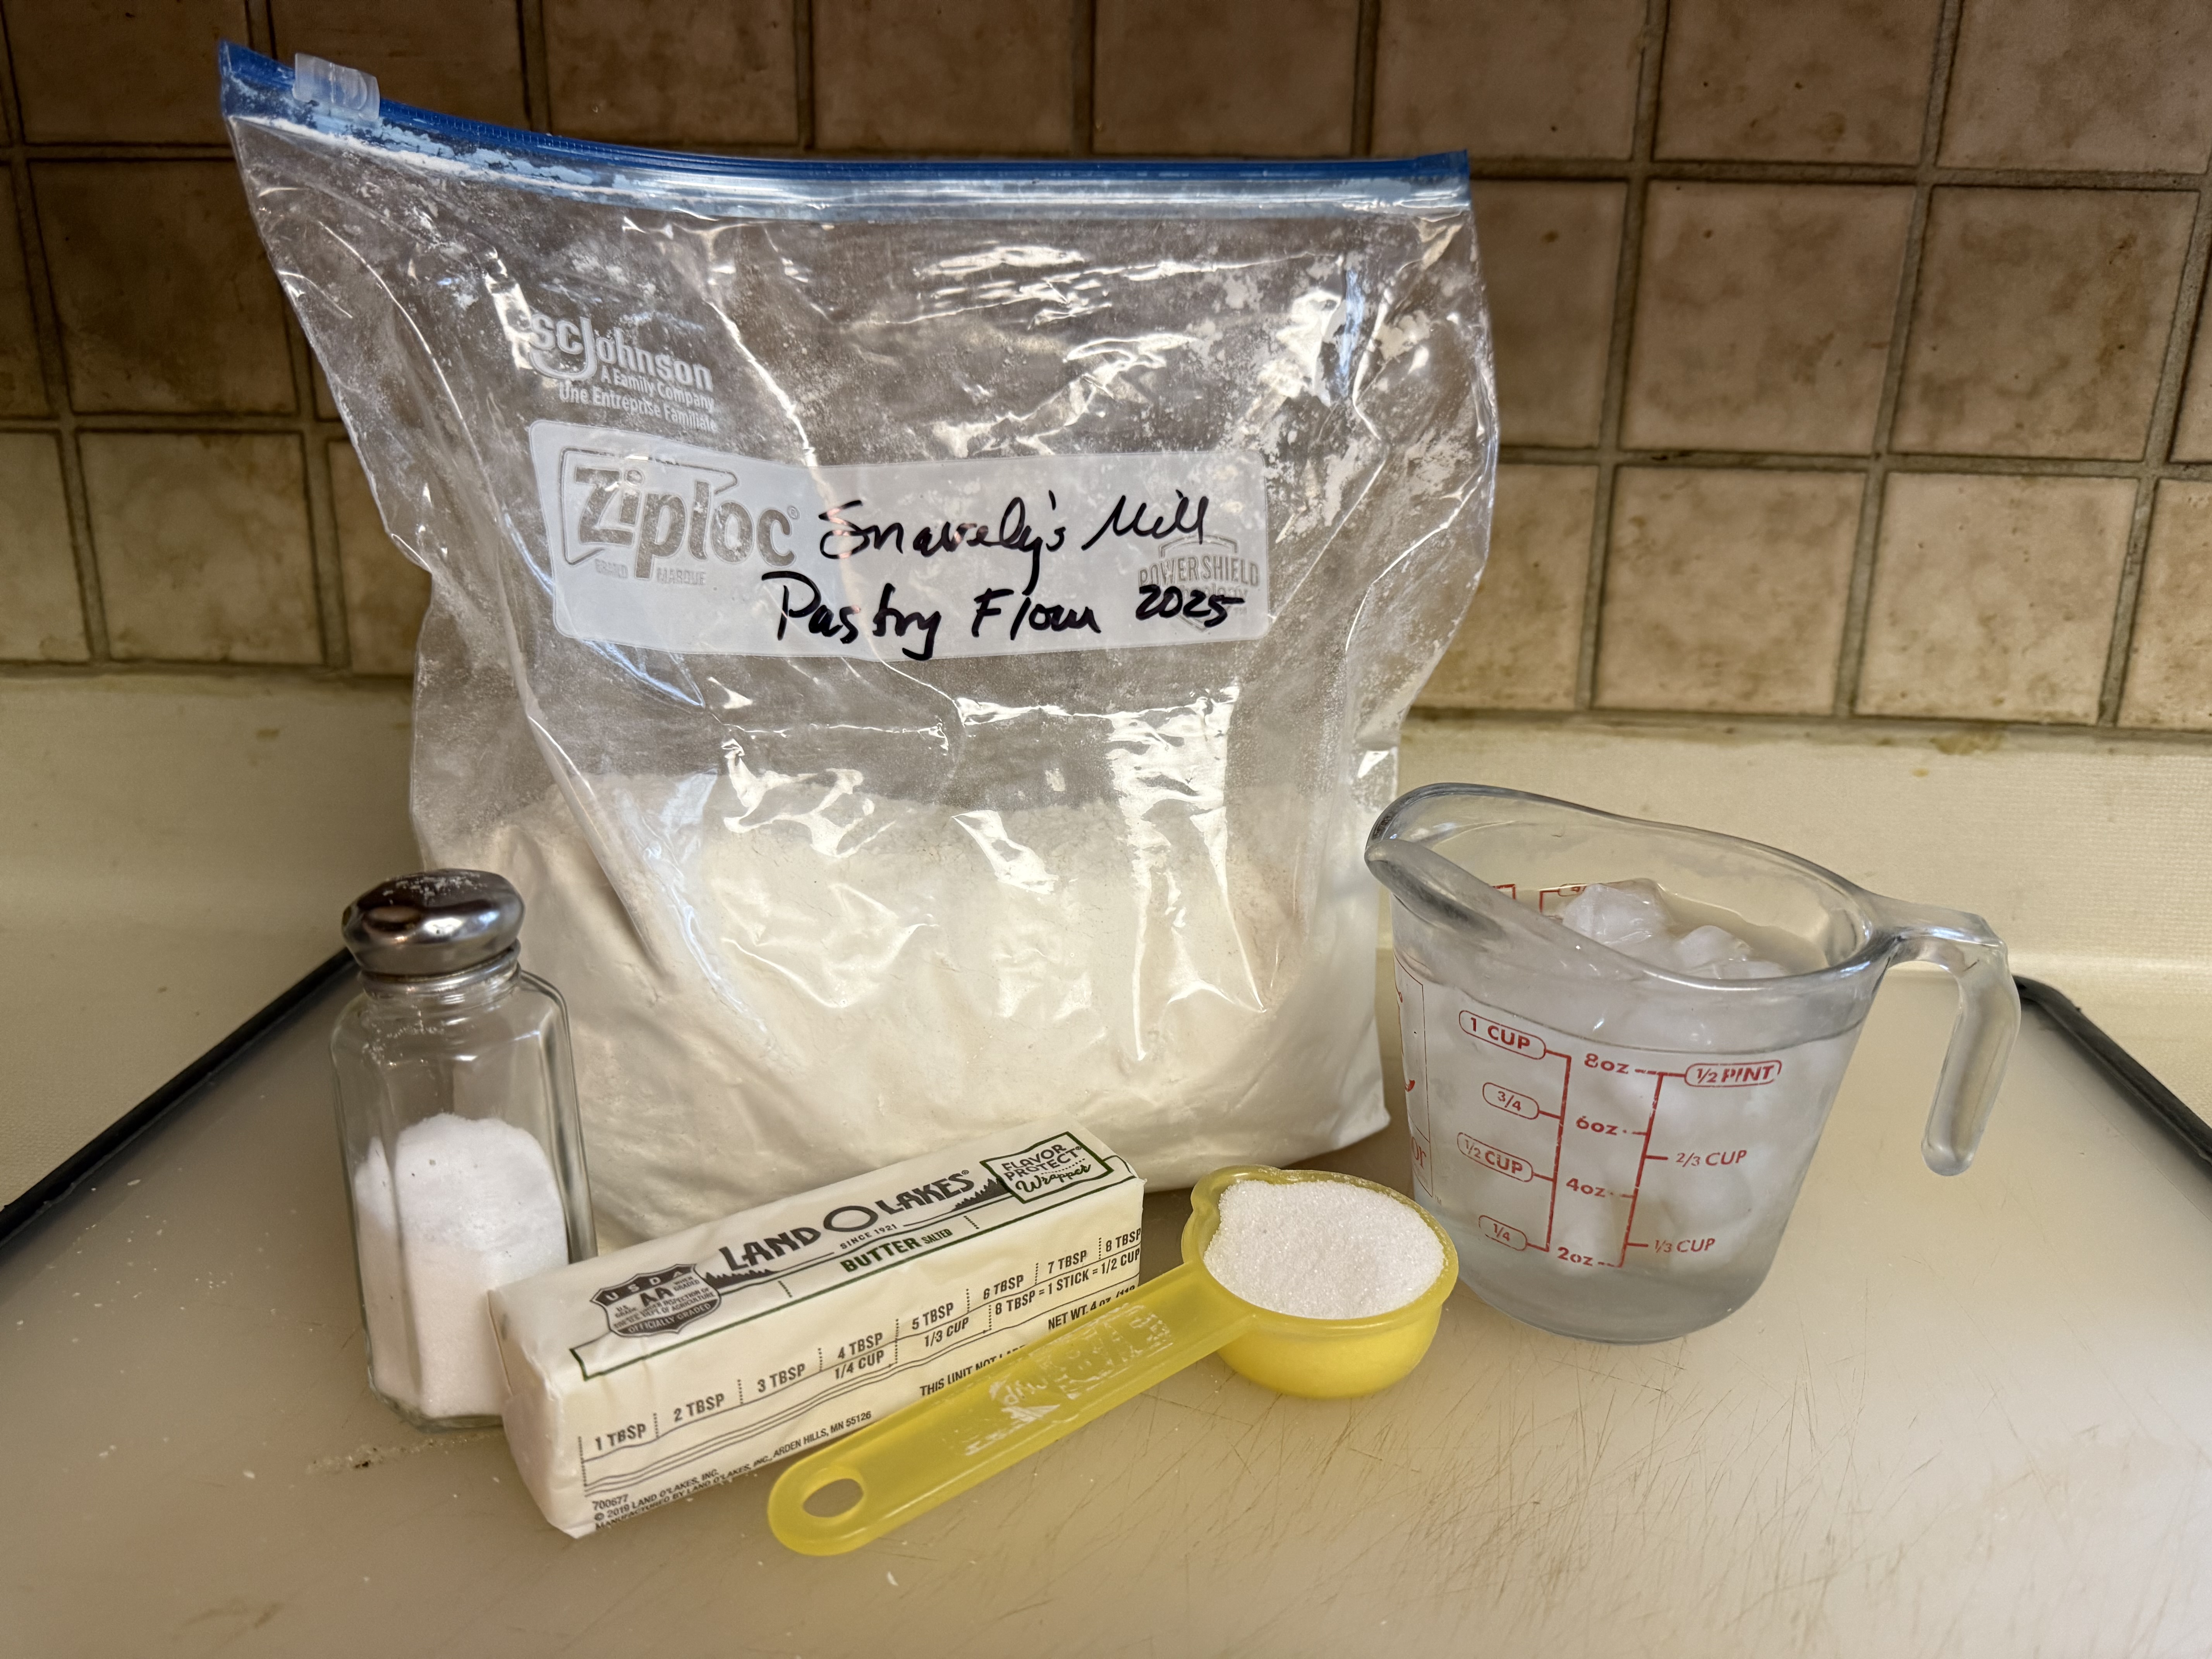
Pie shells typically have three ingredients — flour, shortening (I used butter) and ice water. Plus, I added sugar — which makes it extra rich and a little sweet — and a pinch of salt.
I use my food processor to mix up the dough. This makes the process quick and simple. First, add the flour, sugar (if using) and salt to the food processor bowl and pulse to mix together (or use a rubber spatula to mix the ingredients.)
Add cold chunks of butter.
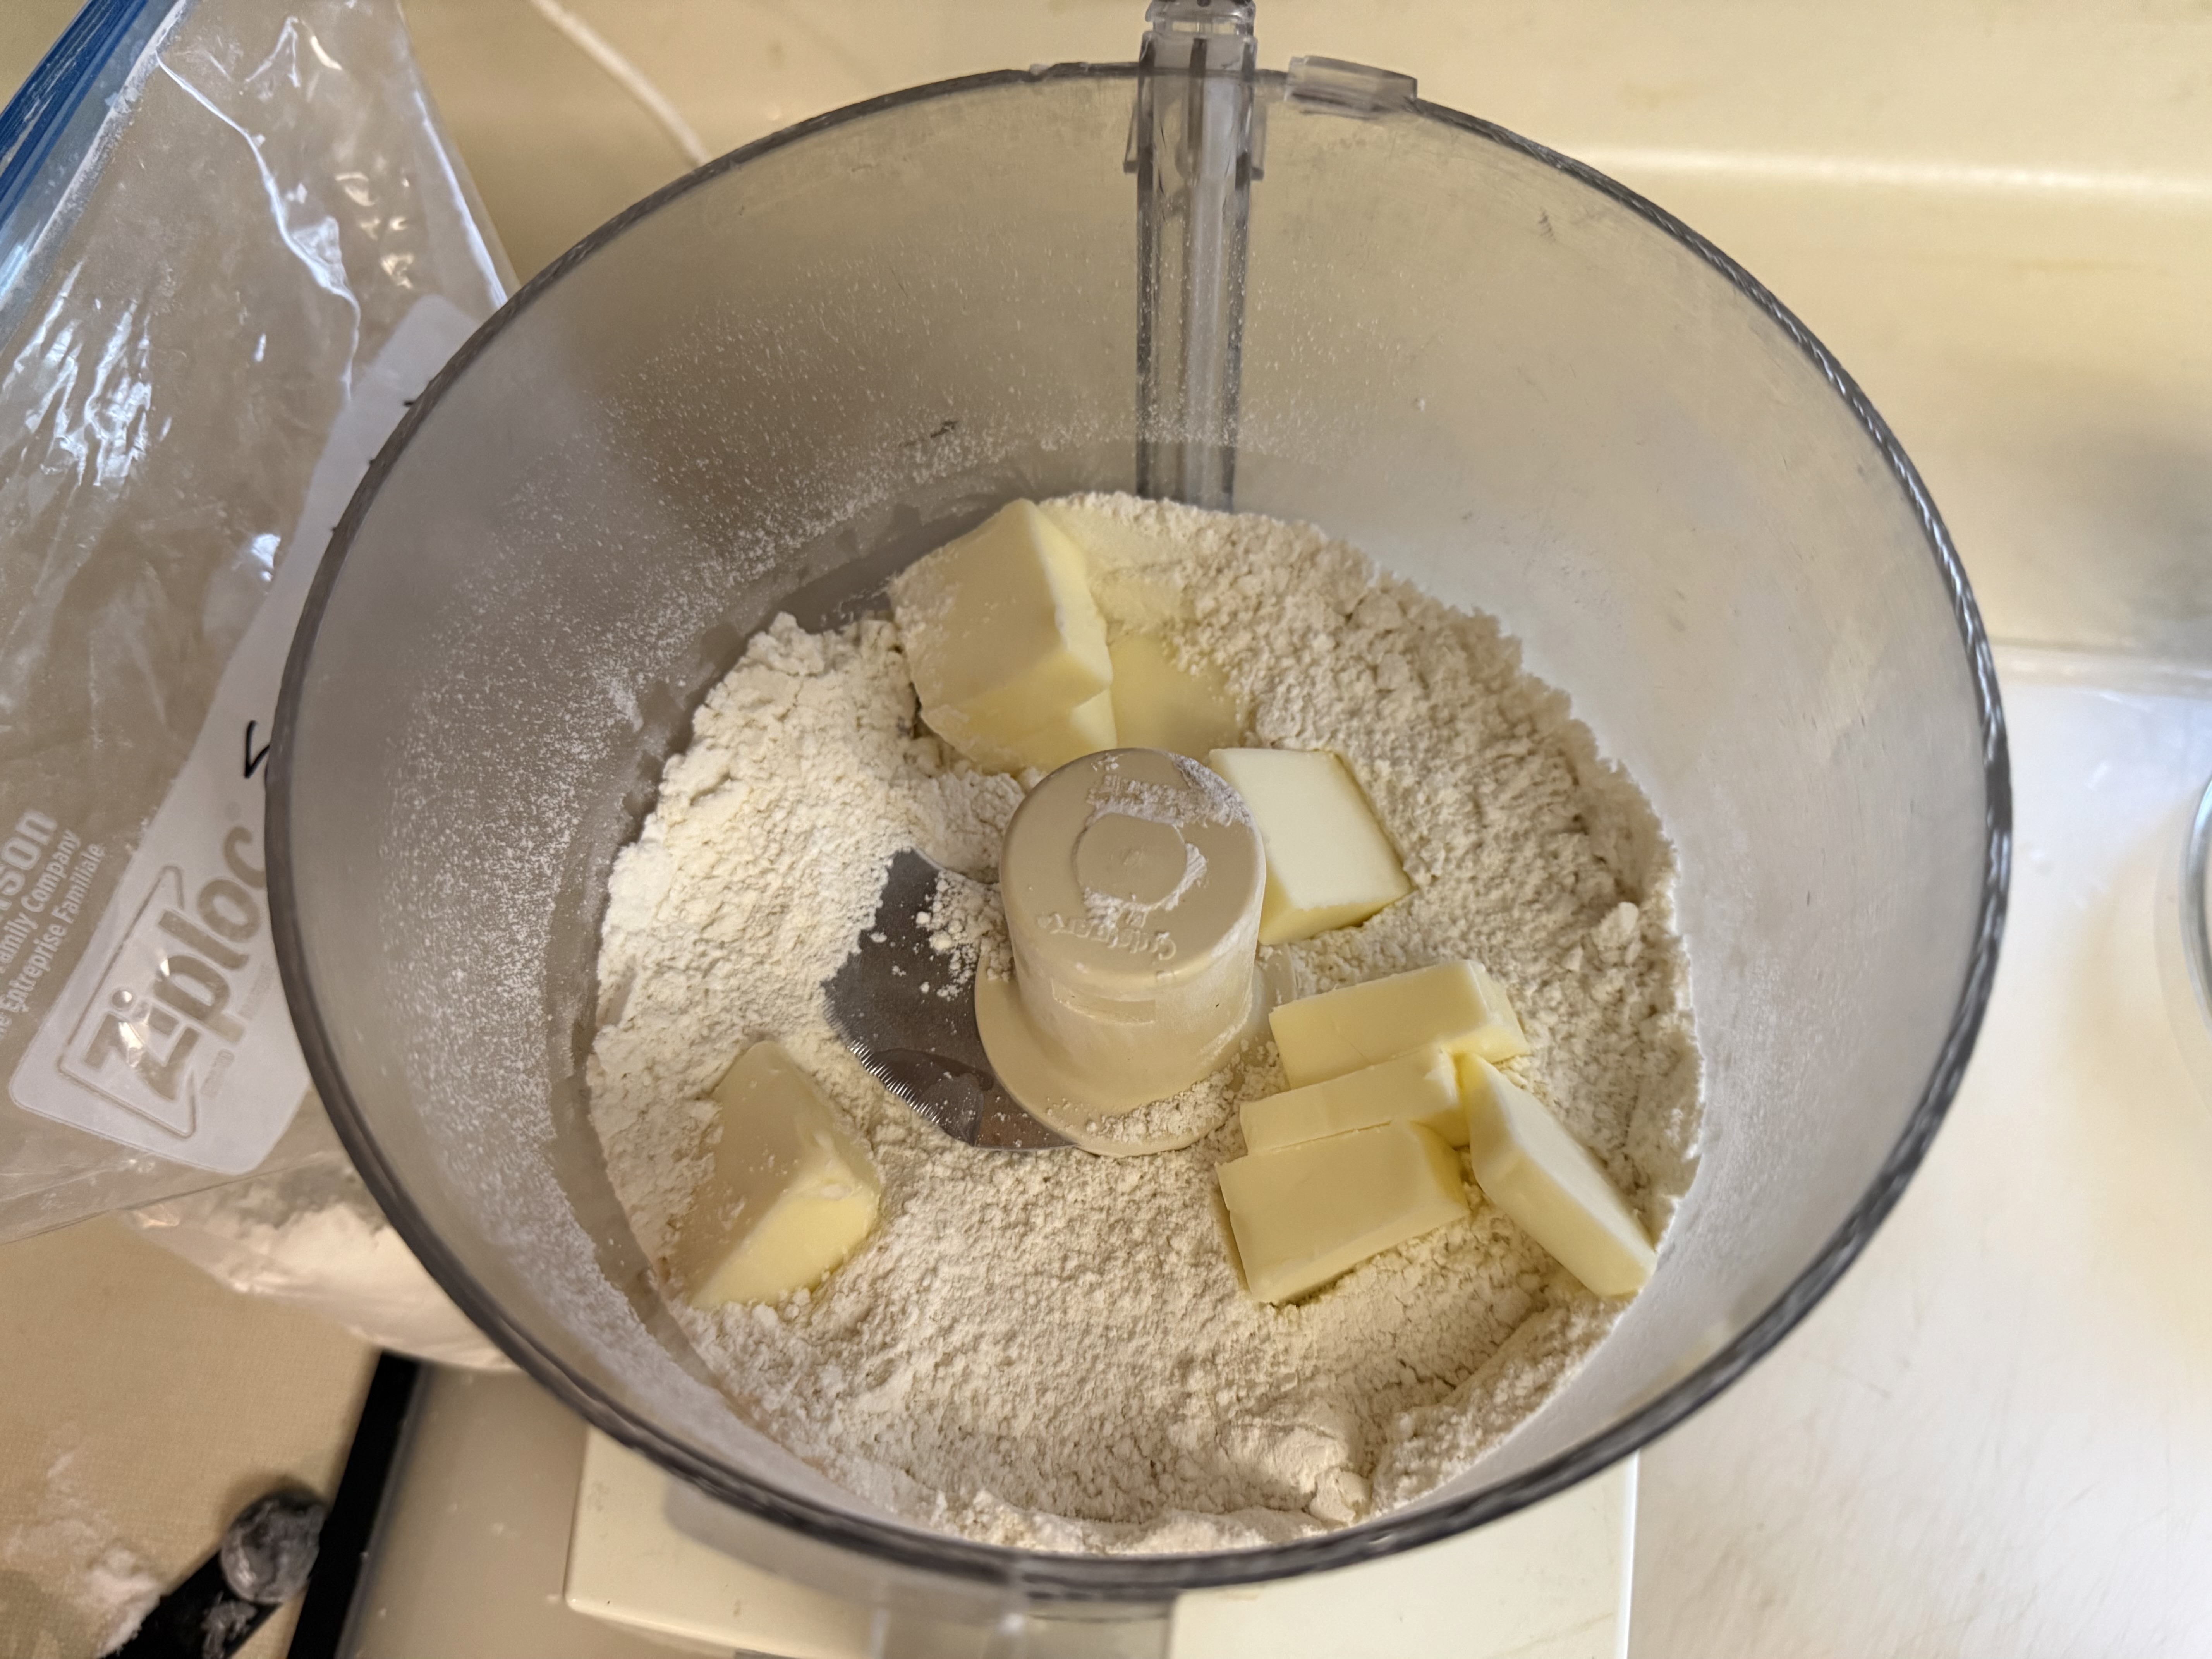
Pulse off and on until the butter is cut in and the mixture is grainy in texture.
With the motor running, add ice water. The mixture should form into a ball.
Wrap in plastic wrap and chill for 45 minutes. You can chill the dough overnight in the refrigerator. In this case, remove an hour in advance to let the pastry warm up so it will be pliable. Also, pastry can be frozen for future use.
When ready to bake the pie crust, place it on a well-floured pastry board. It should be chilled but pliable. I flour both the pastry board and the top of the pastry ball.
Roll out until the pastry dough is 2″ larger than the diameter of the bottom of the pie pan. (This recipe uses a 9″- diameter pie pan.) Keep the pastry board floured so the pie dough pastry doesn’t stick to the pastry board. Turn the pastry as you go along.
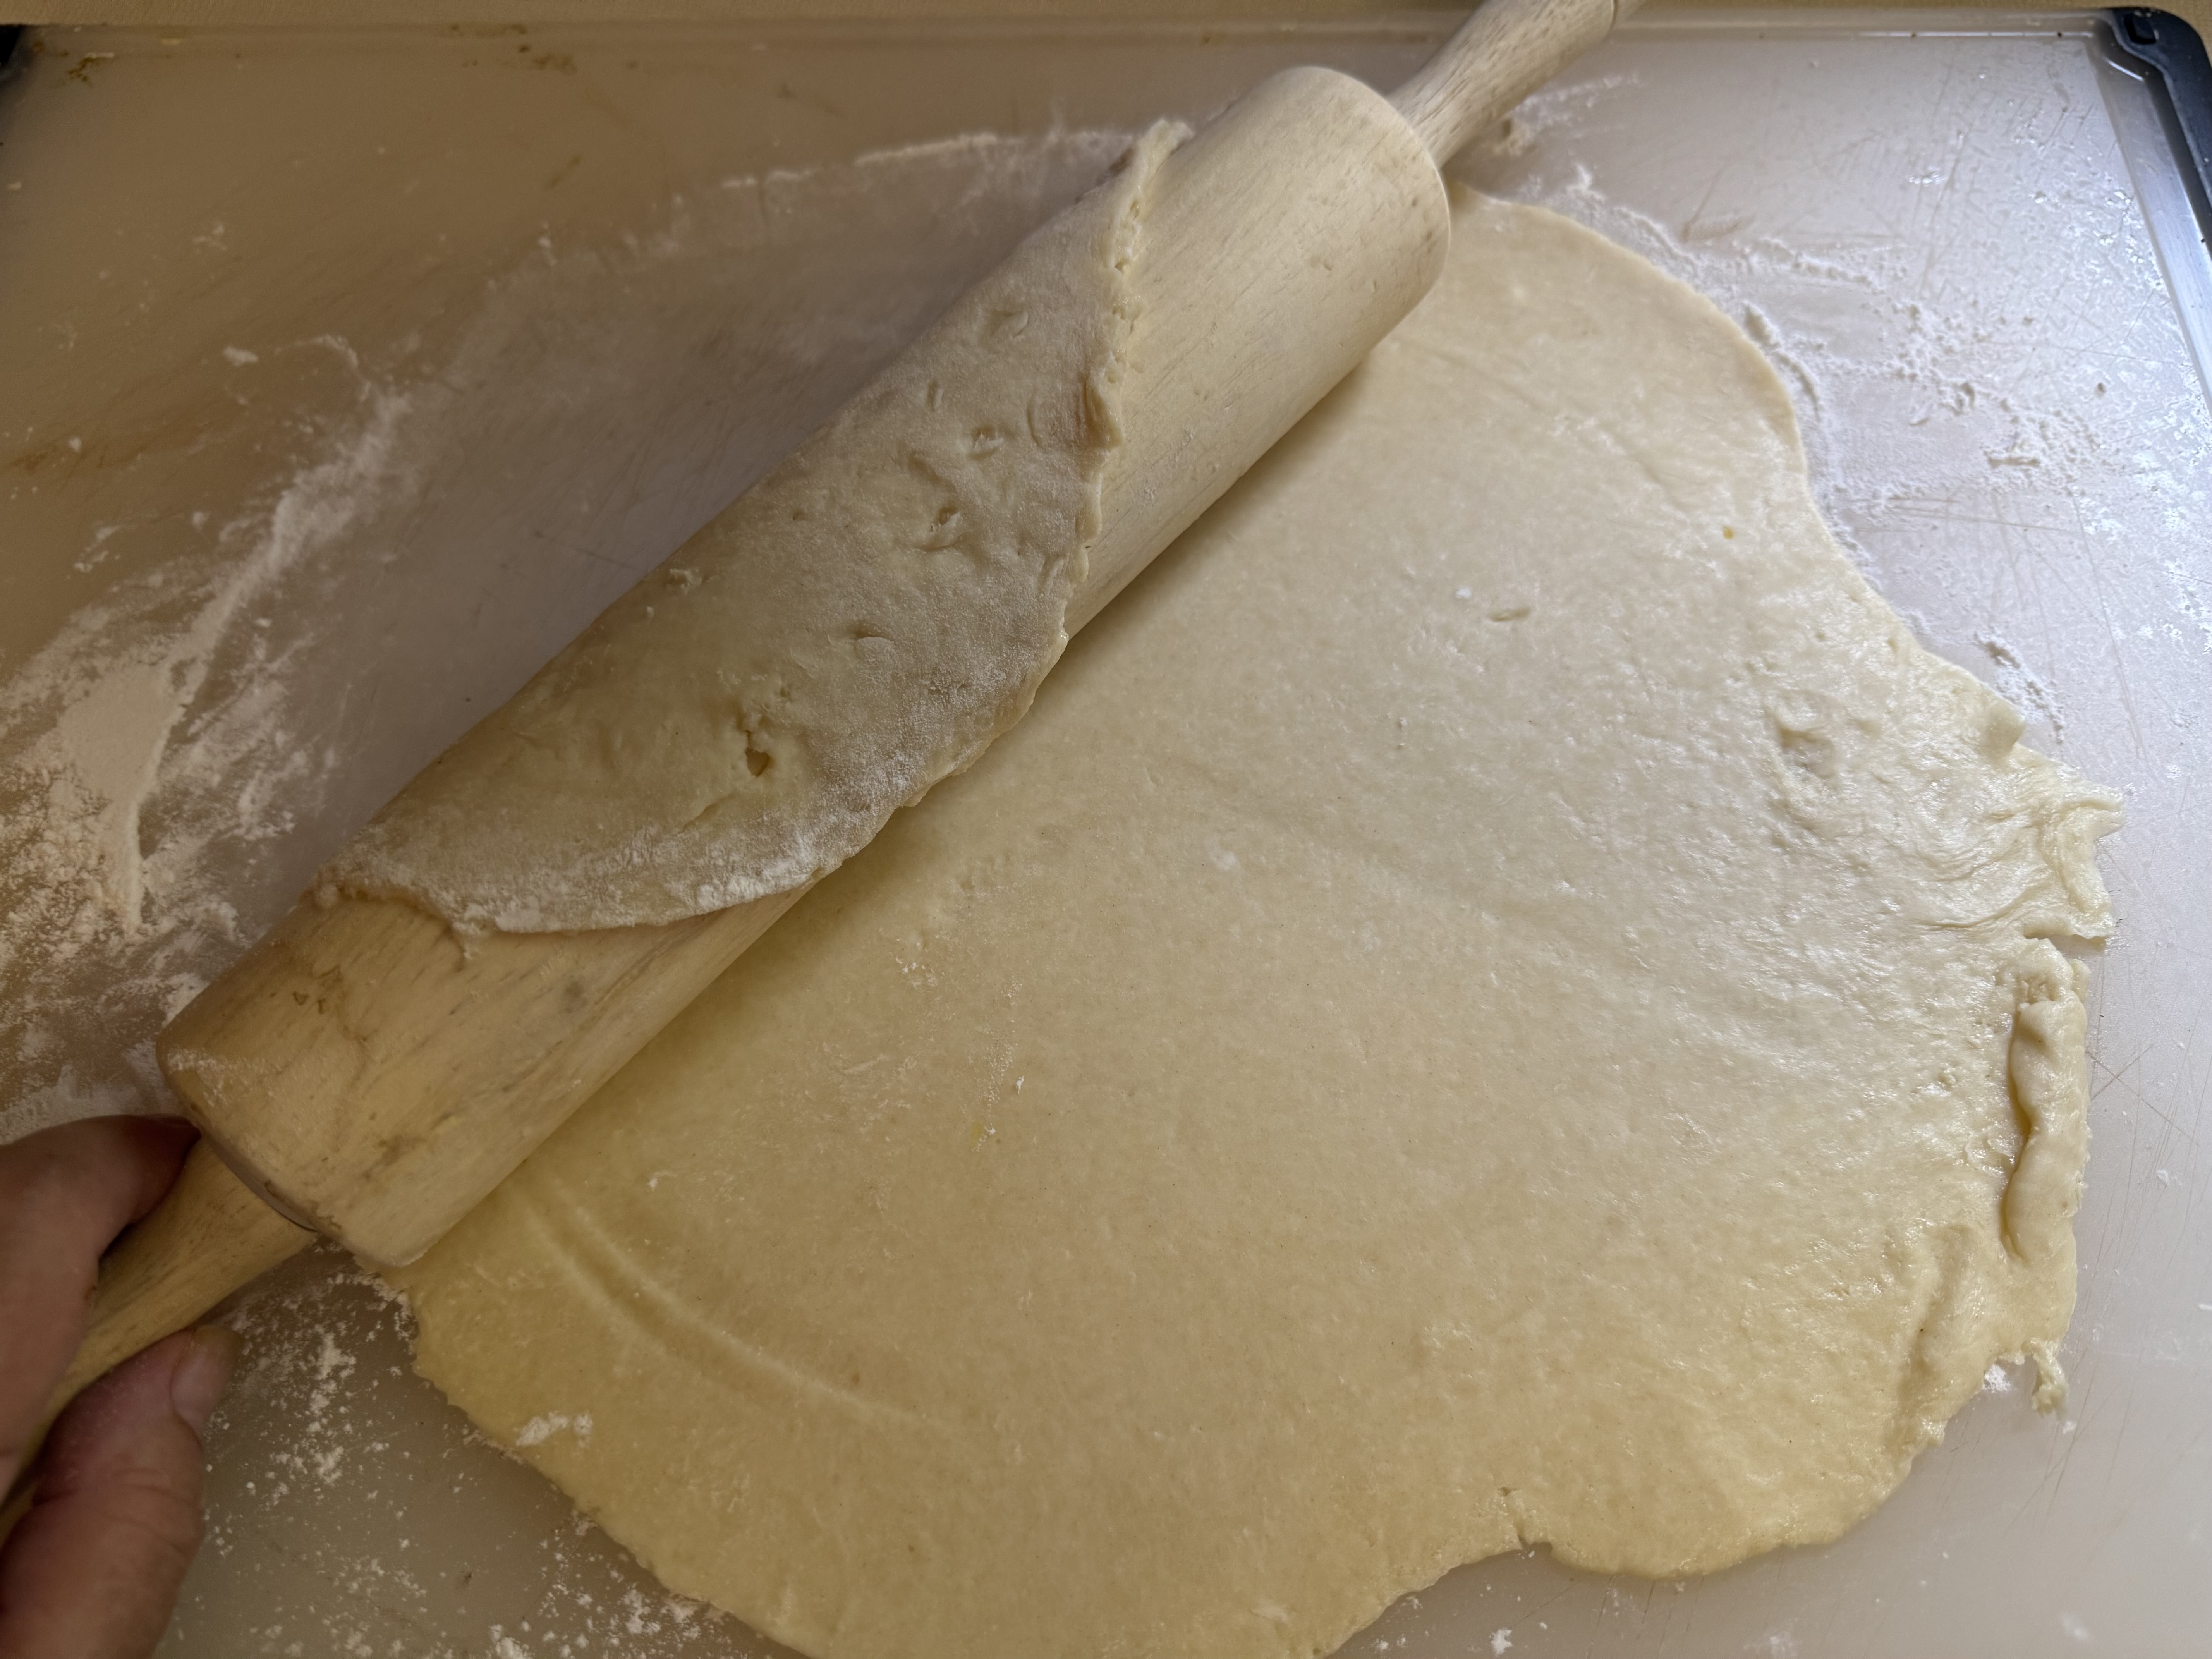
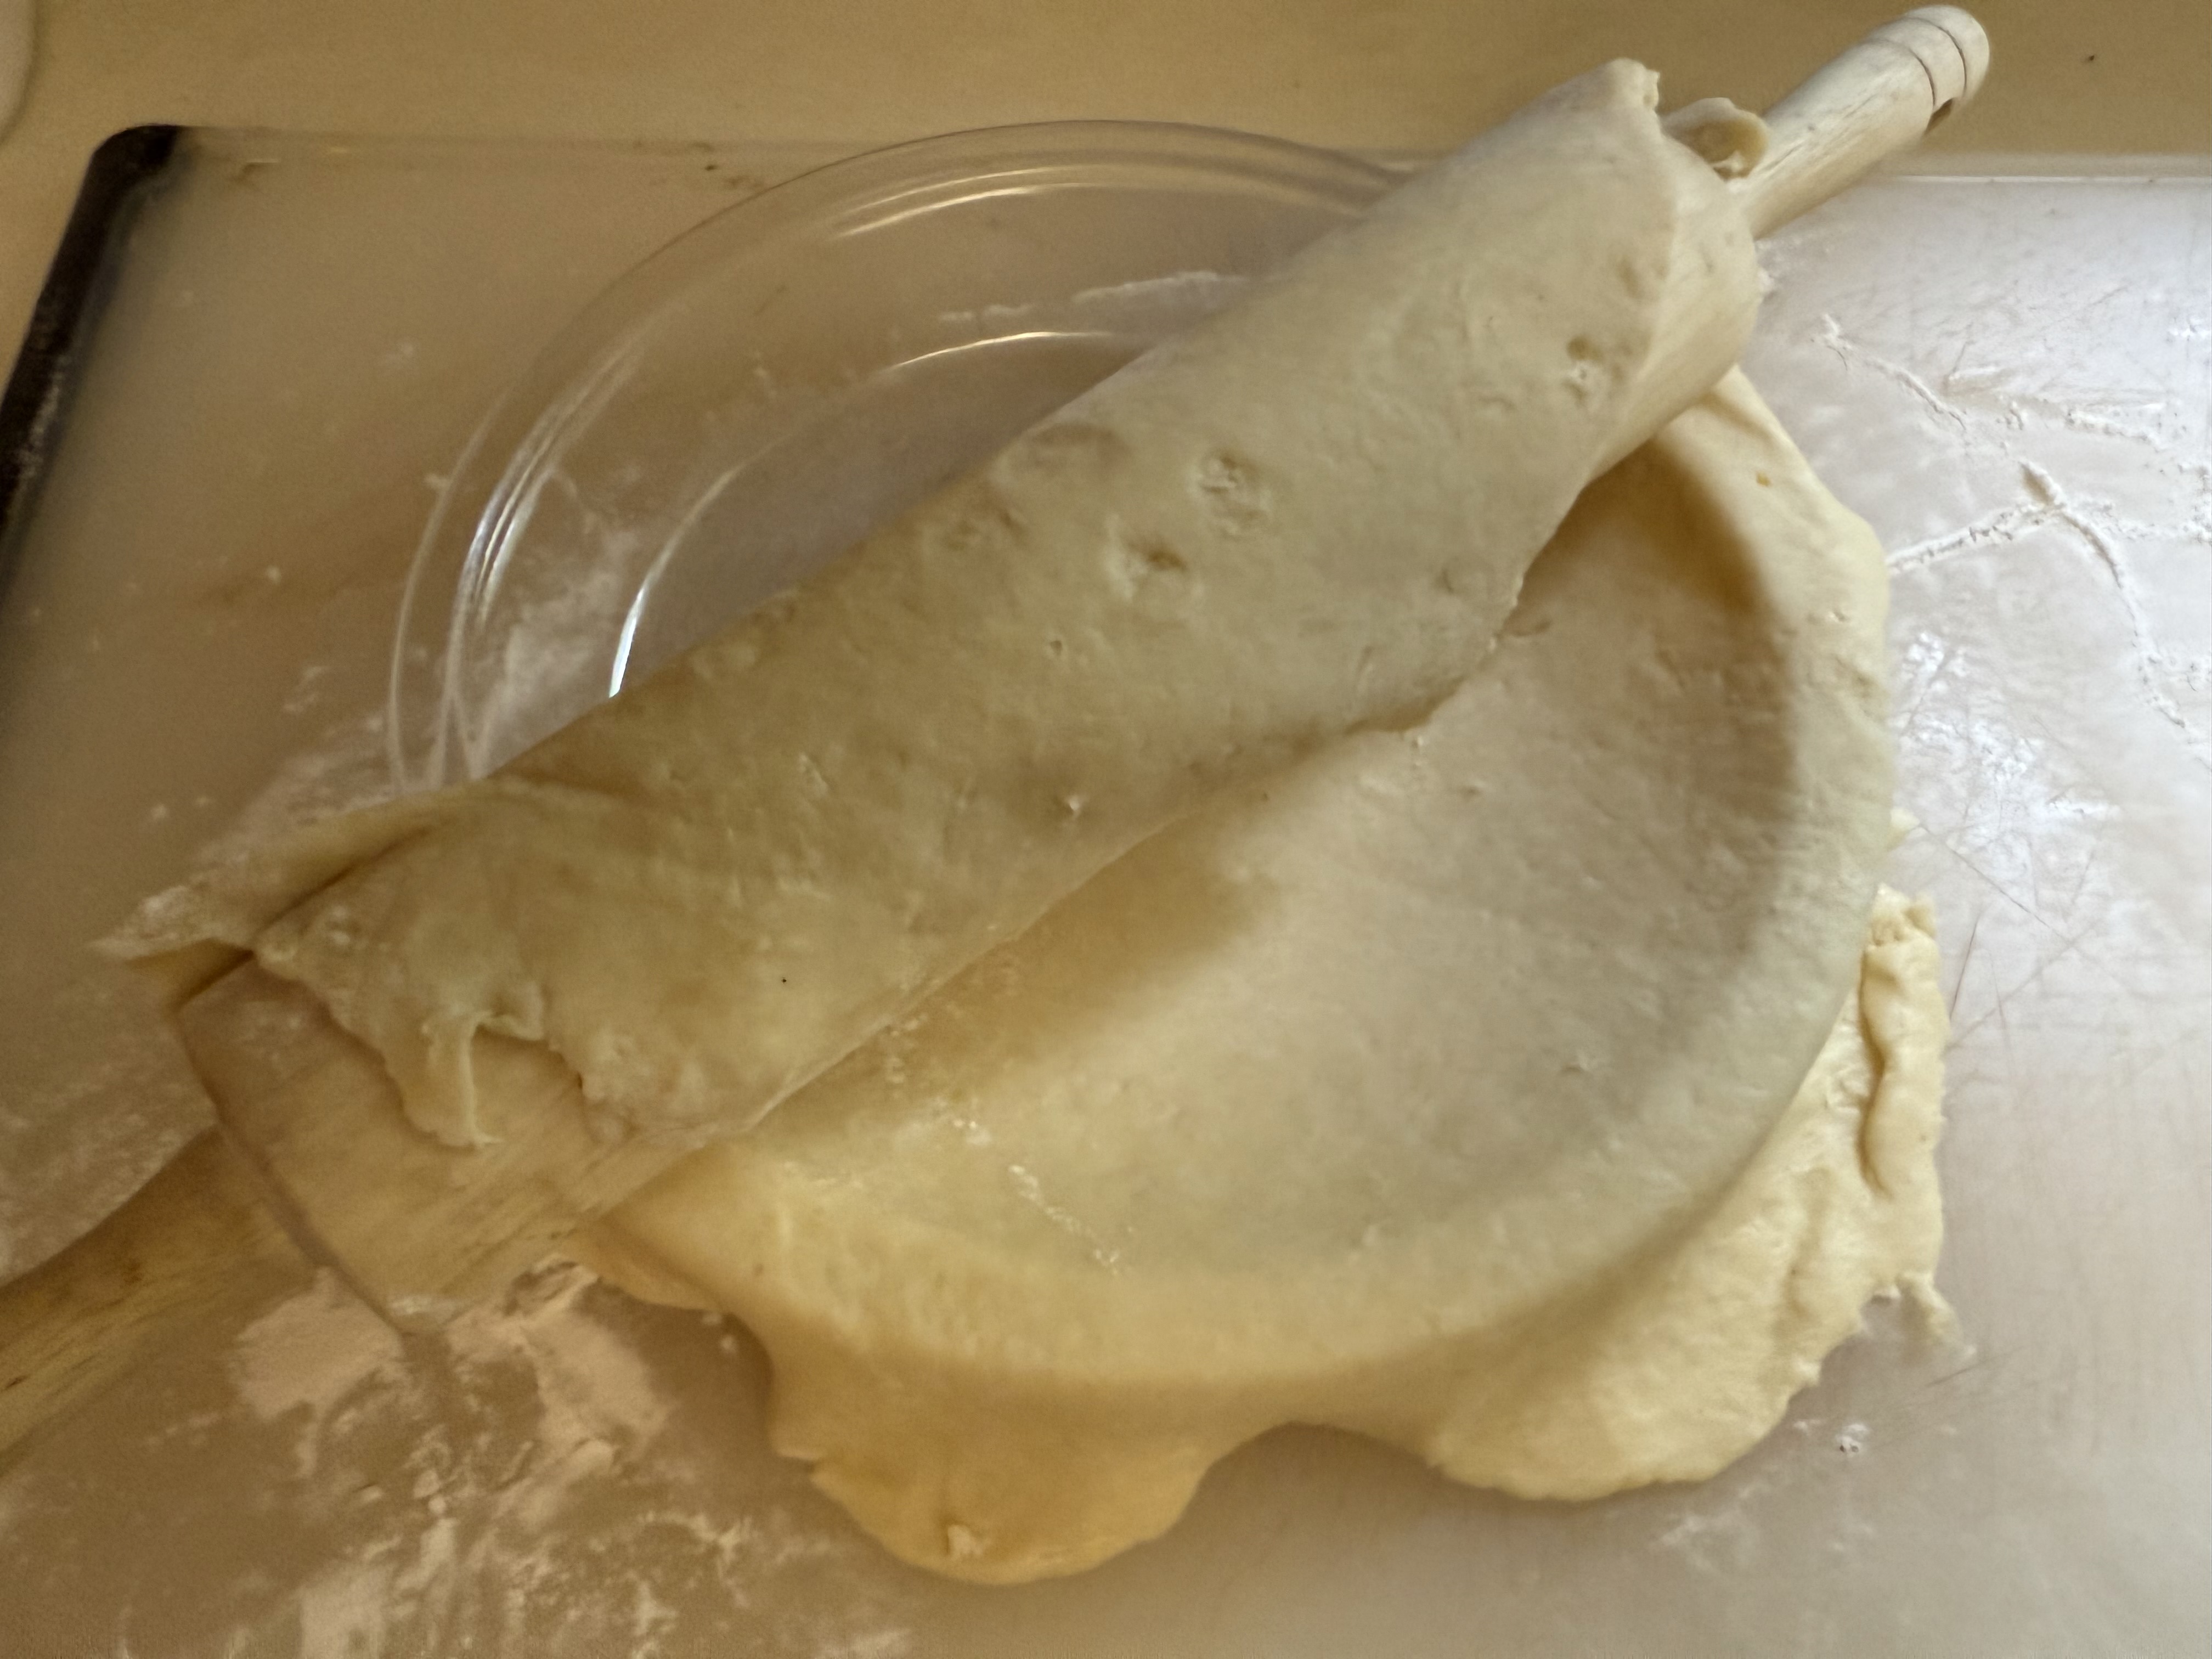
To transfer to the pie pan, wrap the pastry over the rolling pin. Carefully move over the pie pan and unroll. Try not to stretch the pie dough.
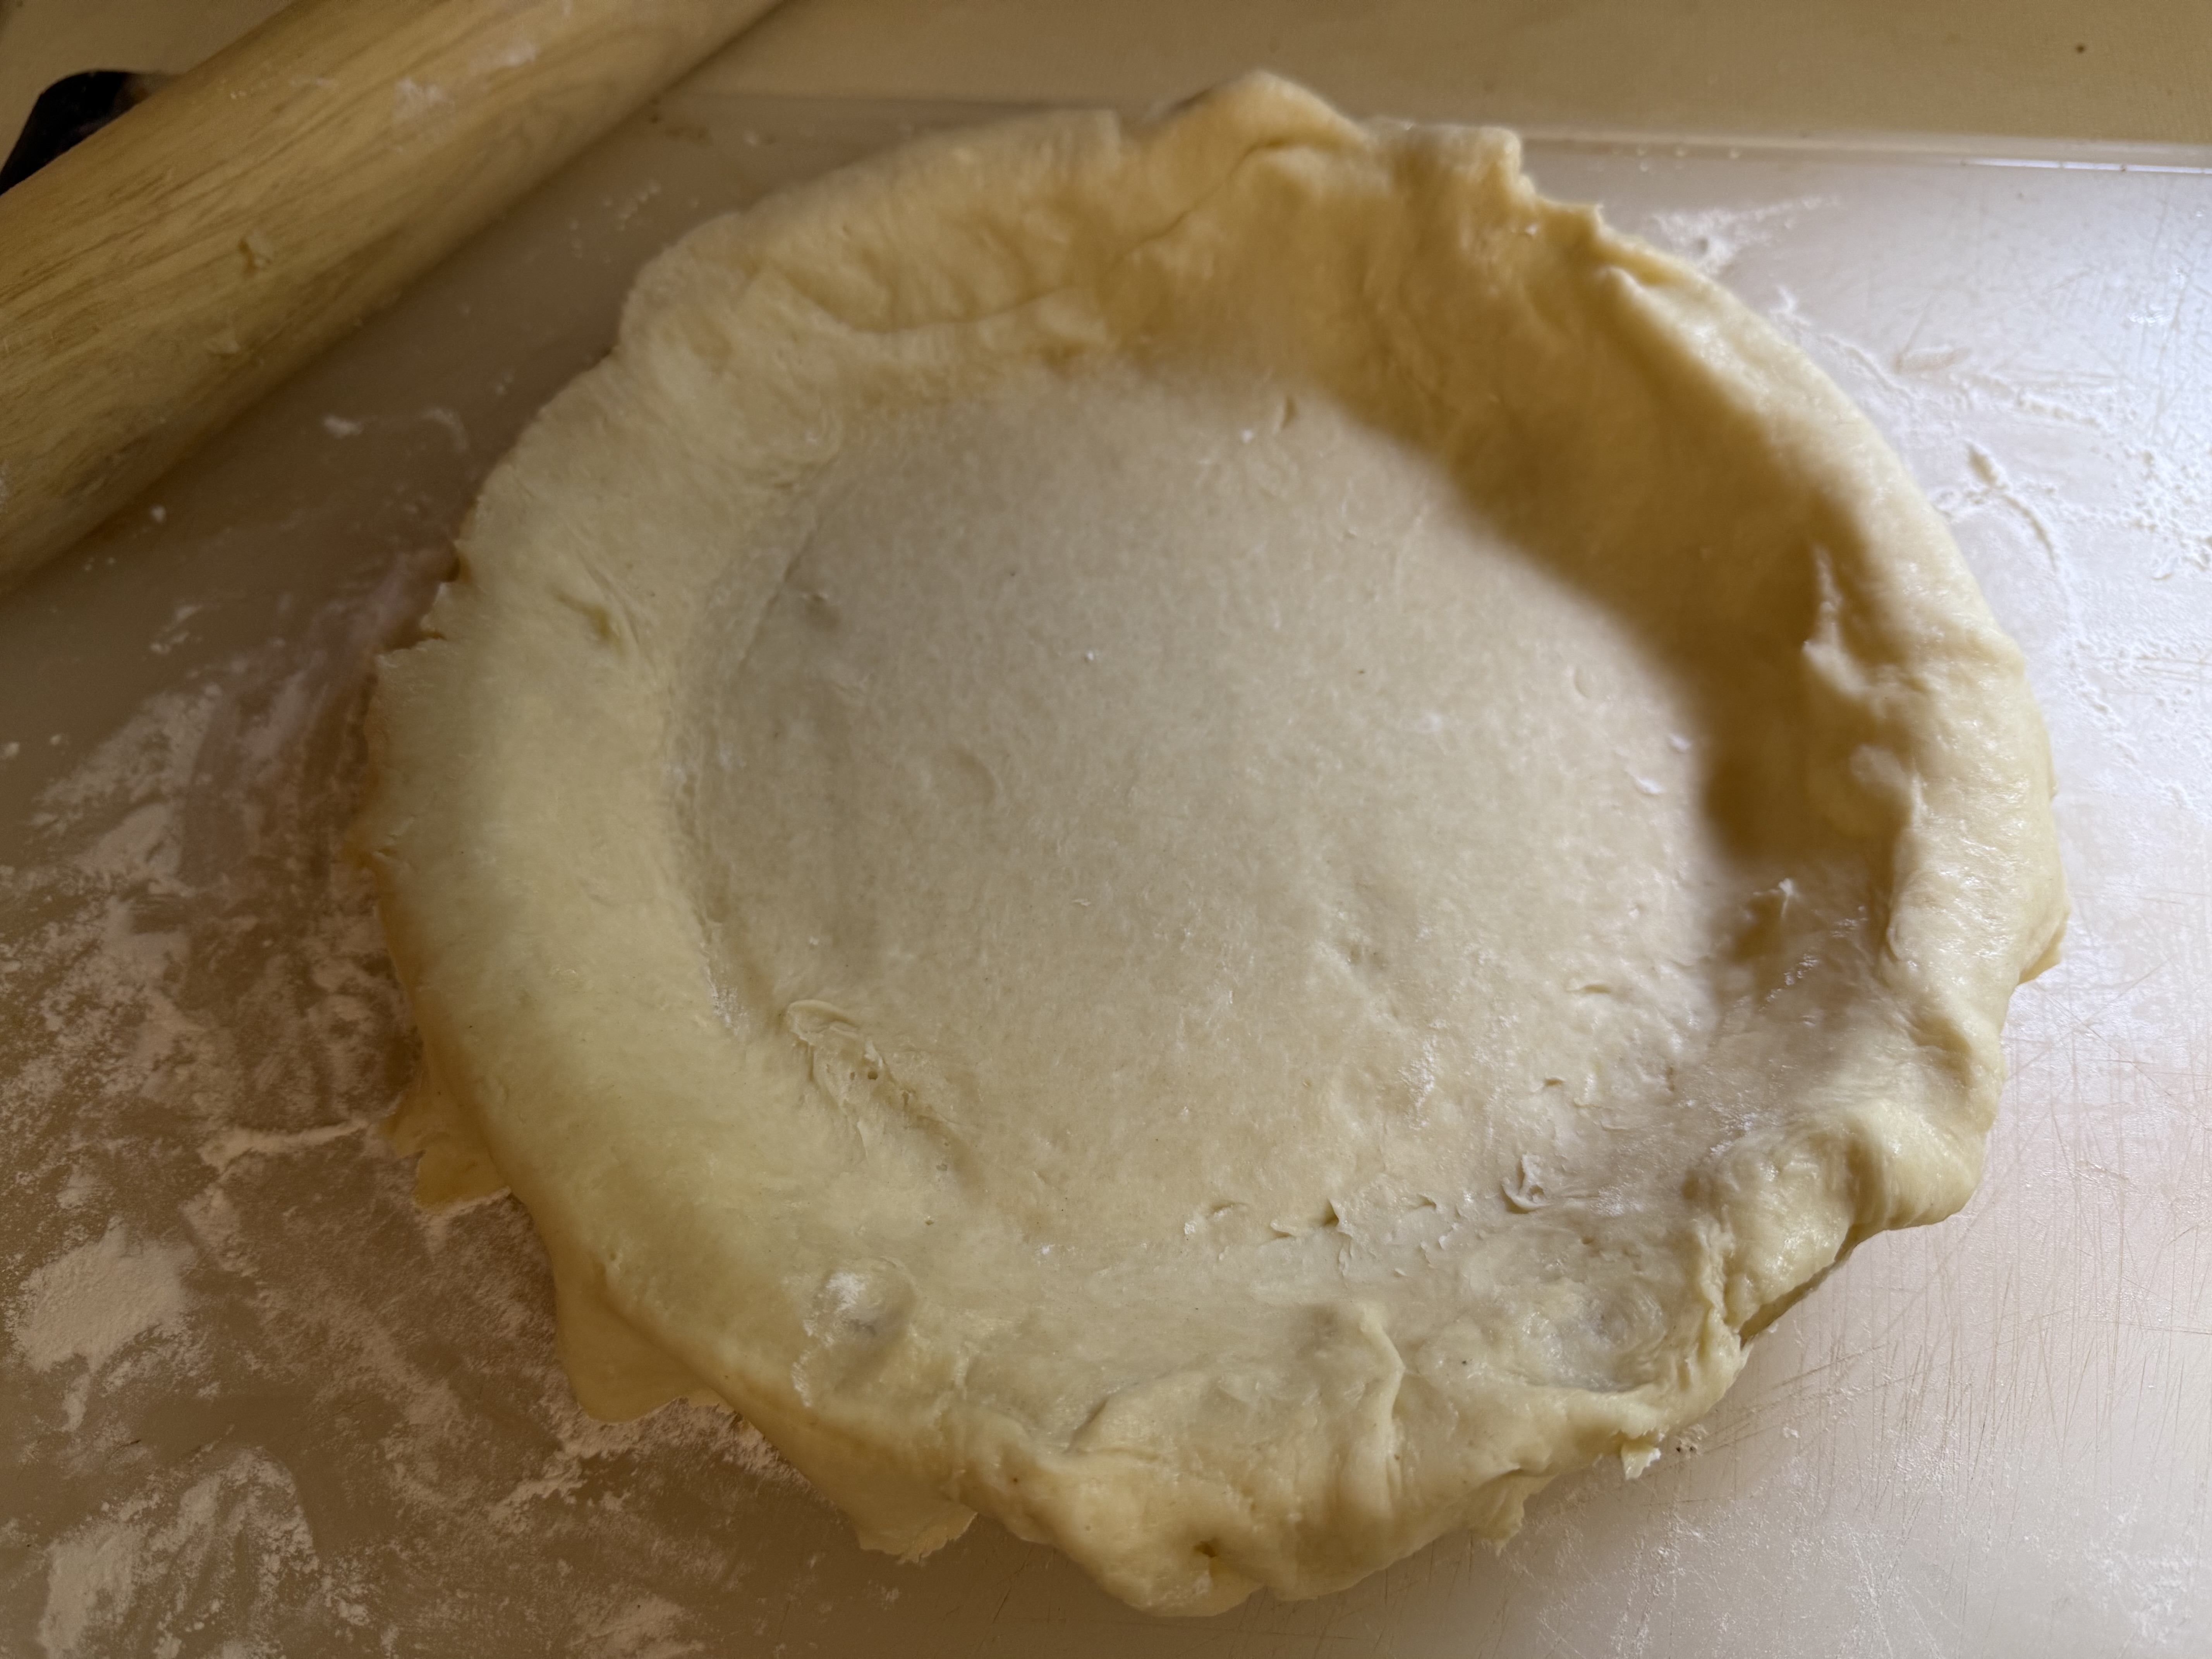
Press the pie shell into all the edges. Trim the edges. (I fill in any thin spots on the top edge with scraps of dough.)
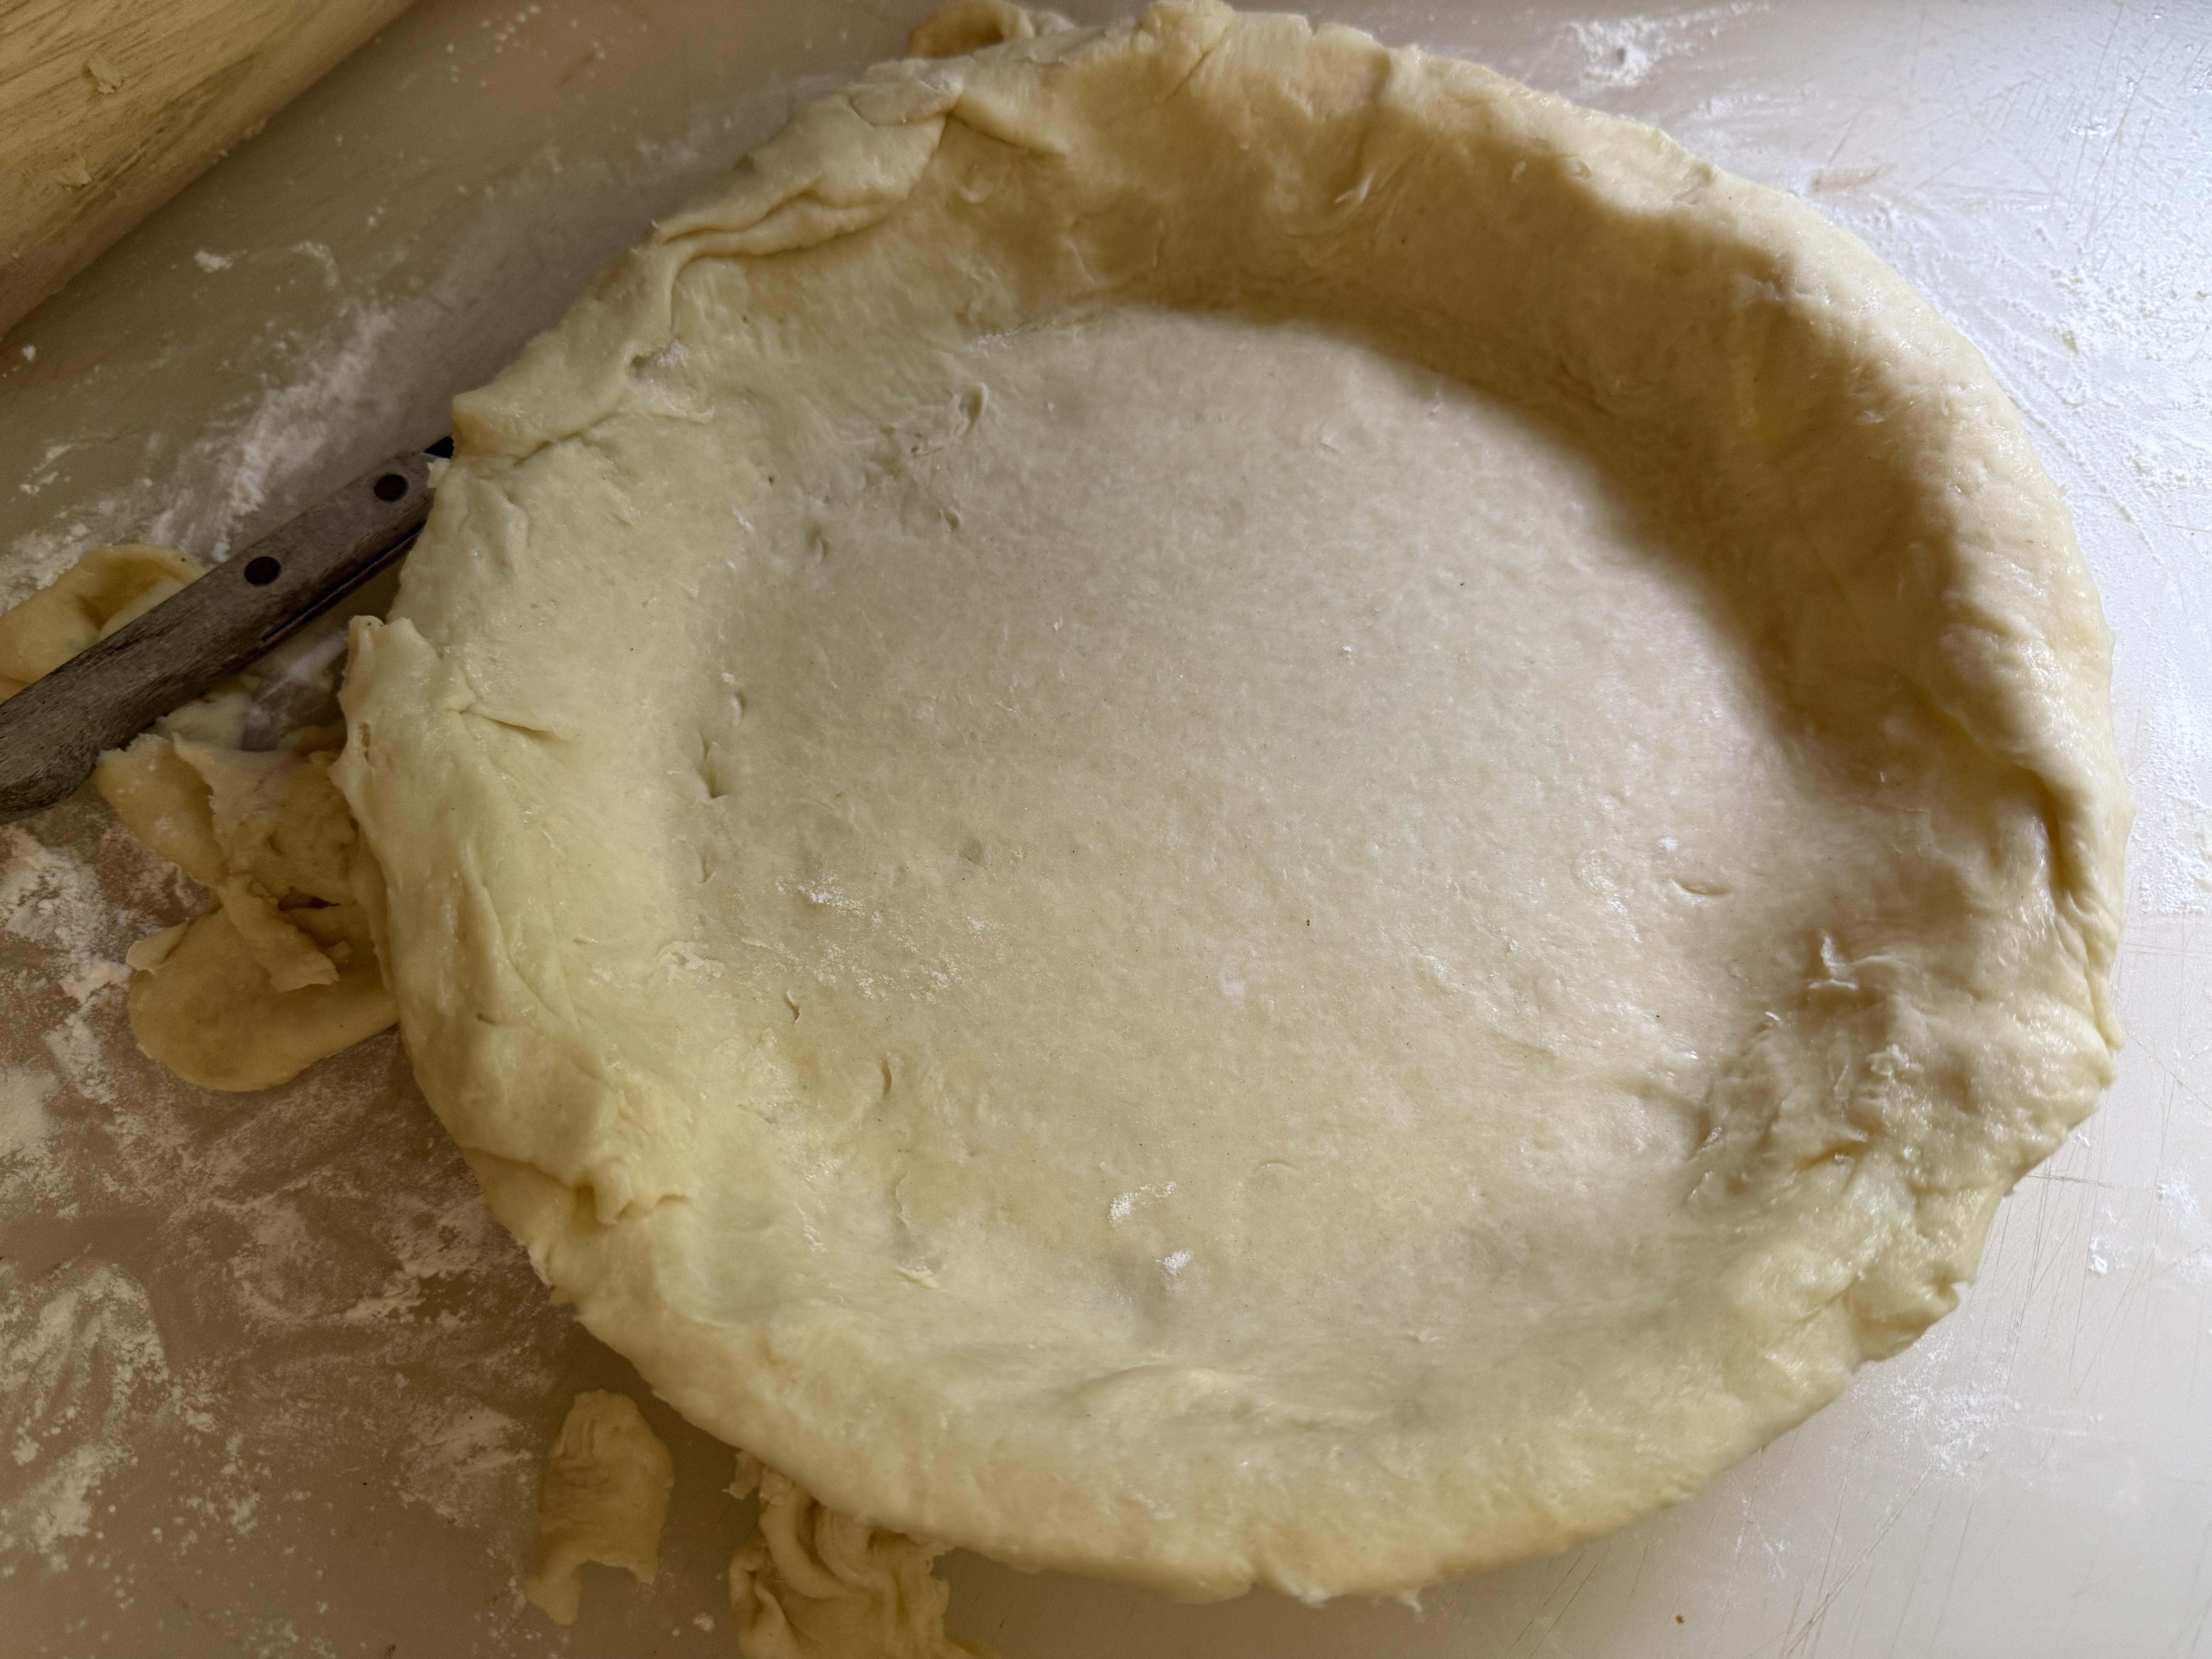
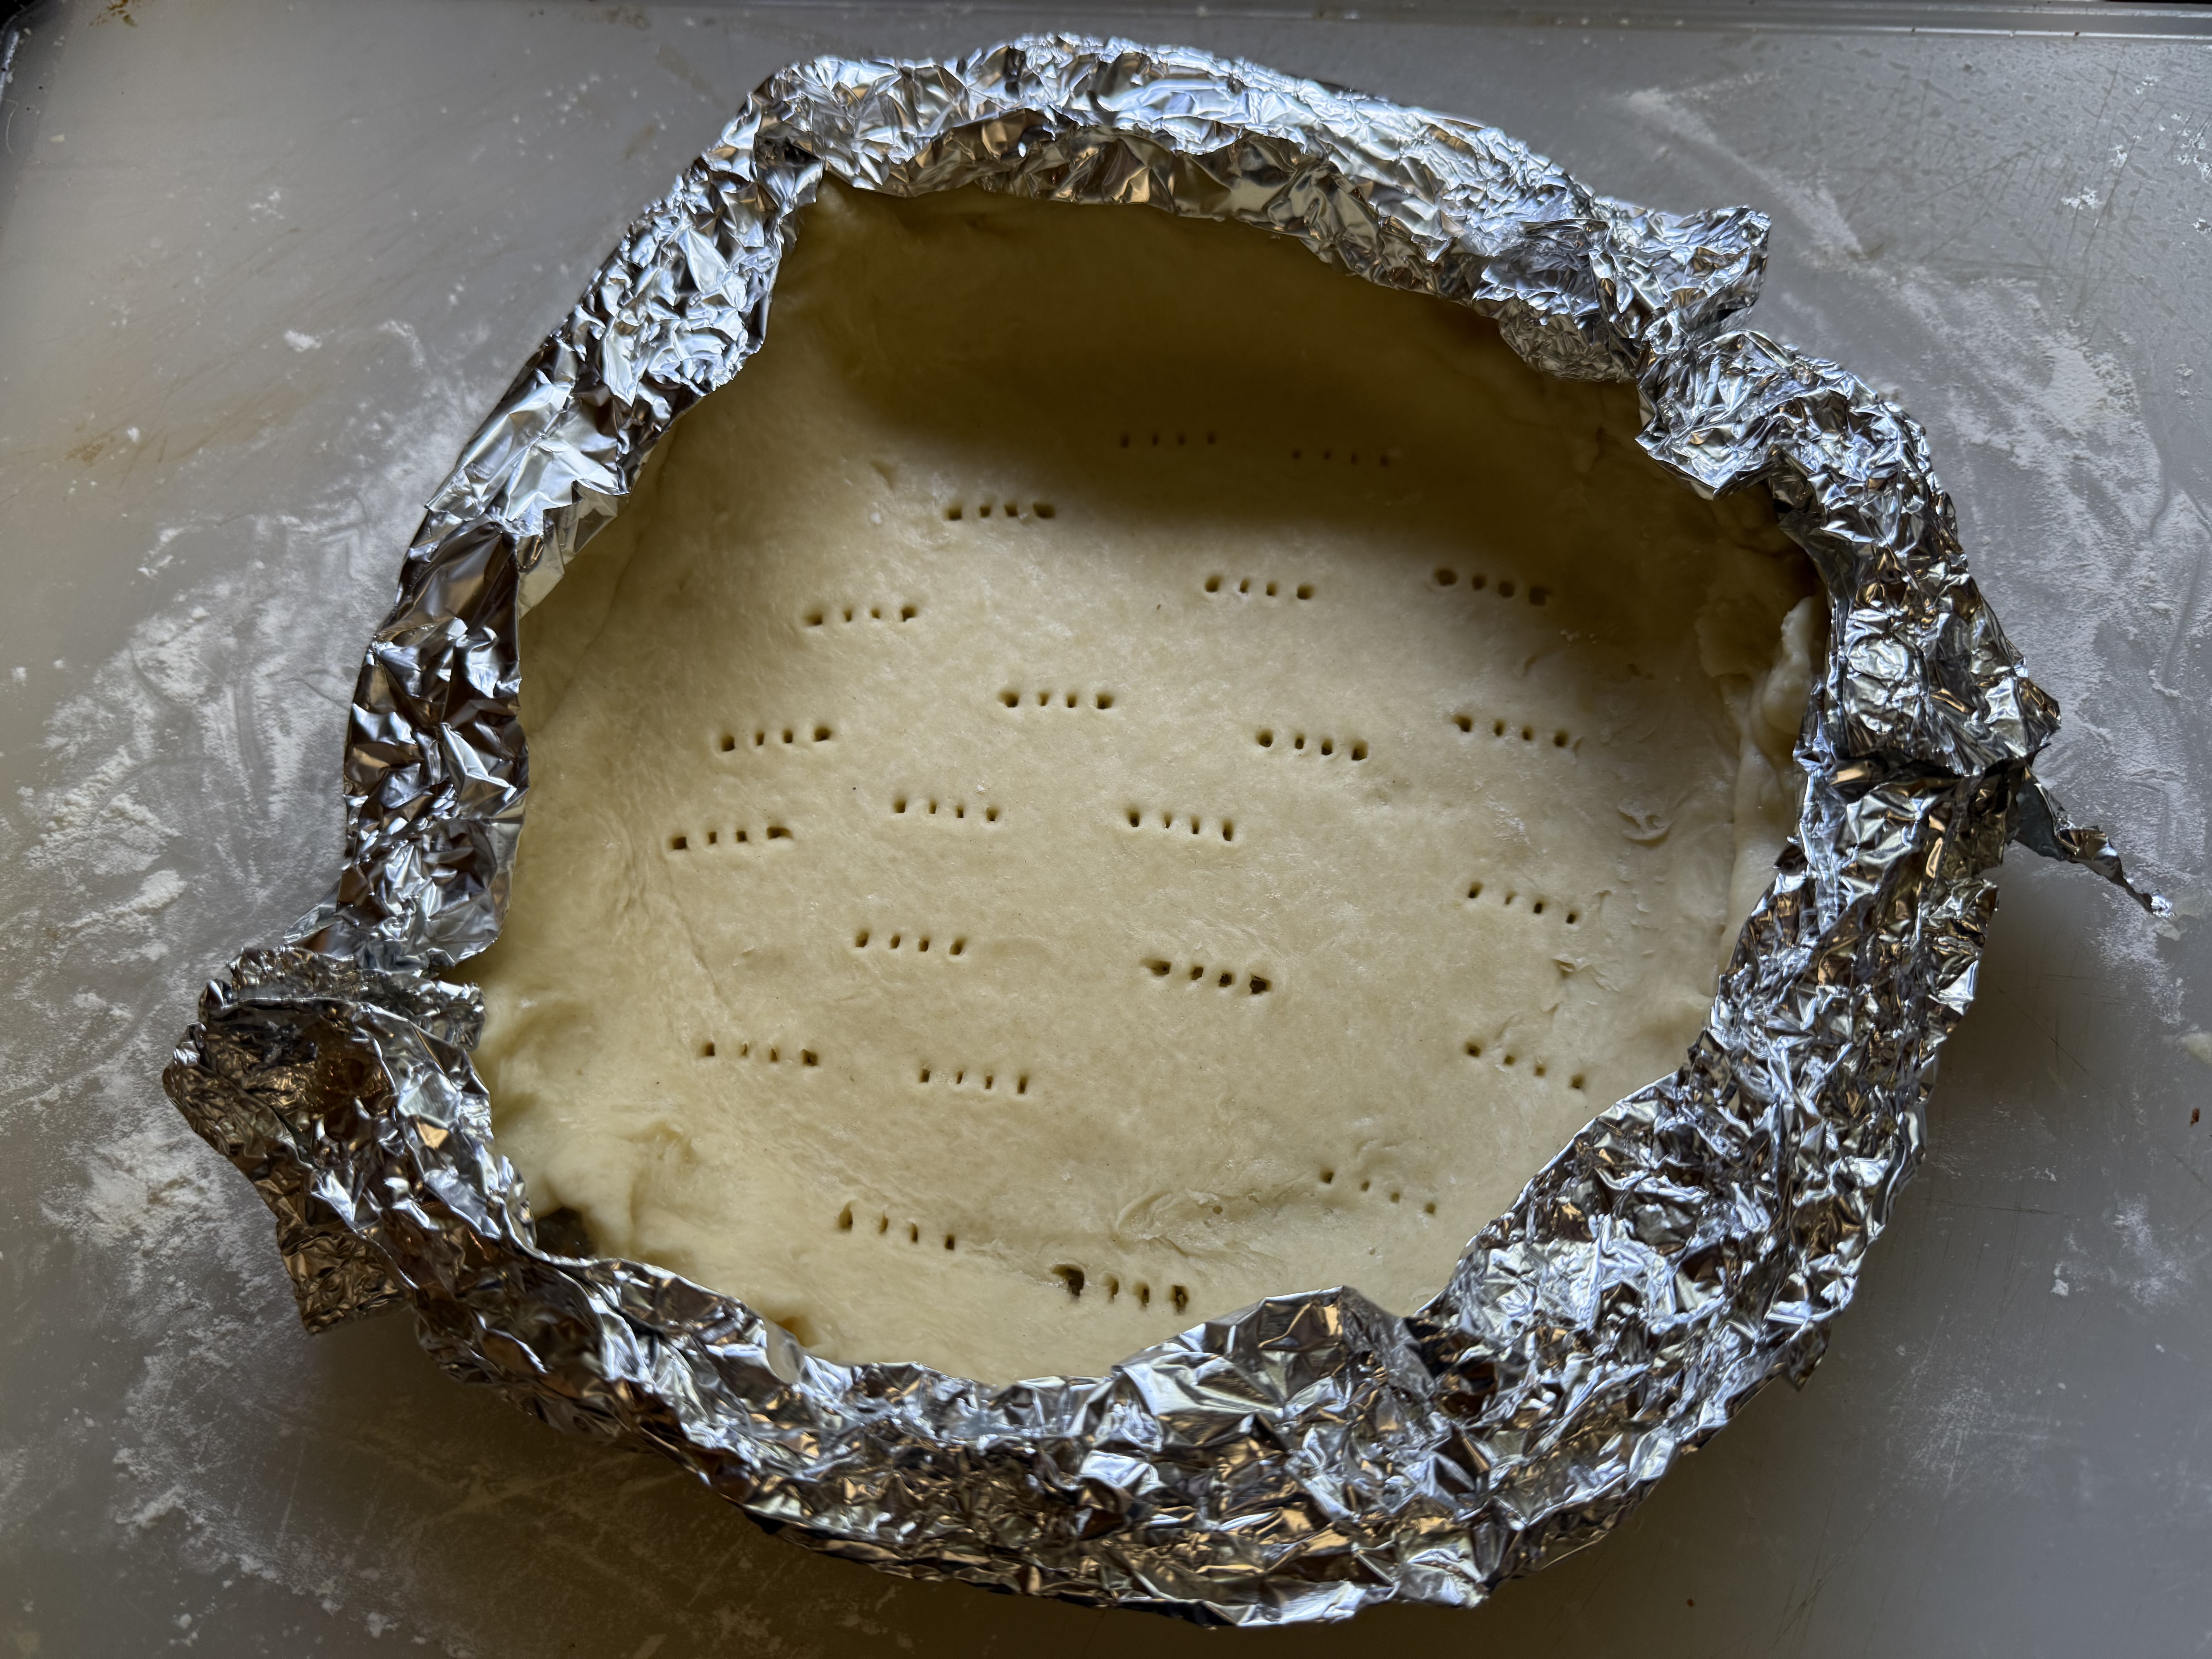
Crimp the edges of the crust. Use a fork to polk holes in the bottom of the pastry, to allow steam to escape.
Either add a fruit filling and topping or other filling (such as pumpkin pie filling or quiche) and bake. Alternatively, bake the empty pie shell.
For an empty pie shell, unless you protect the top edge of the pie shell; it may burn. I added a strip of aluminum foil around the top, crimped edge. And, unless you weight down the bottom of the pie crust, it will shrink as it bakes. I use parchment paper and carefully placed in in the bottom and pushed into all the sides of the pan. My new “hack” is that I discovered that you can use sugar to weight down the pastry crust. Alternatively, you can use commercial pie weights, dried beans or dry rice.
Bake for 20 minutes at 375 degrees. Remove the parchment paper and pie weights (sugar) and aluminum foil. Bake for an additional 5 minutes to set the bottom of the pie. Let the baked pie shell cool to room temperature before using.
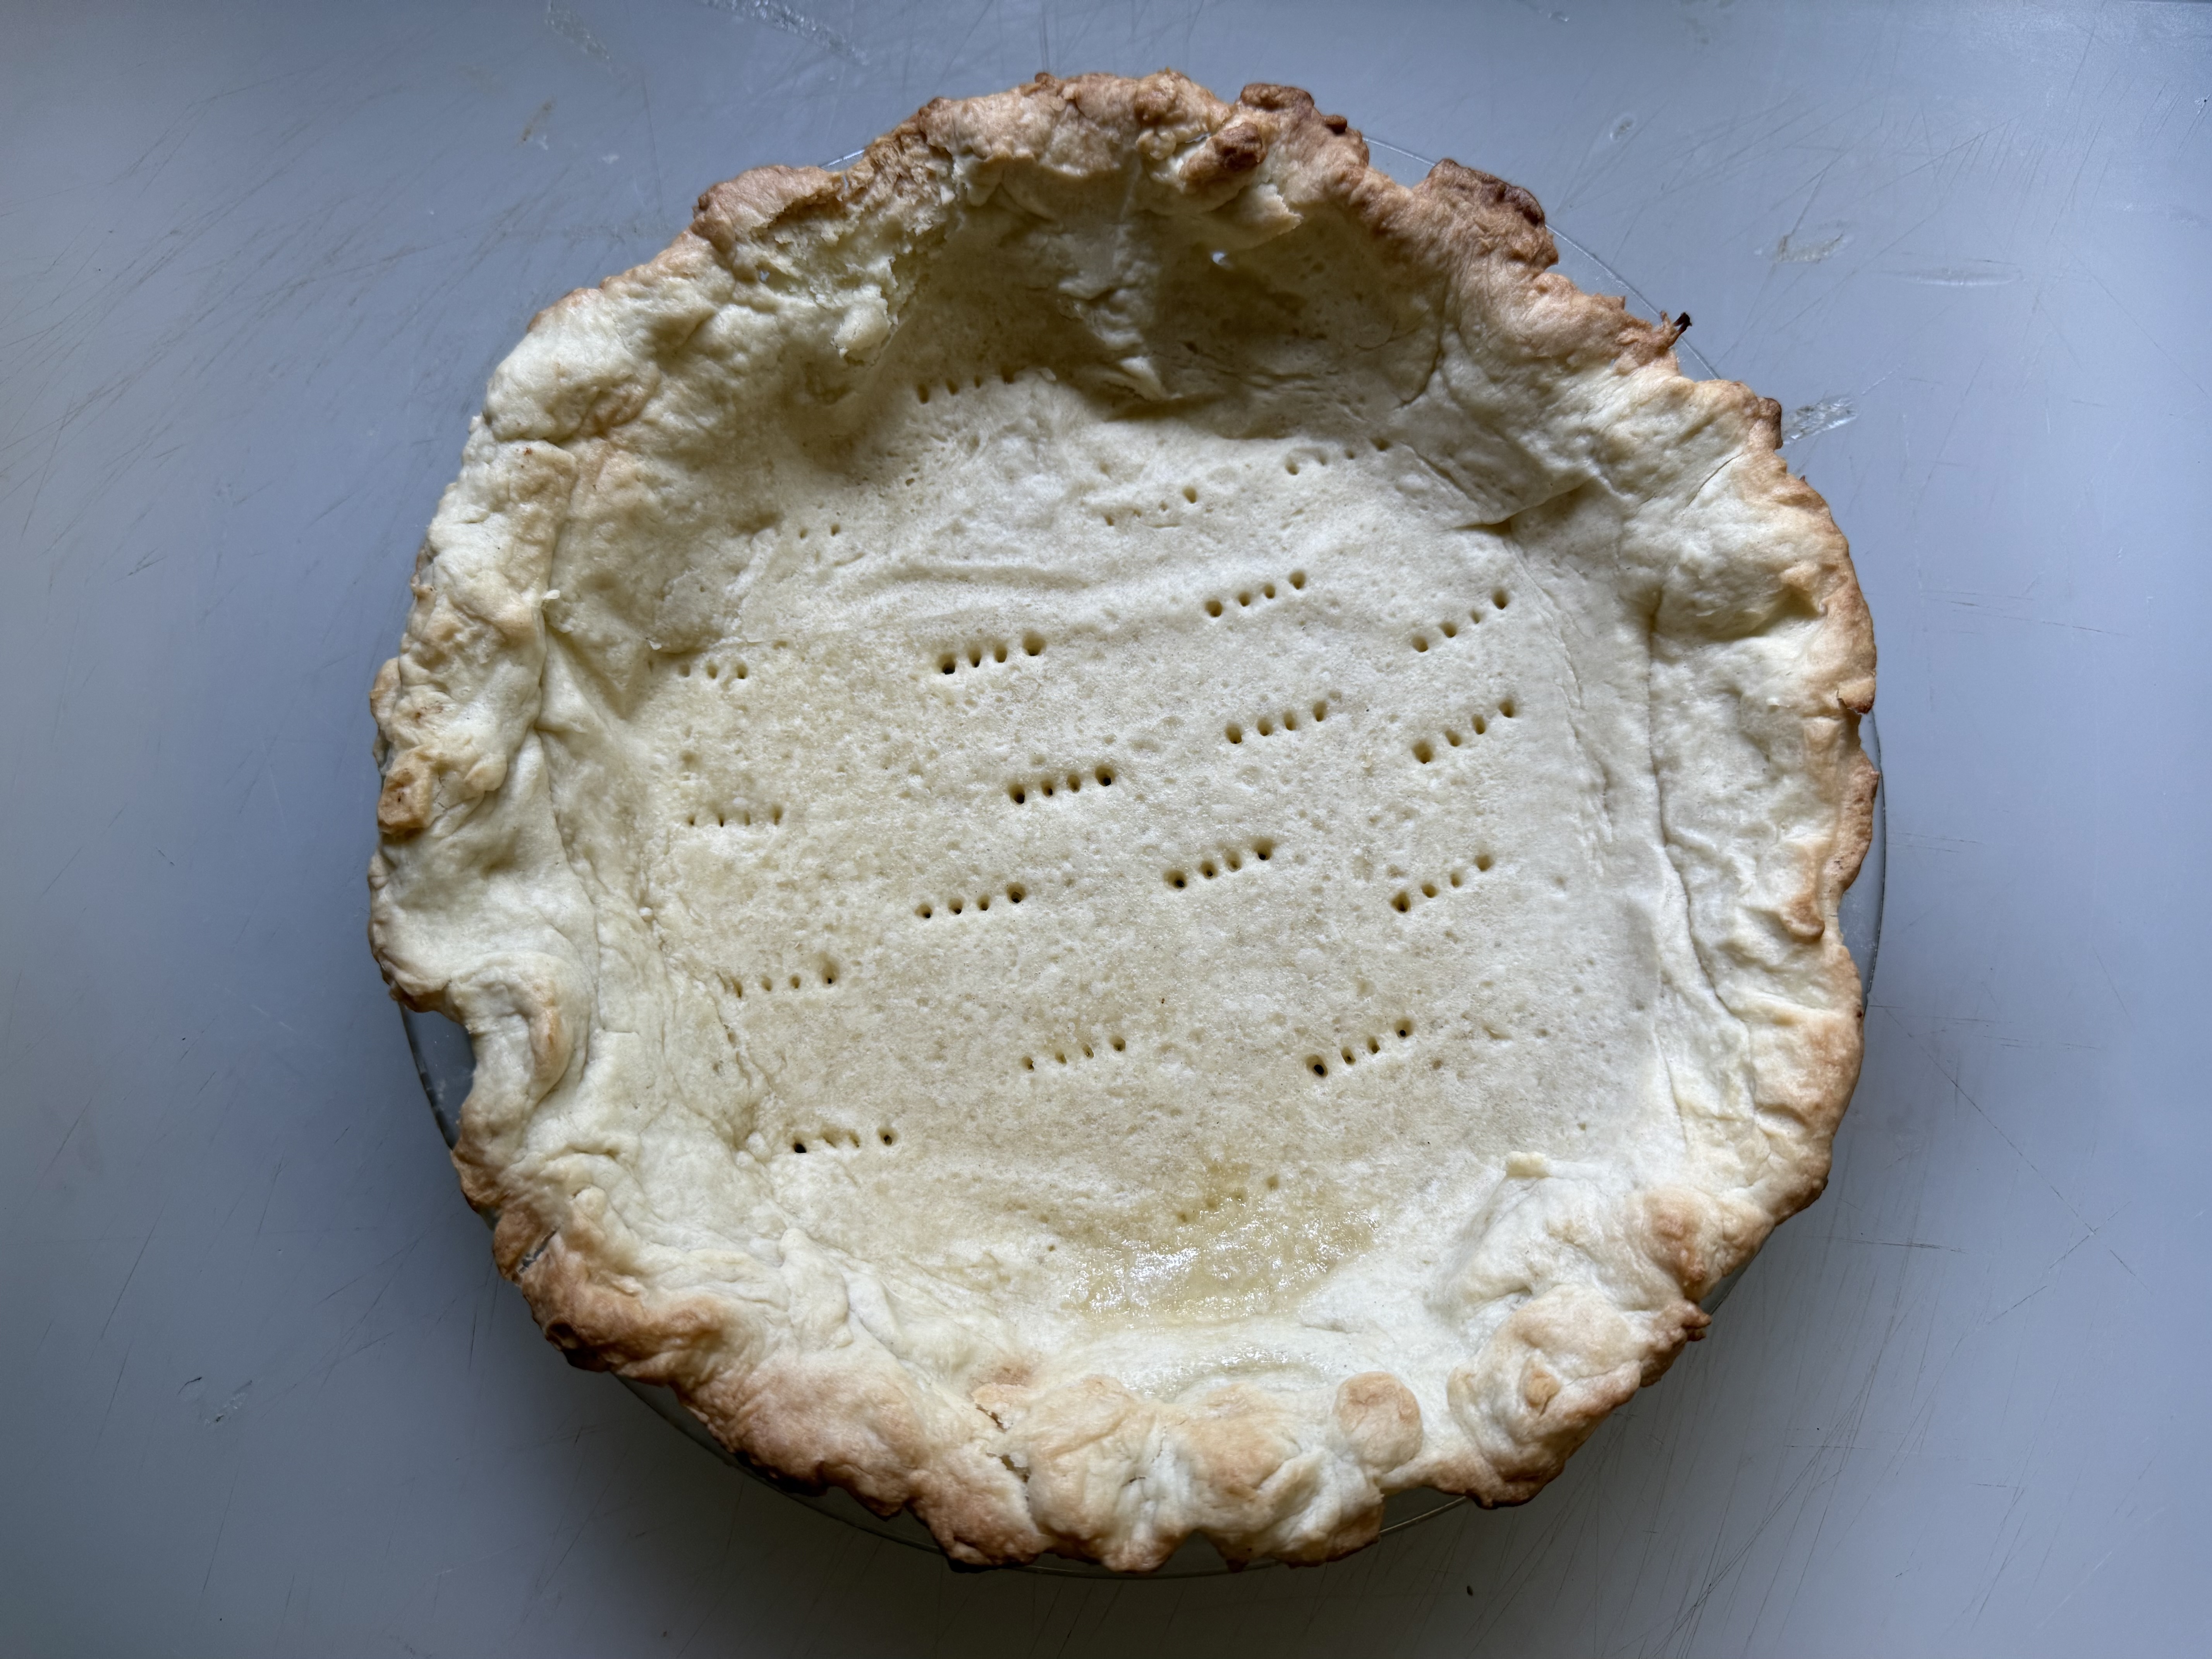
And we have a baked pie shell! Fill with the chocolate pudding/custard filling for a delicious dessert.


I’m not a sweet eater, but there is just something about chocolate cream pie!!!
Hello, I toned down the sugar in the recipe just a bit — but it still is sweet! Chocolate is mightly irresitable — my solution is to bake and share, so I’m not left eating the entire pie; but my husband and I did manage to finish off one pie ourselves!
In our house we call it ‘no keeping quality!’